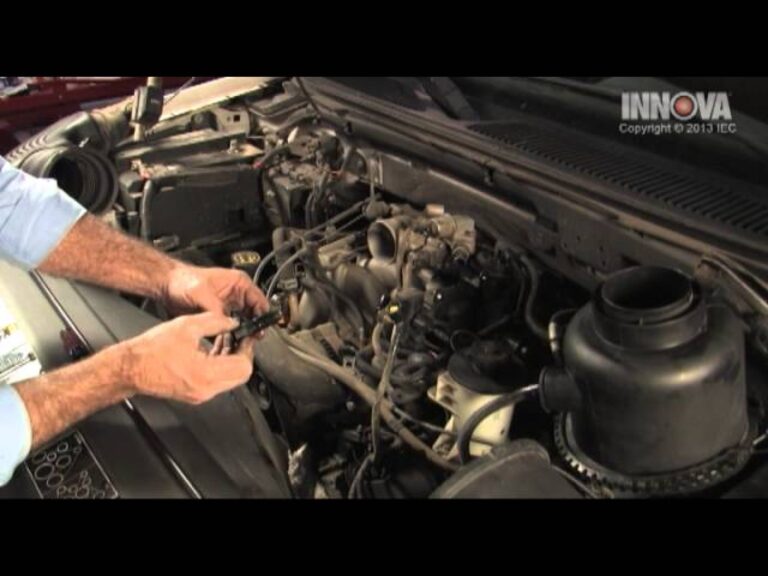
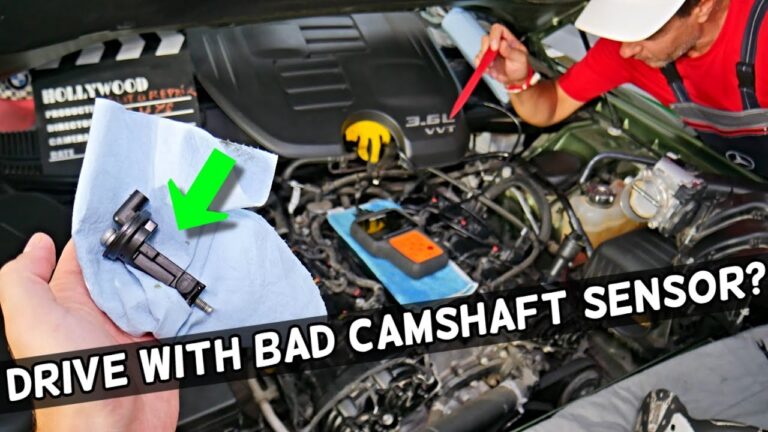
After replacing the camshaft position sensor, clear diagnostic codes, inspect connections, start the engine, test drive the vehicle, and verify that no fault codes return.
For drivers across the United States, a failed camshaft position sensor is a common cause of hard starting, engine misfires, reduced power, and check engine lights. Replacing the sensor often fixes the problem, but the job is not complete until the vehicle is properly tested and verified.
Understanding what to do after replacing camshaft position sensor helps prevent unnecessary parts replacement and ensures the engine control module receives accurate timing information. A few simple post-installation checks can confirm that the repair was successful and identify any remaining issues.
Source: bradscartunes.com
Immediate Steps After Replacing the Camshaft Position Sensor
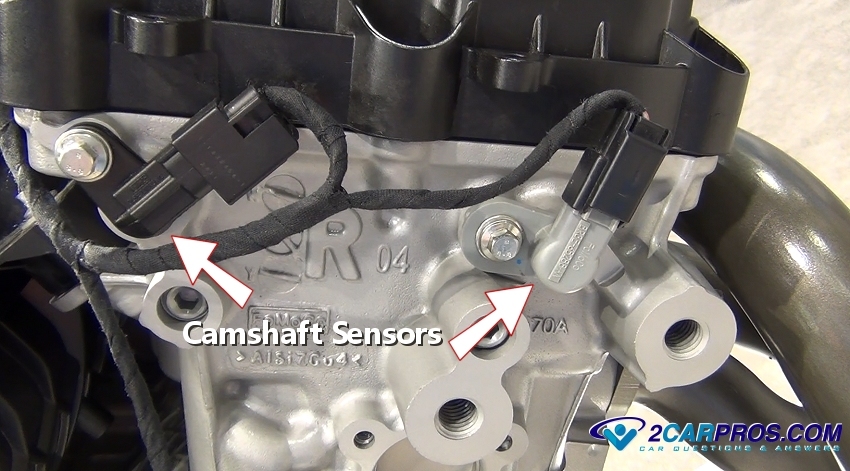
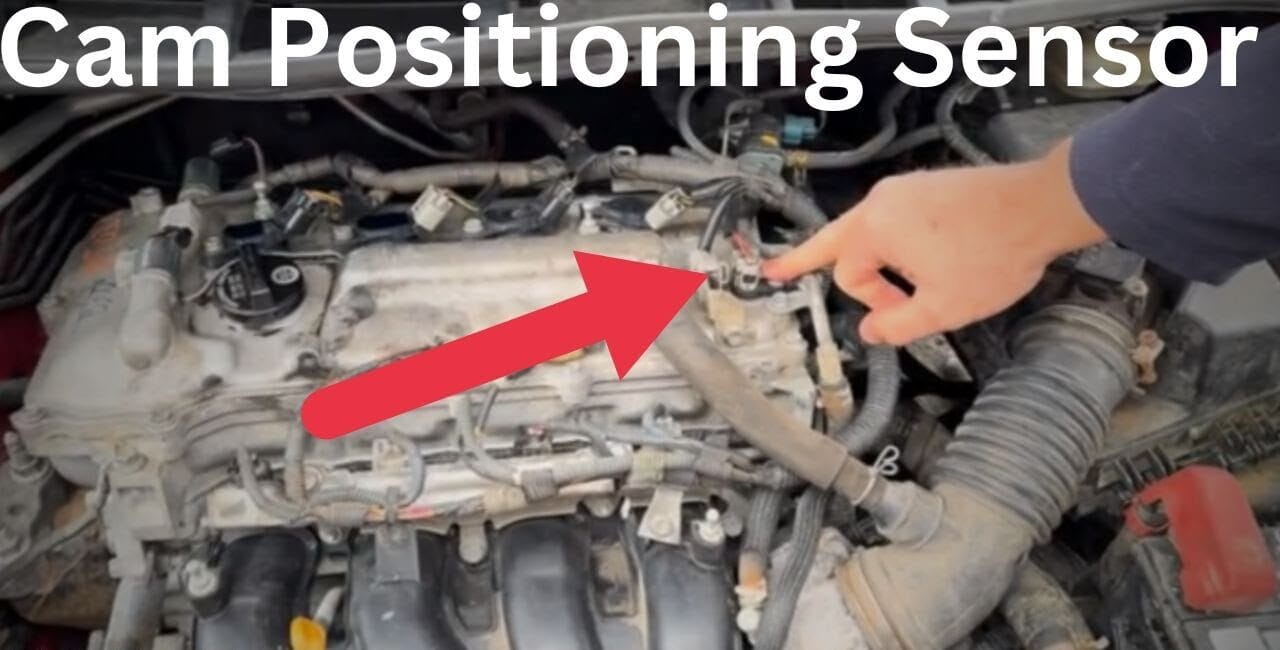
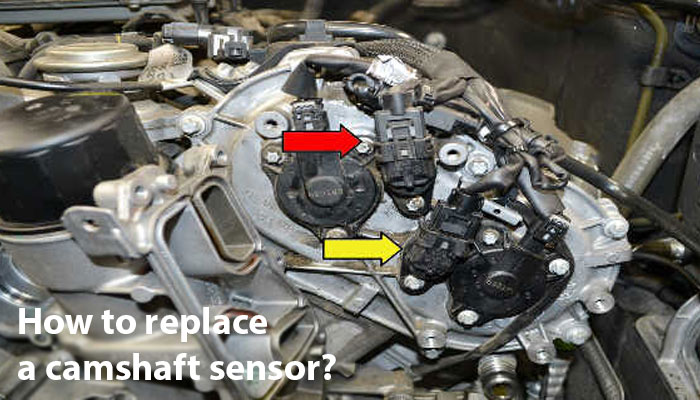
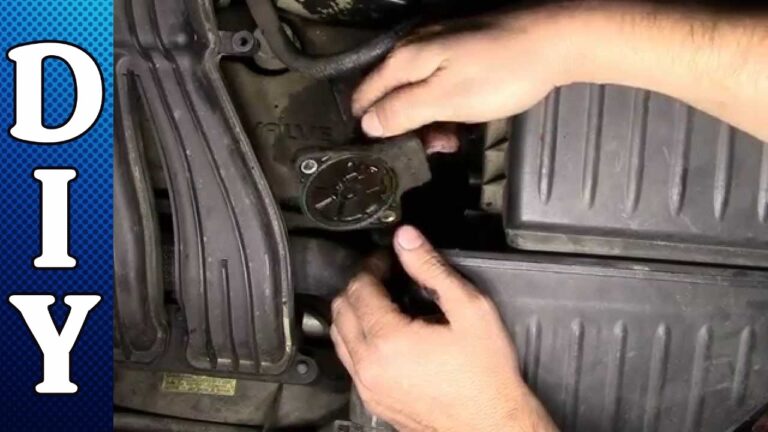
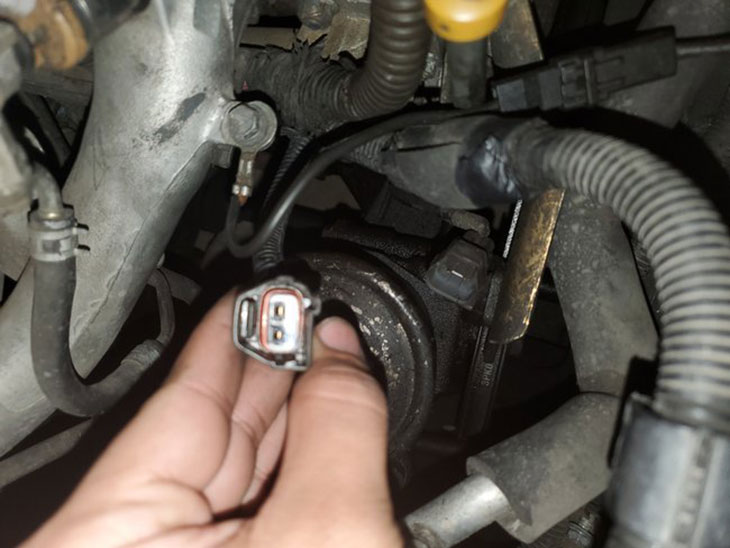
The first priority after installing a new camshaft position sensor is confirming that the sensor is seated correctly and that the electrical connector is fully locked in place. Even a properly functioning sensor can trigger problems if the connector is loose.
Next, reconnect the battery if it was disconnected during the repair. Visually inspect nearby wiring, vacuum hoses, and engine components that may have been moved while accessing the sensor.
Source: vautobasics.com
Verify Installation
Confirm the mounting bolt is tightened to the manufacturer’s specification.
Check Connector
Make sure the connector clicks securely into place.
Inspect Wiring
Look for frayed insulation, corrosion, or damaged terminals.
Why These Checks Matter
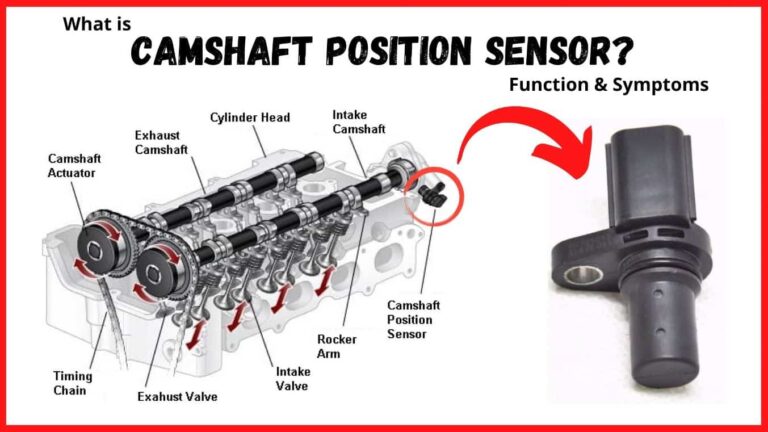
The engine control module relies on accurate camshaft position data to manage ignition timing and fuel injection. Poor connections can create the same symptoms as a failed sensor.
Prevent False Faults
A secure installation reduces the chance of recurring error codes.
Clear Diagnostic Trouble Codes
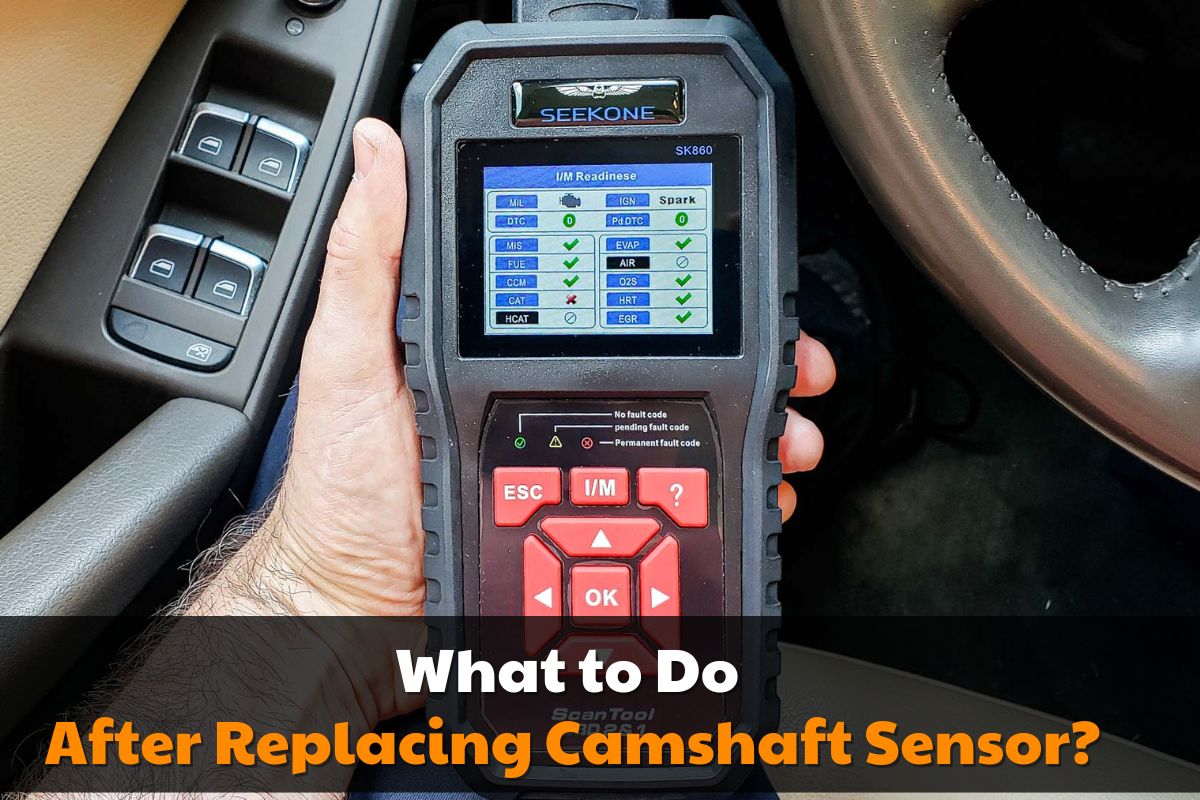
Many vehicles will continue displaying the check engine light after the sensor is replaced because the stored trouble code remains in memory. Use an OBD-II scanner to clear existing codes.
After clearing the codes, start the engine and verify that the check engine light remains off. If the light immediately returns, additional diagnosis may be required.
Source: nerdytechy.com
Use an OBD-II Scanner
Erase stored fault codes after installation.
Record Codes First
Save diagnostic information before clearing memory.
When a Code Returns Immediately
An immediate return of a camshaft-related code may indicate wiring issues, connector problems, incorrect sensor installation, or a timing-related engine fault.
Check Wiring
Inspect the harness between the sensor and engine control module.
Start the Engine and Monitor Performance
Allow the engine to idle for several minutes after replacement. Listen for unusual noises and observe idle quality. The engine should run smoothly without hesitation, stalling, or excessive vibration.
Pay attention to dashboard warning lights and monitor engine response when lightly revving the throttle. Any abnormal behavior may indicate that the original problem has not been fully resolved.
Source: hitchesguide.com
Smooth Idle
A stable idle often indicates proper sensor communication.
Throttle Response
The engine should respond quickly without stumbling.
Signs the Repair Was Successful
Improved starting, smoother acceleration, and the absence of warning lights are strong indicators that the new sensor is functioning correctly.
Normal Operation
Consistent engine performance across idle and acceleration.
Perform a Road Test
A road test helps verify performance under real driving conditions. Drive at city speeds, highway speeds, and during acceleration to ensure the engine behaves normally.
Monitor for hesitation, reduced power, transmission shifting issues, or check engine light activity. Some faults only appear once the vehicle reaches operating temperature.
Source: 2carpros.com
Test Different Speeds
Evaluate engine behavior across multiple driving conditions.
Watch for Warning Lights
A returning light may indicate a related issue.
Recommended Road Test Duration
A 10 to 20 minute drive is often sufficient to confirm whether the repair resolved the original symptoms.
Full Warm-Up
Allow the engine to reach normal operating temperature.
What If Problems Continue After Replacement?
If symptoms remain after replacing the sensor, the camshaft position sensor may not have been the only cause of the problem. Related components such as the crankshaft position sensor, timing chain, timing belt, engine wiring, or engine control module should be inspected.
A professional diagnostic scan can provide live data and help determine whether the sensor signal is being received correctly. Avoid replacing additional parts without confirming the actual fault.
Source: obdcode.org
Inspect Related Components
Timing and electrical faults can mimic a bad sensor.
Use Live Data
Monitor sensor readings with a capable scan tool.
Check Power and Ground
Verify proper voltage supply to the sensor.
Common Causes of Persistent Issues
Persistent camshaft sensor codes can result from damaged wiring, poor electrical grounds, stretched timing chains, faulty crankshaft sensors, or incorrect replacement parts.
Verify Part Number
Ensure the installed sensor matches the vehicle application.
Frequently Asked Questions
Q
Do I need to reset the ECU after replacing a camshaft position sensor?
Many vehicles do not require a manual ECU reset. Clearing diagnostic trouble codes with an OBD-II scanner is usually sufficient. Some vehicles may need a short drive cycle for the computer to relearn operating parameters.
Q
Why is my check engine light still on after replacing the sensor?
The stored fault code may not have been cleared, or another problem may exist. Inspect wiring, connectors, timing components, and related sensors if the light remains illuminated.
Q
How long does it take for a new camshaft position sensor to work?
A properly installed sensor begins working immediately when the engine starts. However, the vehicle may need a complete drive cycle before all diagnostic monitors update.
Q
Can a bad crankshaft sensor cause the same symptoms?
Yes. A faulty crankshaft position sensor can cause hard starting, stalling, misfires, and trouble codes that resemble camshaft sensor failures.
Q
Should I drive the vehicle if the problem continues?
Minor symptoms may allow limited driving, but severe misfires, stalling, or poor engine performance should be diagnosed promptly to prevent further engine or catalytic converter damage.
✦ Wrapping Up
Conclusion
Knowing what to do after replacing camshaft position sensor is just as important as installing the part itself. Clearing codes, inspecting connections, monitoring engine operation, and completing a road test help confirm that the repair was successful.
If symptoms persist, focus on diagnosis rather than replacing more parts at random. Electrical issues, timing problems, and related sensors can create similar symptoms and require further inspection.
💡 Key Takeaway
After replacing the sensor, clear codes, verify wiring, test drive the vehicle, and scan for returning faults before considering additional repairs.
Ethan Brooks is an automotive writer at Auto News 7, covering car news, vehicle maintenance, new model updates, recalls, and practical buying guides. He focuses on clear, useful information that helps drivers understand their vehicles and make better ownership decisions.
Learn whether a camshaft sensor is hard to replace, how long the job takes, common challenges, costs, symptoms of failure, and when to seek professional help.
Learn how to replace camshaft position sensor PT Cruiser models with this detailed step-by-step guide. Find symptoms, tools needed, replacement steps, troubleshooting tips, and common mistakes to avoid.
Learn how to reset camshaft position sensor Ford vehicles after replacement or repairs. Follow safe troubleshooting steps, relearn procedures, and common fixes.
Learn how to replace camshaft position sensor Ford F150 models with this step-by-step guide. Discover symptoms, tools needed, replacement steps, troubleshooting tips, and common mistakes.