To fix a knock sensor code, diagnose the exact code, inspect the wiring, test the sensor, repair the circuit, then clear and verify the fault.
If your U.S.-market vehicle has a Check Engine light and a knock sensor code, do not assume the sensor itself is bad. Codes such as P0325, P0326, P0327, P0328, P0329, P0330, P0331, P0332, P0333, and P0334 can involve the sensor, wiring, connector, mounting, or another engine problem. The correct repair depends on the vehicle’s make, model, engine, and factory diagnostic procedure.
The most useful approach is to diagnose the circuit before buying parts. Start with an OBD-II scan, record all stored and pending codes and freeze-frame data, then inspect the sensor and harness. If the wiring is sound, test the knock sensor according to the vehicle manufacturer’s specifications. Some vehicles also have model-specific service bulletins that change the recommended repair, so a factory service procedure should take priority over a generic test.
Source: youtube.com
What Does a Knock Sensor Code Mean?
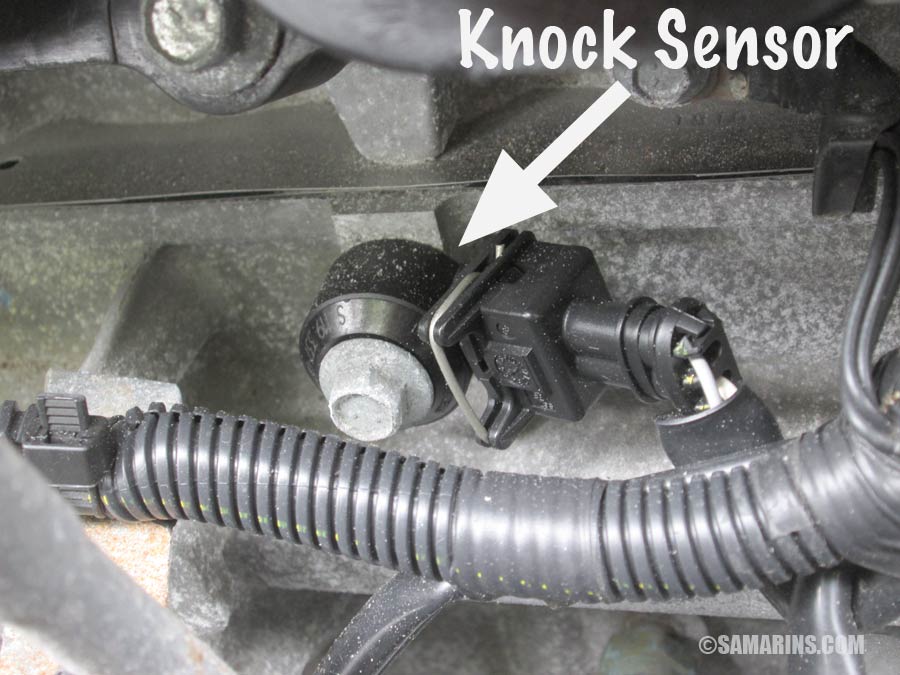
A knock sensor detects vibration associated with abnormal combustion, commonly called engine knock or detonation, and sends a signal to the engine control module. The control module can use that information to manage ignition timing and protect engine operation.
A knock sensor diagnostic trouble code means the control module has detected a problem with the sensor signal or circuit, depending on the specific code. P0325 is commonly described as a knock sensor circuit malfunction, while related codes can identify low input, high input, range or performance problems, or a different sensor or bank.
The code is a diagnostic starting point, not a parts replacement instruction. A damaged wire, corroded connector, poor electrical connection, incorrect installation, defective sensor, or an engine condition that produces abnormal combustion can contribute to a knock-related fault.
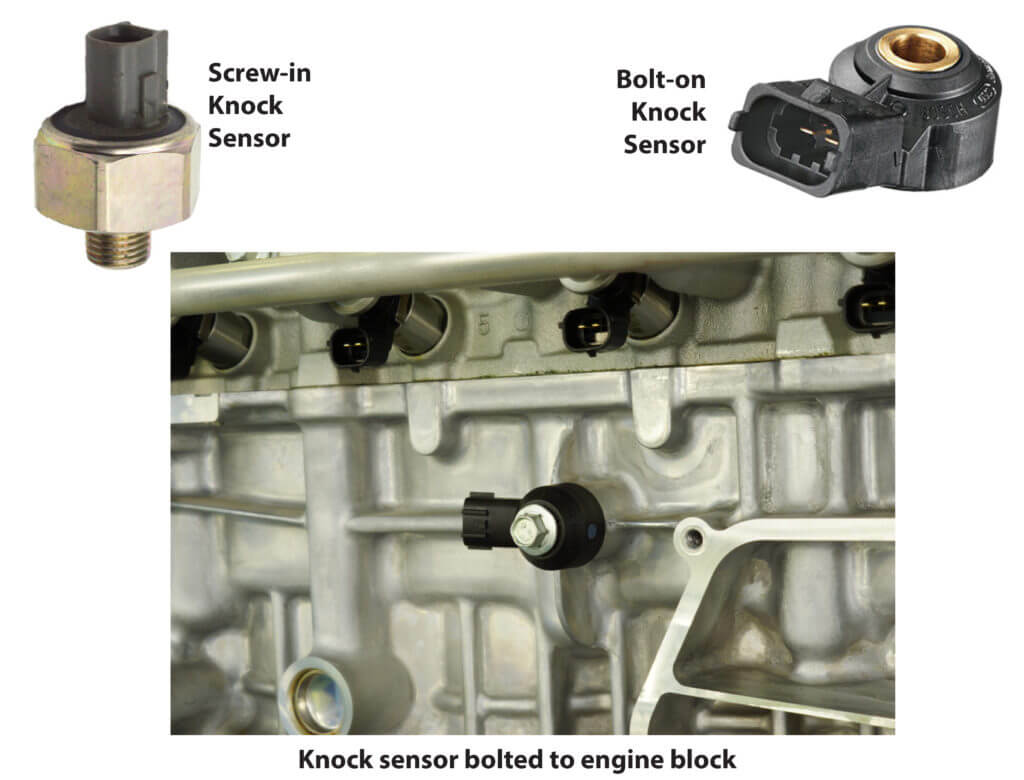
Your vehicle’s service information matters because sensor design, connector wiring, test values, location, tightening procedure, and diagnostic logic differ between engines.
Source: samarins.com
P0325
Generally indicates a malfunction in the knock sensor circuit. The exact cause must be confirmed with vehicle-specific testing.
P0326
Generally indicates a knock sensor range or performance problem, meaning the signal may not fall within the expected operating range.
P0327 and P0329
Generally relate to a low or intermittent knock sensor signal, depending on the vehicle’s diagnostic strategy.
P0328
Generally indicates a high knock sensor input signal.
P0330 and related P0331 through P0334 codes
Can identify problems involving another knock sensor or bank on engines equipped with multiple sensors.
Symptoms You May Notice
A Check Engine light is the most common obvious sign. Some vehicles continue to drive normally, while others may have reduced power, hesitation, poorer fuel economy, or altered engine timing. Actual symptoms depend on how the engine computer responds to the fault.
If the engine is making a genuine metallic knocking or pinging sound, treat that as a separate mechanical concern rather than assuming the noise is simply the sensor. A knock sensor detects engine vibration; it does not create the mechanical noise.
Check Engine light
The malfunction indicator lamp may illuminate when the control module detects a qualifying knock sensor fault.
Reduced performance
Some control systems may adjust ignition timing when knock control information is unreliable.
Hesitation or unusual operation
Drivability symptoms can occur, although a code may also appear without noticeable changes in driving.
Start With the Diagnostic Code and Freeze-Frame Data
Before removing anything, use an OBD-II scanner to confirm the code. Record every stored, pending, and manufacturer-specific code rather than focusing only on the knock sensor code. Other codes can reveal an underlying problem that should be diagnosed first.
Freeze-frame data can also help. It records operating conditions from around the time a fault was detected, such as engine speed, load, temperature, and other parameters supported by the vehicle. This information can help you determine whether the fault occurs under a particular operating condition.
Do not clear the code immediately if you have not recorded the diagnostic information. Clearing it can erase useful information and may make an intermittent problem harder to reproduce.
Next, identify the exact knock sensor named by the diagnostic code. On a V-engine, bank and sensor numbering matter. Do not assume that the sensor closest to the top of the engine is the one named by the code.
Source: weldingtroop.com
Confirm the code
Verify the exact DTC and determine whether it is current, pending, or stored.
Record other codes
Related ignition, fuel, timing, or engine-control codes can change the diagnostic direction.
Save freeze-frame information
Record available operating conditions before clearing the code.
Check vehicle-specific information
Use the factory service manual or a reliable repair database for sensor location, wiring diagrams, specifications, and test procedures.
Why You Should Not Replace the Sensor Immediately
A circuit code can be caused by an open wire, short circuit, damaged connector, corrosion, poor terminal contact, or another electrical problem. Replacing the sensor without checking those items can leave the original fault untouched.
Vehicle-specific service information can also reveal known wiring concerns or software-related repairs. For example, manufacturer service information has documented cases where a knock sensor code was associated with wiring changes or engine control module software rather than a simple sensor replacement.
Avoid parts swapping
Replace a component because testing points to it, not simply because its name appears in the trouble code.
Look for technical service information
A manufacturer bulletin may provide a model-specific diagnostic or repair procedure.
Inspect the Knock Sensor Wiring and Connector
The wiring and connector are among the first physical items to inspect because a knock sensor cannot send a reliable signal if its circuit is damaged. With the engine off and the vehicle safely secured, locate the sensor and follow its harness as far as practical.
Look for broken insulation, stretched wires, chafing, melted sections, oil contamination, corrosion, loose terminals, damaged locking tabs, or evidence of previous repairs. Pay particular attention to areas where the harness contacts brackets, engine components, exhaust heat, or sharp edges.
Disconnect electrical connectors only when appropriate for the vehicle and with the ignition switched off. Inspect the terminals without forcing them or spreading them with unsuitable tools. A connector that looks clean externally can still have poor terminal tension or an intermittent internal connection.
A visual inspection is not always enough. An intact-looking wire can have an internal break, and a circuit can have continuity while still failing under load or vibration. Electrical tests should follow the vehicle’s wiring diagram and diagnostic procedure.
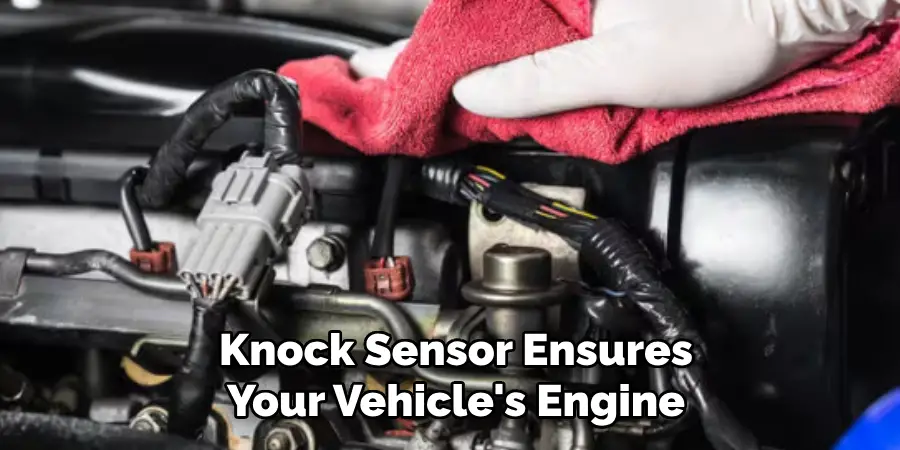
Source: ricksfreeautorepairadvice.com
Inspect the harness
Check for chafing, cuts, melted insulation, broken conductors, and previous repairs.
Inspect the connector
Look for corrosion, moisture, damaged locks, pushed-out terminals, and poor terminal condition.
Check circuit continuity
Use the wiring diagram and manufacturer’s procedure to check the relevant circuit between the sensor and control module.
Check for unintended shorts
Test for shorts to ground, power, or other circuits when the service procedure calls for those checks.
Repair Wiring Before Replacing Good Parts
If testing identifies a damaged conductor or terminal, repair it according to the vehicle manufacturer’s wiring repair procedure. Use appropriate automotive-grade repair methods and protect the harness from renewed chafing or heat damage.
After a wiring repair, repeat the relevant circuit tests before replacing the sensor. The goal is to prove that the circuit now meets the specified electrical requirements.
Do not guess wire locations
Use the correct wiring diagram because wire colors and connector pin assignments vary by vehicle.
Protect repaired wiring
Route and secure the repaired harness so it does not rub against moving, hot, or sharp components.
Test the Knock Sensor Before Replacing It
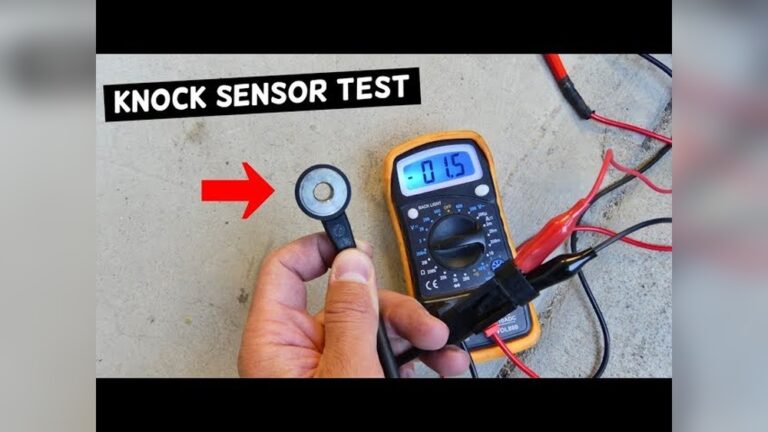
If the wiring and connector pass inspection, test the knock sensor using the procedure specified for your vehicle. Knock sensors can use different designs and electrical characteristics, so there is no single resistance value that applies to every vehicle.
Some manufacturer procedures call for a resistance test. Others may require checking circuit voltage, signal behavior, or the sensor waveform with appropriate diagnostic equipment. Follow the exact specifications for the engine rather than relying on a generic internet value.
An oscilloscope can be useful for certain diagnostic procedures because it can show the electrical signal produced by the sensor. However, do not strike the engine or sensor aggressively to create a test signal. If a service procedure calls for a controlled stimulus, follow its instructions exactly.
If the sensor fails the manufacturer’s specified test, replace it with a compatible component and follow the specified installation procedure. Sensor mounting can matter because incorrect contact, mounting, or tightening can affect how the sensor responds to engine vibration.
Source: thecarbuzz.com
Use the correct specification
Compare test results with the exact specification for the vehicle and engine.
Check the sensor circuit
Test the complete circuit when the service procedure requires it, rather than testing the sensor in isolation.
Replace a failed sensor
If testing confirms the sensor is defective, install the correct replacement using the specified procedure.
Follow torque requirements
Use the manufacturer’s tightening specification because sensor mounting can affect signal performance.
What If the New Knock Sensor Does Not Fix the Code?
If the code returns after a correctly installed replacement sensor, stop replacing sensors and continue the diagnosis. Recheck the connector, wiring, sensor mounting, and circuit tests. An unresolved harness problem can make a new sensor appear defective.
Also check for model-specific service information. Some vehicles have documented issues involving wiring, engine control module software, or other conditions that can produce a knock sensor fault. If the basic circuit checks pass and the code continues to return, professional diagnosis may be more efficient than replacing additional parts.
Recheck the repair
Confirm that the connector is fully seated, the wiring is correctly routed, and the sensor is installed according to specification.
Look for related faults
Additional codes may point toward an ignition, fuel, timing, or engine condition contributing to the problem.
Escalate when needed
Use advanced diagnostic equipment or a qualified technician when the circuit passes basic checks but the fault remains.
Clear the Code and Verify the Repair
Once the identified fault has been repaired, use the appropriate scan tool to clear the diagnostic trouble code if the vehicle’s service procedure permits it. Clearing the code does not repair the problem; it only removes the stored diagnostic information.
After clearing the code, operate the vehicle under safe and appropriate conditions and monitor the scan data or diagnostic status. Some monitors need specific conditions before they run, so the Check Engine light may not immediately prove that the repair is complete.
If the code returns, record the new code and conditions rather than repeatedly clearing it. A recurring fault means the underlying problem may still exist or the original diagnosis may have been incomplete.
A successful repair is supported when the original fault no longer returns under the conditions that previously triggered it and the vehicle completes the relevant diagnostic checks. Follow the manufacturer’s drive-cycle requirements when applicable.
Source: safetywish.com
Clear the DTC
Erase the code only after completing the repair and recording useful diagnostic information.
Check for returning codes
Rescan the vehicle after the repair to see whether the knock sensor fault returns.
Monitor readiness
Understand that clearing codes can reset emissions monitors, which may require additional driving before they report complete.
Stop if symptoms worsen
Severe engine knocking, major loss of power, overheating, flashing Check Engine light, or other serious symptoms require prompt professional assessment.
When You Should Use a Professional Repair Shop
Professional help is appropriate when the sensor is difficult to access, the circuit requires advanced testing, the engine has severe symptoms, or the code returns after basic repairs. Some knock sensors are located beneath intake components or in areas that require substantial disassembly.
A professional technician can use wiring diagrams, manufacturer diagnostic procedures, scan data, oscilloscopes, and other equipment to distinguish a sensor failure from a wiring or control-module problem. This can prevent unnecessary parts replacement.
Difficult sensor access
If significant engine disassembly is required, the risk of creating another problem may outweigh a simple DIY repair.
Persistent fault
A recurring code after a sensor and wiring repair needs deeper circuit and system diagnosis.
Serious engine symptoms
Persistent mechanical knocking, severe hesitation, overheating, or major power loss should not be treated as a simple sensor replacement.
Frequently Asked Questions
Q
Can I fix a knock sensor code without replacing the sensor?
Yes. A knock sensor code can result from damaged wiring, a poor connector connection, corrosion, incorrect installation, or another engine condition. If testing identifies a circuit problem, repairing that problem may resolve the code without replacing the sensor.
Q
Is P0325 always caused by a bad knock sensor?
No. P0325 generally identifies a knock sensor circuit malfunction, but the sensor is only one possible cause. Wiring faults, connector problems, installation issues, and vehicle-specific control-system problems can also produce the code.
Q
Can I drive with a knock sensor code?
It depends on the vehicle and its symptoms. Some vehicles may continue to drive with little noticeable change, while others may reduce engine performance or experience abnormal combustion. If the engine is making persistent knocking noises, the Check Engine light is flashing, or the vehicle has severe drivability problems, avoid continued driving until the cause is assessed.
Q
How do I test a knock sensor with a multimeter?
The exact procedure depends on the sensor and vehicle. Some systems specify a resistance test, while others require different electrical checks. Use the factory service information for the correct test points, meter settings, expected values, and conditions instead of applying a universal resistance number.
Q
Will clearing the knock sensor code fix the problem?
No. Clearing the code removes the stored diagnostic information but does not repair the underlying fault. If the problem remains, the control module will usually detect it again when the required diagnostic conditions occur.
Q
Why did my knock sensor code return after replacement?
A returning code can indicate a wiring or connector problem, incorrect sensor installation, an unsuitable replacement part, an unresolved engine condition, or a vehicle-specific issue that requires additional diagnosis. Repeating the same part replacement without testing the circuit is unlikely to identify the root cause.
✦ Wrapping Up
Conclusion
The most reliable way to fix a knock sensor code is to diagnose the complete circuit rather than automatically replacing the sensor. Confirm the exact DTC, record freeze-frame data, inspect the wiring and connector, perform the manufacturer-specified electrical and sensor tests, and repair the confirmed fault.
If the code returns after a properly performed repair, use the vehicle-specific service procedure and check for related engine or control-system problems. Because knock sensor locations and electrical specifications vary widely among U.S.-market vehicles, the manufacturer’s repair information should guide the final diagnosis.
💡 Key Takeaway
Start with the exact OBD-II code and wiring inspection, then test the knock sensor against your vehicle manufacturer’s specifications before buying replacement parts.
Ethan Brooks is an automotive writer at Auto News 7, covering car news, vehicle maintenance, new model updates, recalls, and practical buying guides. He focuses on clear, useful information that helps drivers understand their vehicles and make better ownership decisions.
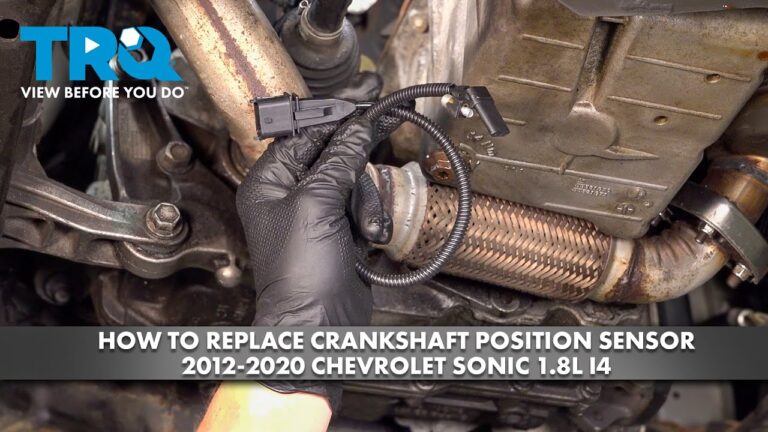
Learn how long to replace a crankshaft position sensor, what affects repair time, the typical replacement steps, and when professional service is needed.
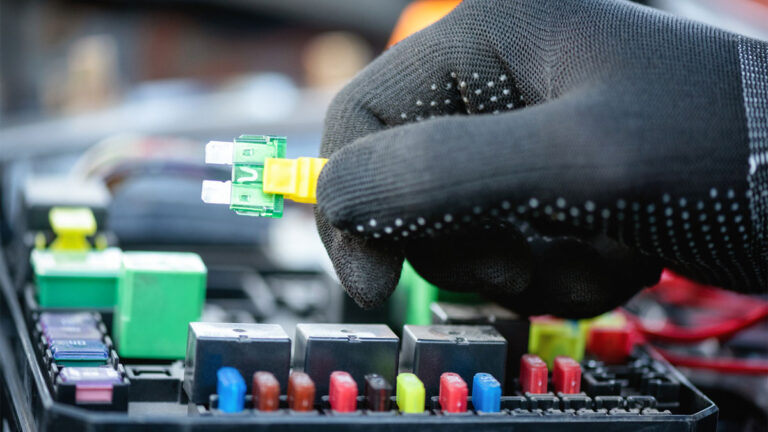
Learn whether there is a fuse for a camshaft position sensor, where to find it, how to diagnose related electrical problems, and what to check before replacing the sensor.