Most knock sensor replacements take about 1 to 3 hours, but difficult engines can require 4 to 6 hours or more.
For drivers in the United States, how long to replace a knock sensor depends mainly on where the sensor sits and how much of the engine must be removed to reach it. An easily accessible sensor on the engine block may take less than an hour, while a sensor beneath an intake manifold can turn the same repair into a multi-hour job.
The sensor itself is usually a small and straightforward component. The difficult part is access. Before replacing it, a technician should confirm that the sensor, connector, and wiring are actually causing the fault because a knock sensor trouble code does not automatically prove that the sensor has failed.
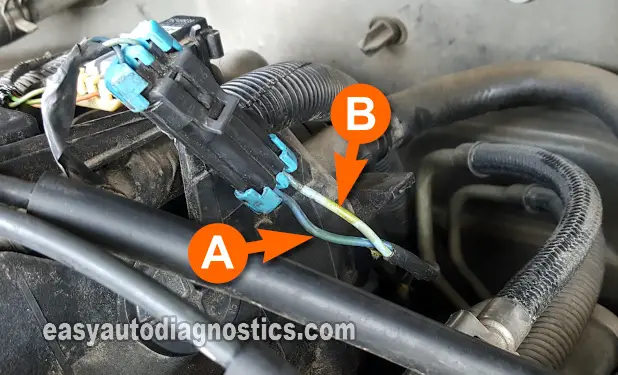
Source: autovehicleparts.com
How Long Does It Take to Replace a Knock Sensor?
For many vehicles, a professional knock sensor replacement takes roughly 1 to 3 hours. A sensor that is exposed and easy to reach can sometimes be replaced in about 30 minutes to 1 hour. A sensor hidden beneath an intake manifold or other major components can take several hours.
There is no single replacement time that applies to every car. Vehicle-specific service procedures can differ significantly even when two vehicles use similar engines. For example, some Toyota applications may require around an hour for an accessible sensor, while other engines can require more than two hours because the sensor is under the intake manifold.
Some V6 and V8 engines place knock sensors in the engine valley. Access may require removing the intake manifold and disconnecting multiple hoses, electrical connectors, or other components. On particularly difficult applications, published repair estimates can reach about 4 to 6 hours.
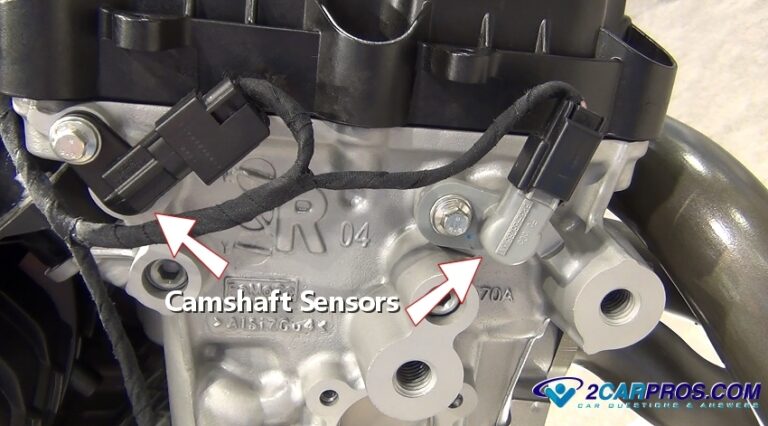
Source: safetywish.com
Easy access
About 30 minutes to 1 hour is possible when the sensor is mounted on an exposed area of the engine and no major components need to be removed.
Moderate access
About 1 to 3 hours is common when the technician must remove shields, ducting, brackets, or other smaller components.
Difficult access
About 3 to 6 hours or more may be required when the sensor sits under an intake manifold or deep inside the engine valley.
Why Replacement Times Vary So Much
Knock sensor replacement time is driven more by access than by the sensor itself. Removing one bolt and one electrical connector may be simple, but reaching that bolt can require substantial disassembly.
The vehicle’s engine design, sensor location, number of sensors, corrosion, and manufacturer procedure all affect the final labor time. A repair estimate based only on the part price can therefore be misleading.
Sensor location
An externally mounted sensor is usually faster to reach than one buried beneath an intake manifold.
Required disassembly
Removing an intake manifold, fuel system components, wiring, or other hardware adds labor and reassembly time.
Vehicle condition
Rust, seized fasteners, damaged connectors, and brittle hoses can make an otherwise routine repair take longer.
What Determines Knock Sensor Replacement Time?
The biggest factor is whether the technician can reach the sensor without removing major engine components. A knock sensor mounted directly on the side of the engine block may be relatively accessible. A sensor underneath an intake manifold can require much more work before the technician can even touch it.
The number of sensors also matters. Some engines use more than one knock sensor. If several sensors share the same difficult access point, replacing them during the same disassembly can make sense when the manufacturer’s procedure supports it.
Diagnostic time is separate from physical replacement time. A shop may need to inspect the wiring, connector, sensor signal, and related engine conditions before approving replacement. This prevents replacing a good sensor when another fault is responsible for the code.
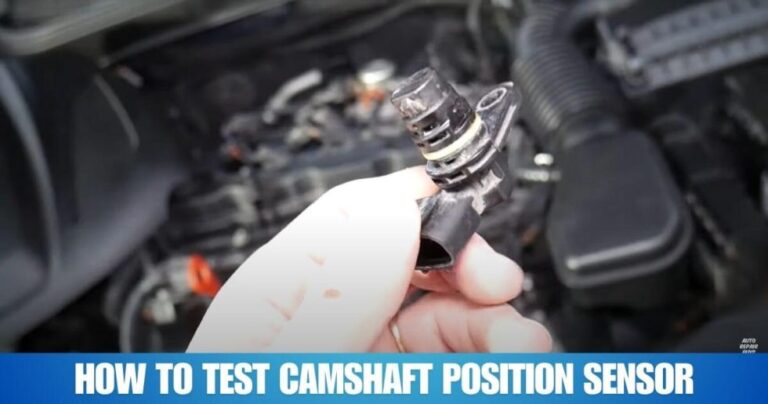
Source: mechanicsdiary.com
Engine configuration
Inline-four, V6, V8, turbocharged, and other engine layouts can place sensors in very different locations.
Sensor count
An engine with multiple knock sensors can require additional parts and testing, although shared access can reduce duplicated labor.
Manifold removal
Removing an intake manifold can turn a short sensor replacement into a multi-hour repair.
Wiring condition
A damaged harness or connector may require additional diagnostic and repair time instead of simple sensor replacement.
The Difference Between Labor Time and Total Shop Time
A quoted labor time is not always the same as the amount of time your vehicle remains at the shop. A repair order may also include diagnosis, vehicle intake, parts acquisition, additional inspection, testing, and a road test.
For example, a technician may need one hour of hands-on replacement labor but keep the vehicle longer because the shop must diagnose the fault first and confirm the repair afterward.
Diagnostic time
The technician confirms whether the sensor or another component is responsible for the fault.
Replacement time
This is the physical labor required to remove the old sensor and install the replacement.
Verification time
The technician checks for returning faults and confirms that the engine operates correctly after the repair.
What Is the Typical Knock Sensor Replacement Process?
A proper replacement begins with diagnosis rather than immediately installing a new sensor. The technician reads the diagnostic trouble codes, checks the wiring and connector, and considers other conditions that can produce similar symptoms or codes.
Once the sensor is confirmed as faulty, the technician identifies its exact location and follows the vehicle’s service procedure. Components blocking access are removed as needed, the old sensor is disconnected and removed, and the new sensor is installed using the manufacturer’s specified procedure.
The mounting method matters because knock sensors detect engine vibration. Incorrect mounting or torque can affect the signal and may lead to another fault. The exact torque specification should always come from the vehicle’s service information rather than a generic value.
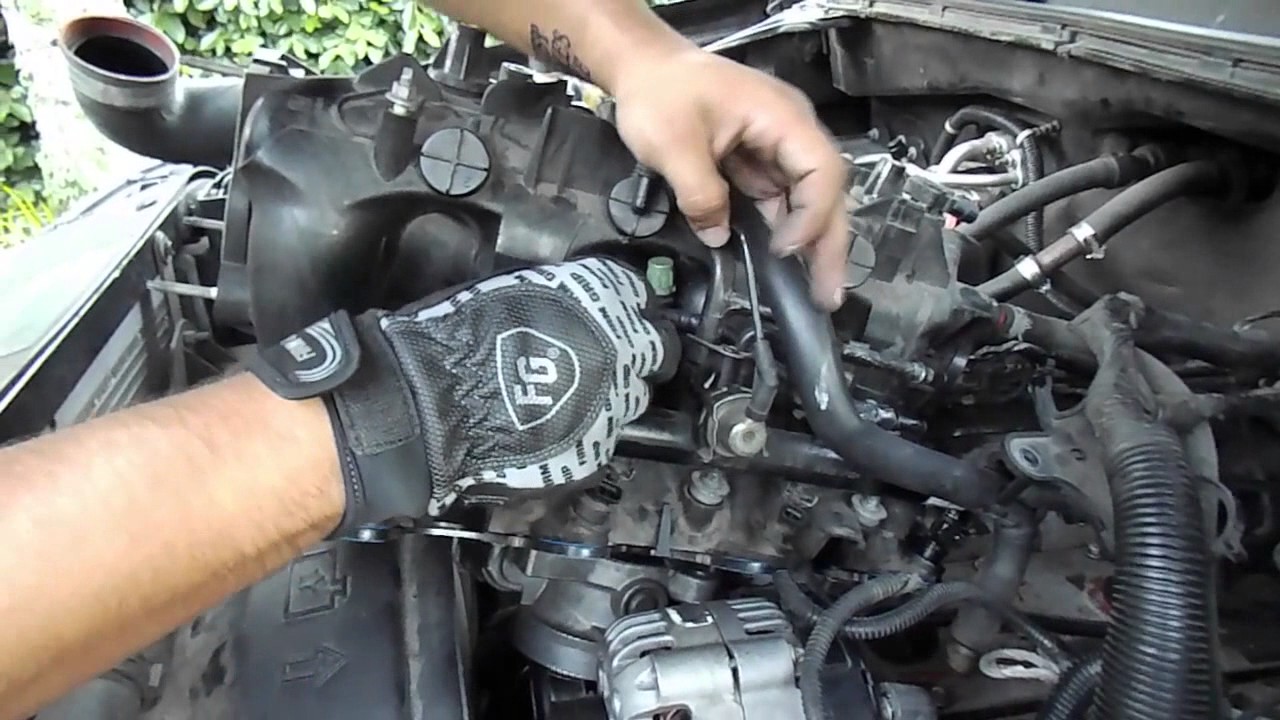
Source: i.ytimg.com
Step 1: Diagnose the fault
Read the codes and inspect the sensor circuit, wiring, connector, and related engine conditions.
Step 2: Locate the sensor
Determine whether the sensor is externally accessible or requires removal of other engine components.
Step 3: Gain access
Remove only the components required by the vehicle-specific repair procedure.
Step 4: Replace the sensor
Disconnect the old sensor, install the correct replacement, and tighten it according to the manufacturer’s specification.
Step 5: Reassemble and test
Reconnect all components, clear codes when appropriate, and perform any required verification or drive cycle.
Why the Manufacturer Procedure Matters
Knock sensor replacement procedures can differ substantially between vehicles. A manufacturer service bulletin for one Hyundai application, for example, specifies intake manifold removal before replacing the sensor and provides a vehicle-specific tightening procedure.
This is why a generic replacement time or generic torque value should not be used as the final instruction for a particular car. The exact year, engine, and model determine the correct procedure.
Use the correct part
Confirm the replacement sensor matches the vehicle’s exact application.
Follow the service procedure
Use the manufacturer’s documented removal, installation, and torque instructions.
Replace related components when required
Some procedures require new gaskets or other parts when access components are removed.
Can a Knock Sensor Be Replaced in Under an Hour?
Yes, some knock sensors can be replaced in under an hour when the sensor is easy to reach. The short time applies to the physical replacement, not necessarily the entire diagnostic and repair visit.
An accessible sensor may require little more than disconnecting the electrical connector, removing the mounting fastener, installing the new sensor, reconnecting the wiring, and completing the required checks. The exact steps still depend on the vehicle.
Do not assume that a short replacement time applies to your vehicle because another car uses a similar sensor. Sensor location can differ dramatically between engine families.
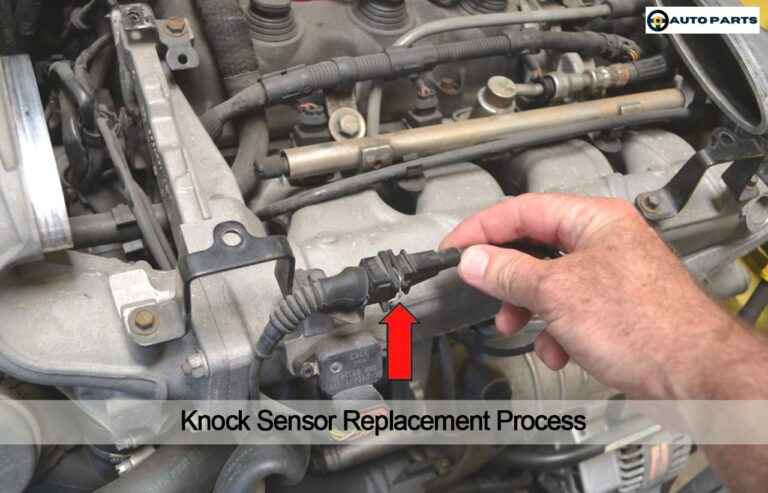
Source: i.ytimg.com
Good candidate for a short repair
The sensor is visible, accessible from above or below, and does not require major component removal.
Expect more time
The sensor is beneath an intake manifold, inside a tight engine valley, or surrounded by components that must be removed.
When a Quick Job Becomes a Long Job
A repair can take longer than expected when a fastener is corroded, a connector is damaged, a hose breaks during removal, or additional wiring problems are discovered. On older vehicles, restricted access can also make a simple fastener difficult to reach.
If the technician discovers that the wiring harness rather than the sensor is defective, the repair scope changes. The additional diagnostic and electrical work should be explained before further repairs are performed.
Corrosion
Rust or seized hardware can increase removal time and create a risk of damaging surrounding components.
Broken connectors
A damaged electrical connector may require connector or harness repair.
Unexpected access problems
Tight clearances can require additional disassembly even when the basic sensor replacement looks simple.
How Long Does a Knock Sensor Replacement Take Under an Intake Manifold?
A knock sensor located under an intake manifold can require roughly 2 to 6 hours of labor, with some especially difficult applications taking longer. The sensor itself may still be a simple component, but the technician must first remove and later reinstall the parts blocking access.
The work may involve disconnecting electrical connectors, vacuum lines, intake components, and other hardware. Depending on the vehicle, replacement gaskets or additional parts may also be needed during reassembly.
A documented Hyundai service bulletin illustrates why vehicle-specific information matters: the procedure requires intake manifold removal to access the knock sensor, while also identifying components that do not need to be removed for that particular repair.
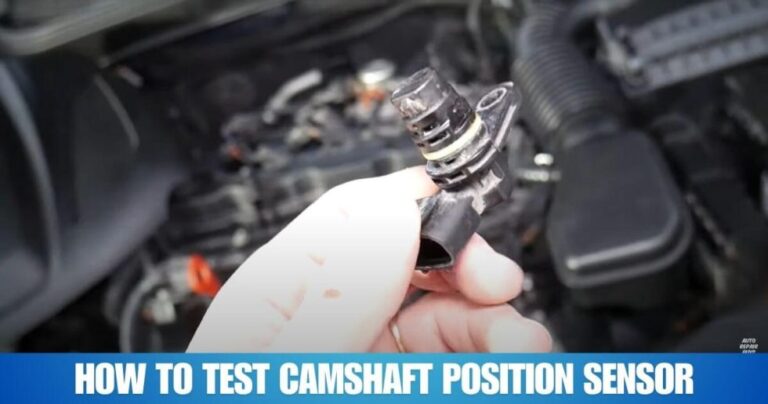
Source: i.ytimg.com
Typical access work
The technician removes the components necessary to expose the sensor without disturbing unrelated parts.
Sensor replacement
Once accessible, the technician disconnects and removes the sensor and installs the replacement.
Reassembly
Removed components must be reinstalled correctly, with required gaskets, connections, and fasteners restored.
Final testing
The vehicle is checked for trouble codes, leaks, abnormal operation, and any manufacturer-required relearn or drive-cycle conditions.
Why Intake Manifold Removal Adds So Much Time
The intake manifold is not difficult because it is part of the knock sensor. It is difficult because it blocks physical access to the sensor. Every component that must be removed creates another step during both disassembly and reassembly.
A technician also has to protect against vacuum leaks, disconnected wiring, incorrect hose routing, and other assembly problems. That additional work explains why two vehicles with similar-looking sensors can have very different labor estimates.
More fasteners
Additional components mean more fasteners and connections must be removed and restored.
More connections
Vacuum lines, electrical connectors, and other connections must be identified and reinstalled correctly.
More opportunities for problems
Reassembly errors can cause vacuum leaks, warning lights, or other drivability problems.
How Much Does Knock Sensor Replacement Time Affect Cost?
Labor time is one of the main reasons knock sensor repair costs vary between vehicles. The part may be relatively inexpensive, but a difficult sensor location can require several hours of technician labor.
Current U.S. repair estimates illustrate this variation. RepairPal’s September 2026 estimate places the average knock sensor replacement at about $417 to $589 overall, with labor accounting for roughly $291 to $427. These figures are broad estimates and vary by vehicle and location.
A vehicle with an accessible sensor can therefore cost much less to repair than a vehicle requiring intake manifold removal. Before approving work, ask the shop whether the quoted labor includes diagnosis, sensor replacement, required gaskets, code clearing, and final testing.
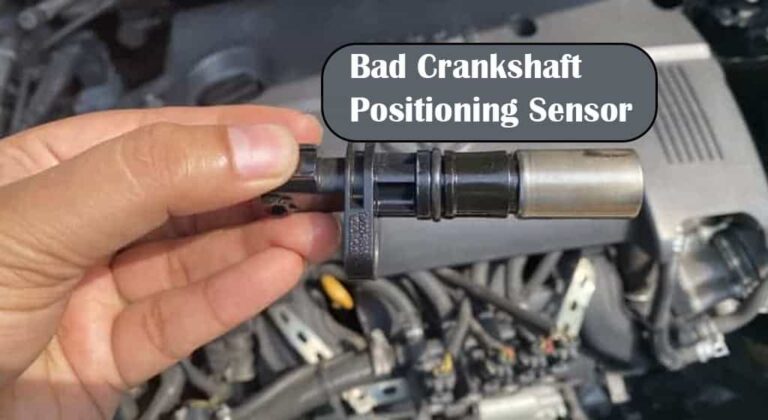
Source: i.ytimg.com
Part cost
The replacement sensor is only one portion of the repair bill.
Labor cost
The number of labor hours and the shop’s hourly rate can have a major effect on the total.
Additional parts
Gaskets, connectors, wiring, or other components may be needed if the vehicle-specific procedure requires them.
Diagnosis
Testing the circuit and confirming the fault can add time before the sensor is replaced.
Questions to Ask Before Approving the Repair
A clear estimate should explain why the repair requires the quoted number of hours. This is especially useful when the labor estimate seems high compared with the price of the sensor itself.
Ask whether the technician confirmed the sensor is defective or whether the diagnosis only identified a knock sensor-related trouble code. This distinction can prevent unnecessary parts replacement.
Where is the sensor located?
The answer explains whether the repair is likely to be straightforward or labor-intensive.
How many labor hours are estimated?
This lets you compare the quote with the vehicle-specific procedure.
Was the wiring tested?
A wiring or connector fault can produce a sensor-related code without requiring sensor replacement.
Are additional parts required?
Ask whether intake gaskets or other components are included in the estimate.
Should You Replace a Knock Sensor Yourself?
A DIY knock sensor replacement can be reasonable when the sensor is easily accessible and you have the correct tools and vehicle-specific instructions. The job becomes much less suitable for a beginner when access requires removing an intake manifold or working around fuel-system components.
The most important DIY step is accurate diagnosis. A knock sensor code can have causes other than a failed sensor, including wiring faults and engine conditions that affect the sensor signal. Replacing the part without confirming the cause can leave the original problem unresolved.
If the repair requires opening or moving fuel-system components, follow the manufacturer’s safety procedure. If you are not comfortable with the required disassembly or torque specifications, professional service is the safer option.
Source: i.ytimg.com
Consider DIY work
The sensor is accessible, you have appropriate tools, and you can follow the exact service procedure for the vehicle.
Use professional service
The sensor is buried under major components, fuel-system work is involved, or diagnosis is uncertain.
Do not guess at torque
Use the vehicle manufacturer’s specified torque because knock sensor mounting affects how the sensor detects vibration.
Signs the Repair Was Successful
After the repair, the technician should verify that the original fault does not return and that the engine operates normally. Depending on the vehicle, the check engine light may need to be cleared and the vehicle may need to complete a specified drive cycle before all monitors become ready.
A successful replacement should also include a visual check for disconnected connectors, vacuum leaks, loose hardware, and other problems created during reassembly. If the same code returns, further diagnosis is needed rather than automatically installing another sensor.
No returning fault
The original diagnostic trouble code should not immediately return when the underlying problem has been corrected.
Normal engine operation
The engine should operate without new warning lights, abnormal noises, or obvious drivability problems.
Proper reassembly
All removed hoses, connectors, fasteners, and related components should be securely restored.
Frequently Asked Questions
Q
How long does it take a mechanic to replace a knock sensor?
Many replacements take about 1 to 3 hours, but the exact time depends on sensor accessibility. An exposed sensor can take less than an hour, while a sensor under an intake manifold can require several hours.
The shop may also need additional time for diagnosis and final testing.
Q
Can a knock sensor be replaced in 30 minutes?
Yes, some vehicles have easily accessible knock sensors that can be replaced quickly. Thirty minutes is more realistic for the physical replacement on a simple application than for the entire diagnostic visit.
Always check the vehicle-specific service procedure before assuming the repair will be this quick.
Q
Why does a knock sensor replacement take several hours?
The sensor may be located beneath an intake manifold or deep inside the engine valley. The technician must remove blocking components, replace the sensor, and then correctly reassemble everything.
Corrosion, damaged connectors, wiring problems, or additional required repairs can increase the time further.
Q
Does replacing a knock sensor require removing the intake manifold?
It depends on the vehicle. Some knock sensors are externally accessible, while others are located underneath the intake manifold.
The exact answer should come from the service procedure for your specific year, make, model, and engine.
Q
Is a knock sensor code always caused by a bad knock sensor?
No. A knock sensor-related diagnostic code can also result from wiring or connector problems and other engine conditions that affect the sensor signal.
A proper diagnosis should check the circuit and relevant engine conditions before the sensor is replaced.
Q
How long can you drive with a bad knock sensor?
There is no universal safe driving period because the consequences depend on the vehicle and the underlying problem. A failed sensor can prevent the engine control system from responding correctly to abnormal combustion.
If the engine is knocking audibly, running poorly, overheating, or showing other serious symptoms, avoid continued driving and have the vehicle inspected promptly.
Q
Should both knock sensors be replaced at the same time?
Not automatically. Whether both sensors should be replaced depends on the vehicle, the diagnostic findings, and the manufacturer’s procedure.
If two sensors share difficult access and the service procedure recommends replacing them together, doing both during the same disassembly may avoid repeating substantial labor.
✦ Wrapping Up
Conclusion
The answer to how long to replace a knock sensor depends primarily on accessibility. A simple replacement may take about 30 minutes to 1 hour, while a typical moderate repair can take 1 to 3 hours and a buried sensor can require 4 to 6 hours or more.
Before approving the repair, confirm the exact sensor location, estimated labor time, diagnostic findings, and any additional parts required. The most reliable estimate comes from the service procedure for your specific vehicle rather than a generic replacement time.
💡 Key Takeaway
Check your vehicle’s exact year, engine, and knock sensor location, then ask the repair shop for a diagnosis-based labor estimate before authorizing replacement.
Ethan Brooks is an automotive writer at Auto News 7, covering car news, vehicle maintenance, new model updates, recalls, and practical buying guides. He focuses on clear, useful information that helps drivers understand their vehicles and make better ownership decisions.
Learn how to replace knock sensor components safely with this step-by-step guide. Discover required tools, replacement procedures, common mistakes, troubleshooting tips, and signs of a successful repair.
Learn how many ohms a camshaft sensor should have, why resistance varies by sensor type, and how to test a camshaft position sensor accurately with a multimeter.
Learn what are symptoms of a bad crankshaft position sensor, including hard starting, stalling, misfires, poor acceleration, and check engine light warnings.
Learn how to test a GM knock sensor using a multimeter, scan tool, and practical diagnostic steps. Discover common symptoms, testing methods, and troubleshooting tips for Chevrolet, GMC, Cadillac, and Buick vehicles.
Learn how to fix a camshaft position sensor with step-by-step troubleshooting, testing, replacement instructions, common symptoms, costs, and repair tips.
Learn how to test a camshaft position sensor on Ford vehicles using a multimeter and scan tool. Follow a clear step-by-step process to diagnose sensor faults, wiring issues, and engine performance problems.