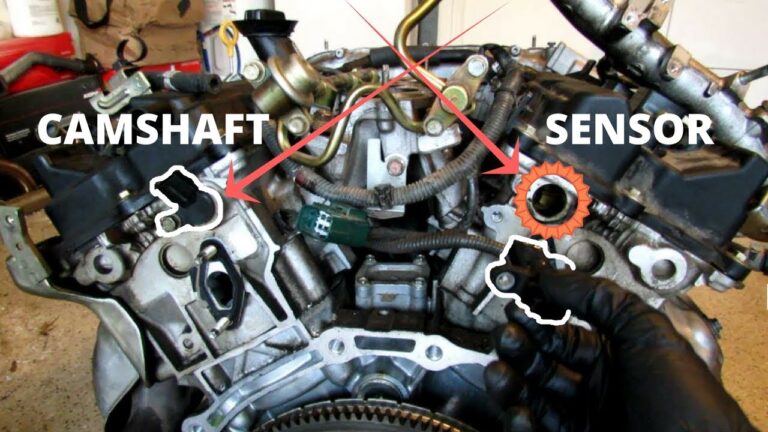
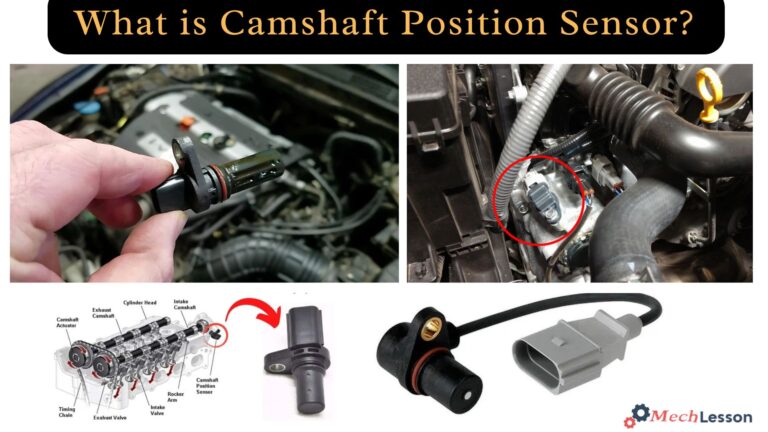
To fix a camshaft position sensor, diagnose the fault, inspect wiring and connectors, test the sensor, and replace it if it fails testing.
In the United States, camshaft position sensor problems are a common cause of check engine lights, hard starting, rough idling, and engine performance issues. Many drivers discover the problem after a diagnostic scan reveals a camshaft-related trouble code.
Learning how to fix camshaft position sensor issues starts with proper diagnosis. In some cases the sensor itself has failed, while in others the problem comes from damaged wiring, oil contamination, poor electrical connections, or timing-related faults. A systematic inspection can prevent unnecessary parts replacement.
Source: mechlesson.com
What Does a Camshaft Position Sensor Do?
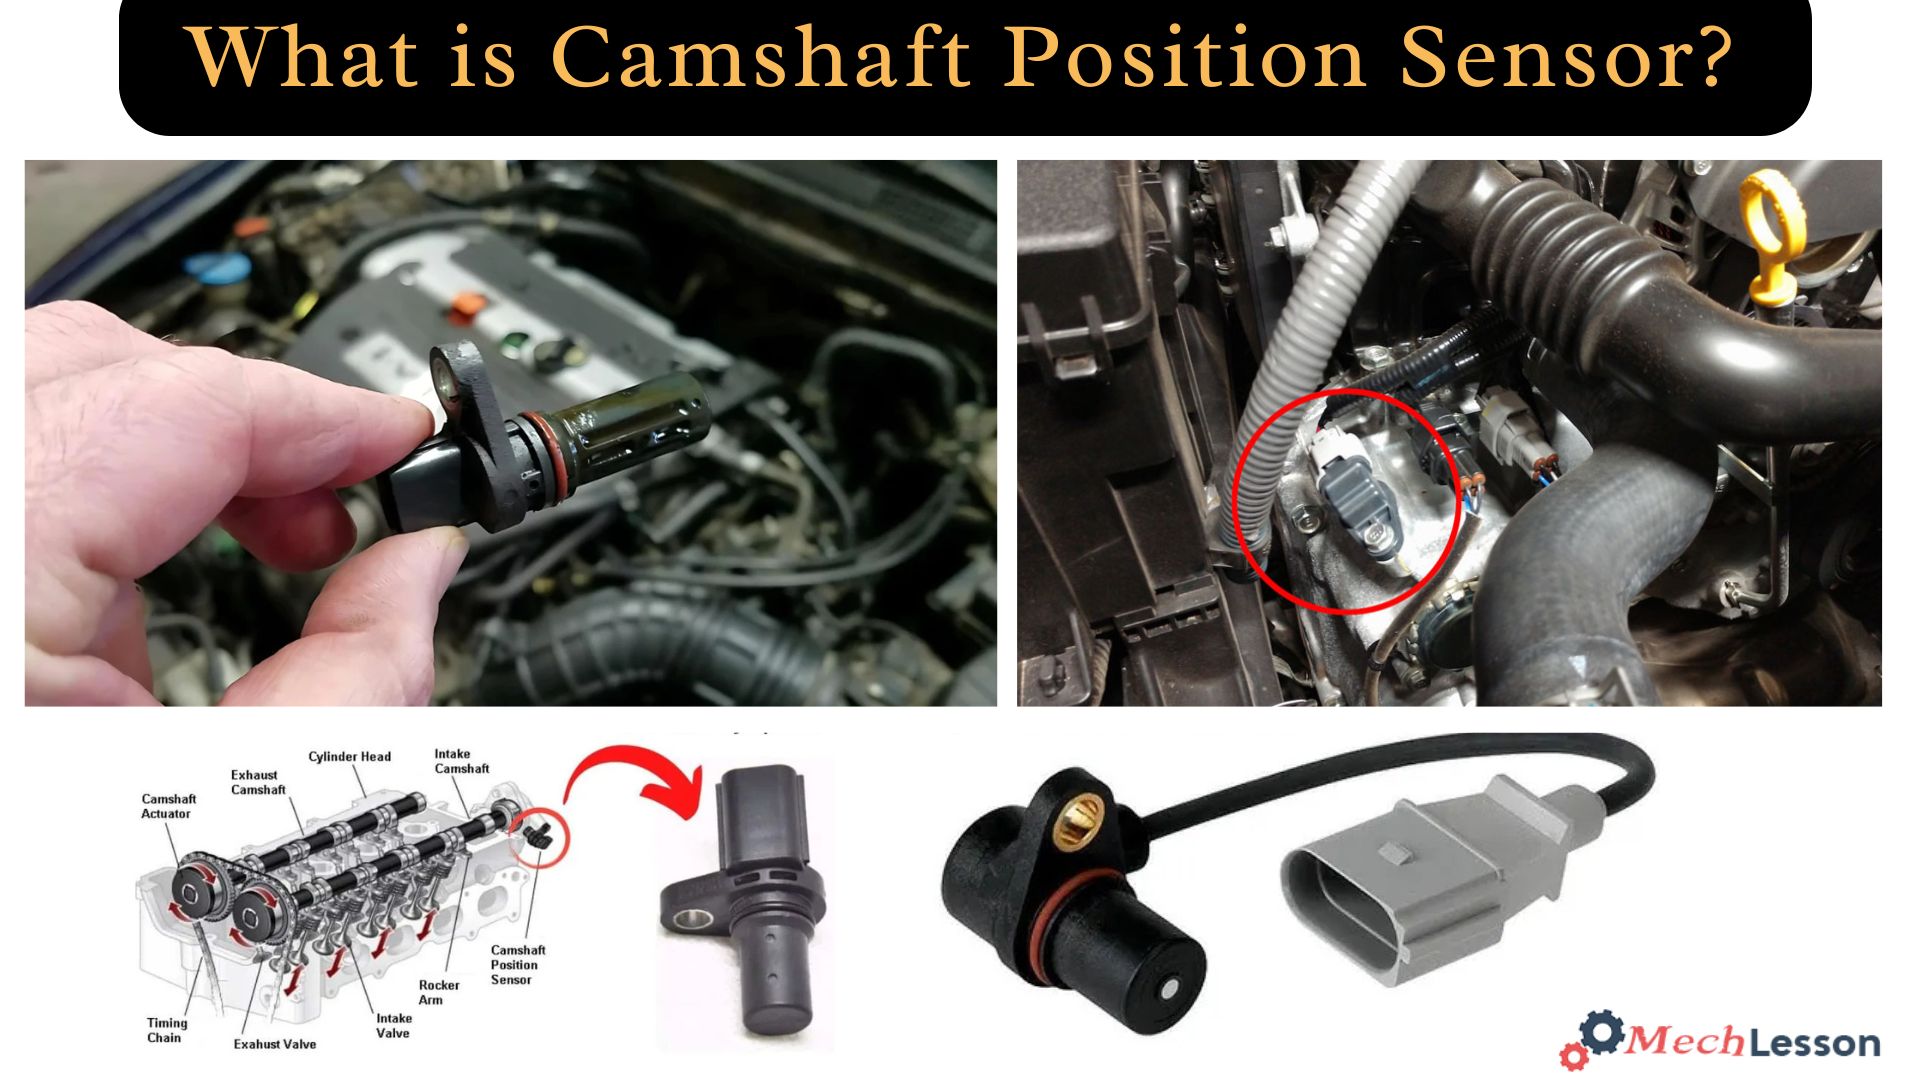
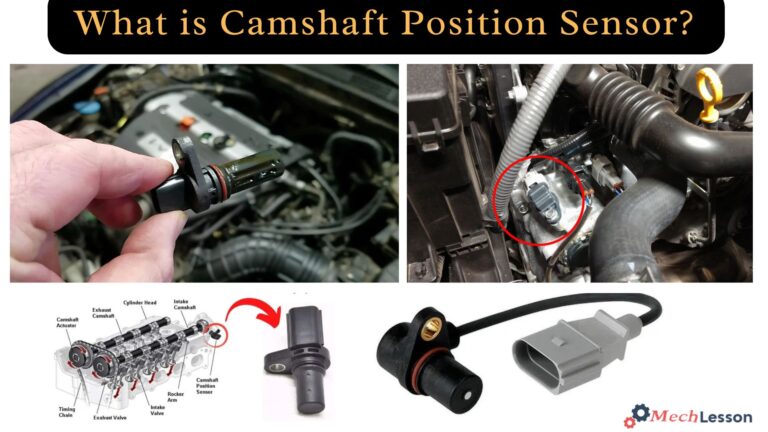
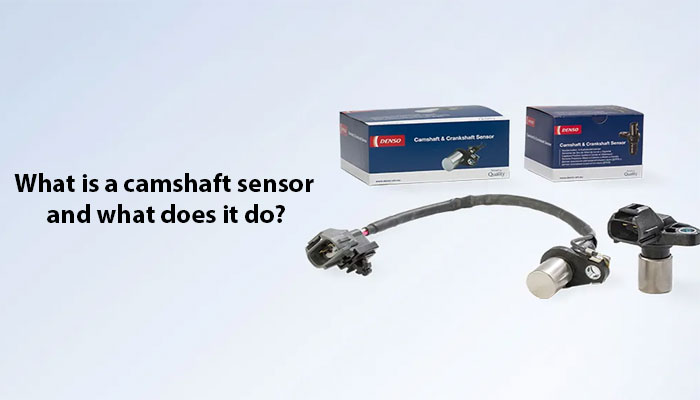
The camshaft position sensor monitors the position and speed of the camshaft. The engine control module uses this information to manage ignition timing, fuel injection timing, and engine performance.
When the sensor sends inaccurate signals or stops communicating, the engine may run poorly, misfire, stall, or fail to start. Understanding its function helps narrow down the correct repair.
Source: volgenpower.com
Primary role
Provides camshaft position data to the engine computer.
Engine timing
Helps synchronize fuel injection and ignition events.
Common Symptoms of Failure
Typical symptoms include a check engine light, hard starting, rough idle, reduced fuel economy, hesitation during acceleration, and intermittent stalling.
Warning sign
Check engine light accompanied by sensor-related diagnostic codes.
Tools and Prerequisites Before You Begin
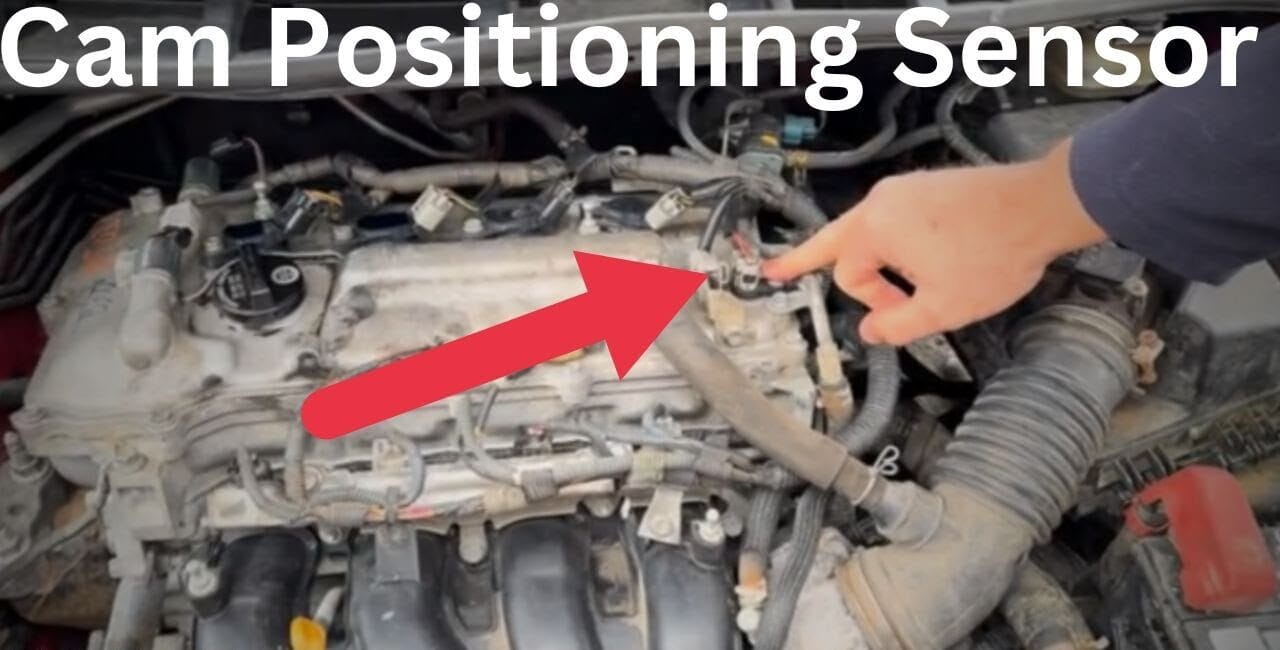
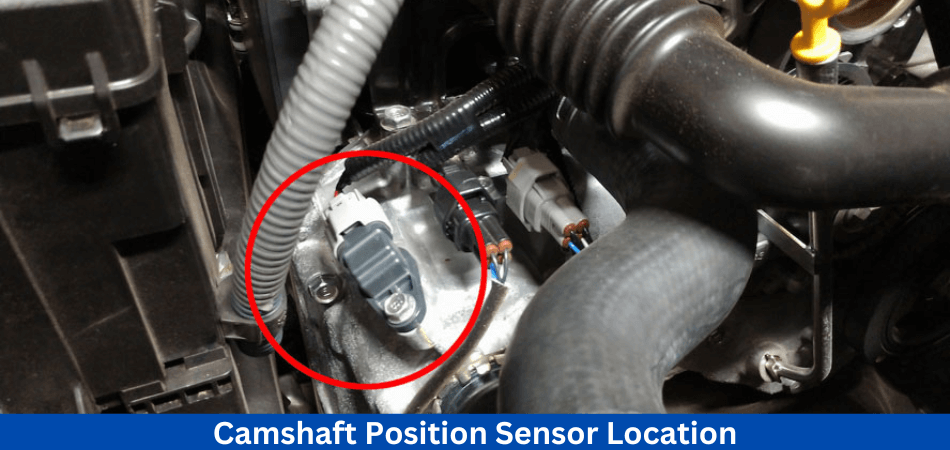
Before attempting how to fix camshaft position sensor problems, gather the necessary tools and confirm that you can safely access the sensor location.
Basic repairs generally require a scan tool, socket set, multimeter, safety gloves, and vehicle-specific repair information.
Source: storage.googleapis.com
OBD-II scanner
Reads and clears diagnostic trouble codes.
Digital multimeter
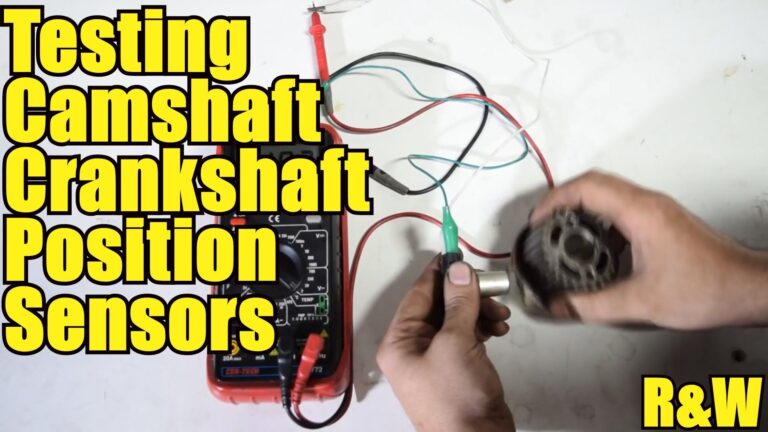
Tests voltage, continuity, and sensor circuits.
Safety equipment
Protects against burns and electrical hazards.
Safety First
Park on a level surface, engage the parking brake, and allow hot engine components to cool before working near the sensor.
Battery precaution
Disconnect the battery if required by the vehicle manufacturer.
Step-by-Step: How to Fix Camshaft Position Sensor Problems
Start with diagnosis rather than immediate replacement. Many sensor-related codes are caused by damaged wiring or poor connections.
Follow the troubleshooting sequence from simplest checks to more advanced inspections.
Source: youtube.com
Step 1
Scan the vehicle and record all diagnostic trouble codes.
Step 2
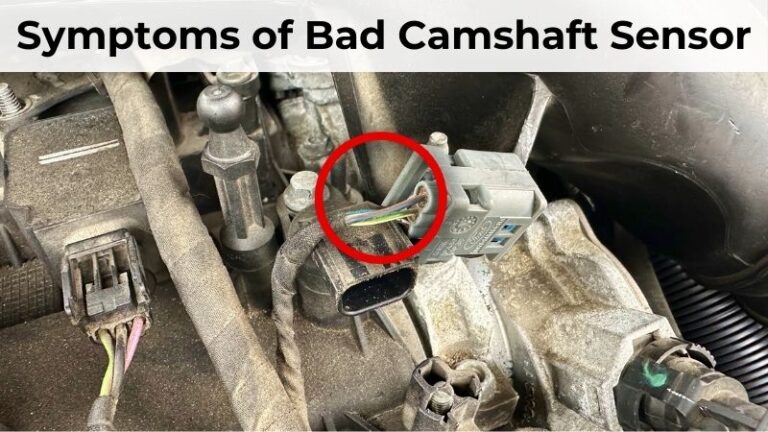
Inspect the sensor connector for corrosion, oil, moisture, or loose pins.
Step 3
Check wiring for cuts, melting, or rubbing damage.
Step 4
Verify power supply and ground using a multimeter.
Step 5
Replace the sensor if testing confirms failure.
Replacing the Sensor
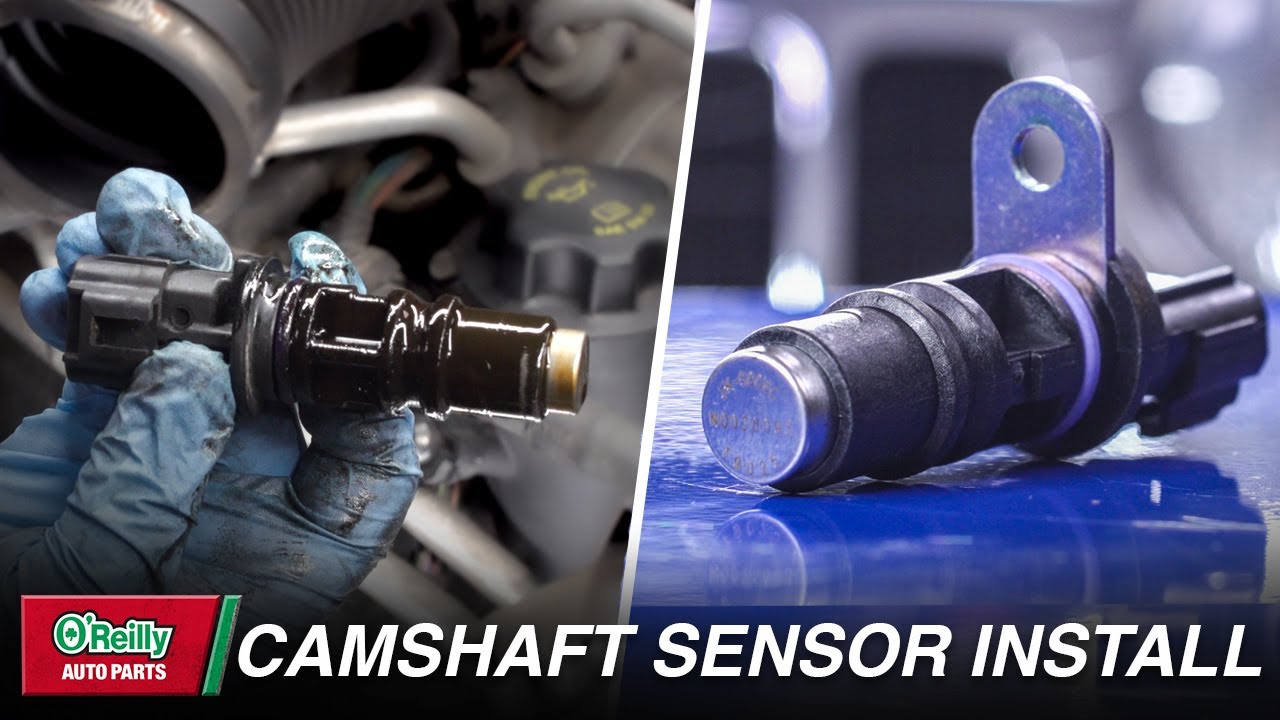
Disconnect the electrical connector, remove the retaining fastener, extract the old sensor, install the new sensor, and reconnect the wiring. Clear codes and test-drive the vehicle afterward.
Signs of success
No warning light, smooth operation, and no returning fault codes.
When the Repair Does Not Fix the Problem
If the same code returns after replacement, the root cause may be elsewhere. The engine computer can only report what it detects, not necessarily the failed component.
Persistent issues may indicate timing chain wear, damaged reluctor rings, wiring faults, or engine control module problems.
Source: smartvehiclecare.com
Timing issues
Stretched timing chains can affect camshaft synchronization.
Electrical faults
Broken wires can interrupt sensor signals.
Advanced Diagnostics
A professional technician may use a lab scope to compare camshaft and crankshaft signals and verify timing accuracy.
Professional help
Recommended when repeated failures occur after basic repairs.
Repair Cost and Decision Guide
The cost depends on vehicle make, model, sensor location, and labor requirements. Some sensors are easily accessible, while others require significant disassembly.
DIY replacement can reduce labor costs, but professional diagnosis may save money if the issue involves timing components or complex electrical faults.
Source: hitchesguide.com
DIY approach
Suitable when the sensor is accessible and diagnostic results are clear.
Professional repair
Best for complex timing or wiring issues.
When to Replace Instead of Repair
A sensor that fails electrical testing or has physical damage should generally be replaced rather than repaired.
Replacement trigger
Failed signal output or internal sensor damage.
Common Mistakes to Avoid
Replacing the sensor without scanning for codes is one of the most common mistakes. This can waste time and money if the real issue is elsewhere.
Another mistake is ignoring connector contamination. Oil leaks near the sensor can interfere with electrical connections and create intermittent faults.
Source: troubleshootinglab.com
Skipping diagnosis
Can lead to unnecessary parts replacement.
Ignoring wiring
Damaged wiring often causes the same symptoms as a bad sensor.
Forgetting to clear codes
Stored codes can remain after the repair is complete.
Final Verification
After repairs, clear all codes, perform a road test, and confirm that the warning light does not return.
Verification goal
Consistent engine performance with no recurring faults.
Frequently Asked Questions
Q
Can I drive with a bad camshaft position sensor?
Some vehicles can still operate with a faulty sensor, but performance may suffer. Continued driving can increase the risk of stalling, hard starts, or poor fuel economy.
Q
What trouble codes are commonly associated with camshaft position sensors?
Common codes include P0340, P0341, and related camshaft circuit or performance codes. Exact code definitions vary by vehicle manufacturer.
Q
How long does it take to replace a camshaft position sensor?
Many vehicles require less than an hour, but some designs place the sensor in hard-to-reach locations that increase labor time.
Q
Can a bad battery cause camshaft sensor codes?
Low voltage and electrical issues can sometimes trigger sensor-related codes. Electrical system testing should be part of the diagnostic process.
Q
Do I need to reset the computer after replacing the sensor?
Most vehicles benefit from clearing stored trouble codes with a scan tool. The engine control module can then monitor the new sensor correctly during operation.
✦ Wrapping Up
Conclusion
Understanding how to fix camshaft position sensor problems begins with proper diagnosis. Inspecting wiring, testing circuits, and confirming sensor failure before replacement can prevent unnecessary repairs.
When a new sensor does not solve the issue, investigate timing components, wiring integrity, and related engine management systems. A systematic approach delivers the most reliable results.
💡 Key Takeaway
Scan for codes, inspect wiring and connectors, test the sensor, replace it if necessary, and verify the repair with a road test and code scan.
Ethan Brooks is an automotive writer at Auto News 7, covering car news, vehicle maintenance, new model updates, recalls, and practical buying guides. He focuses on clear, useful information that helps drivers understand their vehicles and make better ownership decisions.
Learn how to check camshaft position sensor operation, wiring, voltage, and signal output. Follow this practical step-by-step guide to diagnose common camshaft sensor problems.