Replace a knock sensor by accessing the sensor, disconnecting it, installing a new unit, and clearing diagnostic codes.
Across the United States, a failed knock sensor is a common cause of check engine lights, reduced engine performance, and trouble codes such as P0325 through P0334. Replacing the sensor can often restore proper ignition timing and engine efficiency when the sensor itself is defective.
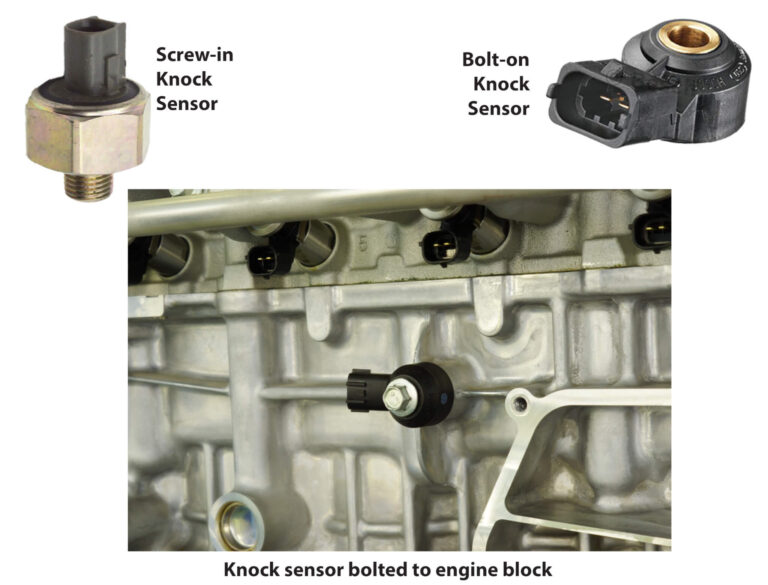
The exact procedure varies by vehicle. Some knock sensors are easy to access on the engine block, while others require removal of the intake manifold. Following the correct repair steps and torque specifications is critical for accurate sensor operation.
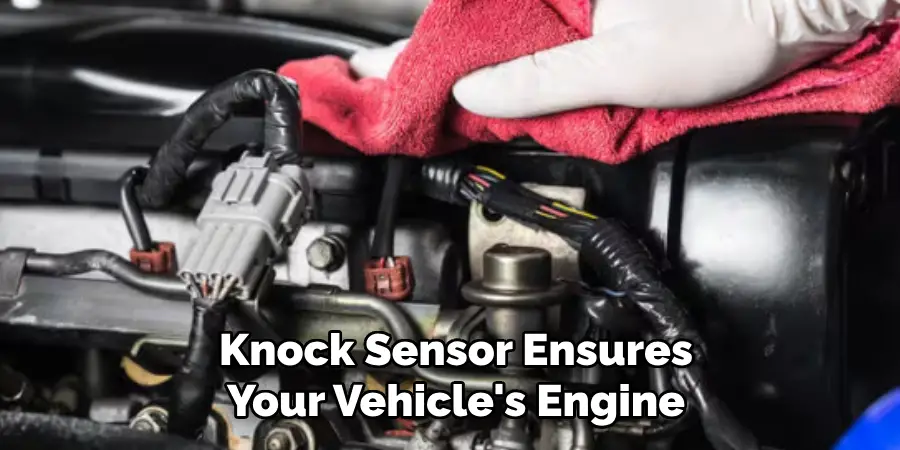
Source: nissankaengine.com
What Does a Knock Sensor Do?
A knock sensor detects abnormal combustion vibrations inside the engine. It sends this information to the engine control module, which adjusts ignition timing to protect the engine from damaging detonation.
When the sensor fails, the computer may use conservative timing settings. This can reduce engine power, fuel economy, and overall performance.
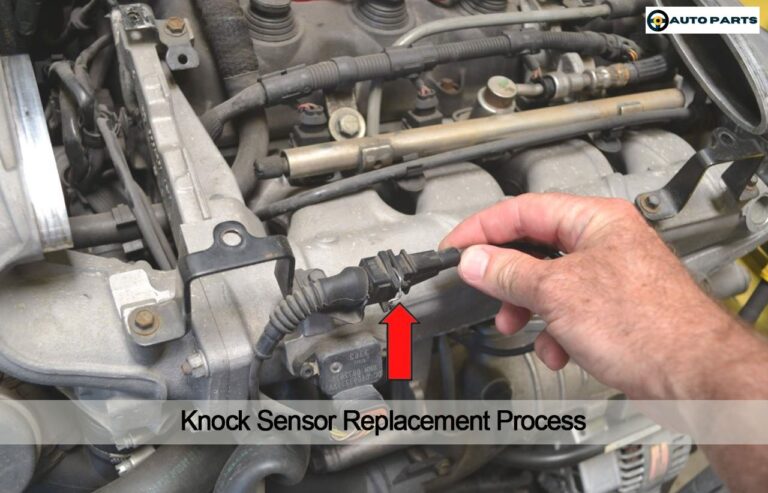
Source: safetywish.com
Primary Function
Detects engine knock and pinging before damage occurs.
Communication
Sends vibration signals to the engine control module.
Engine Protection
Helps prevent piston, bearing, and cylinder damage from detonation.
Common Symptoms of a Bad Knock Sensor
Common symptoms include an illuminated check engine light, reduced acceleration, poor fuel economy, engine hesitation, and stored knock sensor diagnostic trouble codes.
Check Engine Light
Often accompanied by knock sensor-related fault codes.
Reduced Performance
Engine timing may be retarded to prevent damage.
Tools and Parts Needed Before You Start
Gather all required tools before beginning the repair. The exact tools depend on vehicle design and sensor location.
Many engines require only basic hand tools, while others may require intake manifold removal and additional gaskets.
Source: storage.googleapis.com
Replacement Knock Sensor
Use a sensor designed for your vehicle’s engine.
Socket Set
Required for sensor and component removal.
Torque Wrench
Ensures proper sensor installation torque.
OBD-II Scanner
Used to verify and clear fault codes.
Safety Preparations
Park on a level surface, allow the engine to cool completely, and disconnect the negative battery terminal before beginning any repair work.
Cool Engine
Reduces risk of burns.
Battery Disconnection
Prevents electrical shorts and accidental faults.
How to Replace Knock Sensor Step by Step
The following process applies to most vehicles, although exact component locations vary by manufacturer and engine design.
Consult a factory service manual whenever possible for model-specific torque values and access procedures.
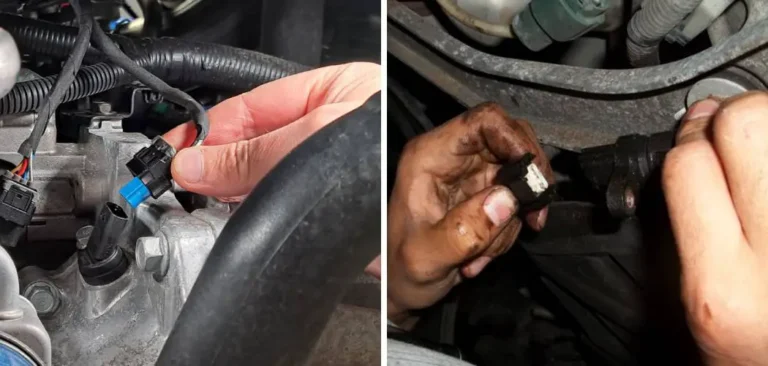
Source: www.youtube.com > Jay Can Fix It
Step 1
Scan the vehicle and confirm knock sensor fault codes.
Step 2
Disconnect the negative battery cable.
Step 3
Remove covers, intake components, or manifolds blocking access.
Step 4
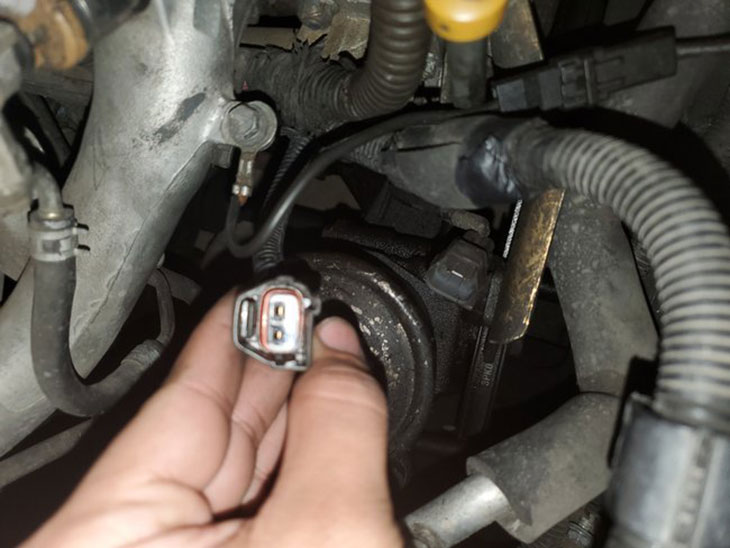
Locate and unplug the knock sensor connector.
Step 5
Remove the sensor retaining bolt.
Step 6
Install the new sensor and tighten to specification.
Step 7
Reconnect wiring and reinstall removed components.
Step 8
Reconnect the battery, clear codes, and perform a road test.
Signs the Replacement Was Successful
A successful repair usually results in no returning knock sensor codes, normal engine performance, smooth acceleration, and the absence of a check engine light after a complete drive cycle.
No Fault Codes
Diagnostic scanner shows no active knock sensor codes.
Improved Performance
Engine responds normally during acceleration.
Common Problems During Knock Sensor Replacement
Several issues can prevent a successful repair even after installing a new sensor. Wiring damage and connector corrosion are among the most common causes.
Some vehicles require replacement of the sensor harness along with the sensor because moisture or heat damage can affect signal quality.
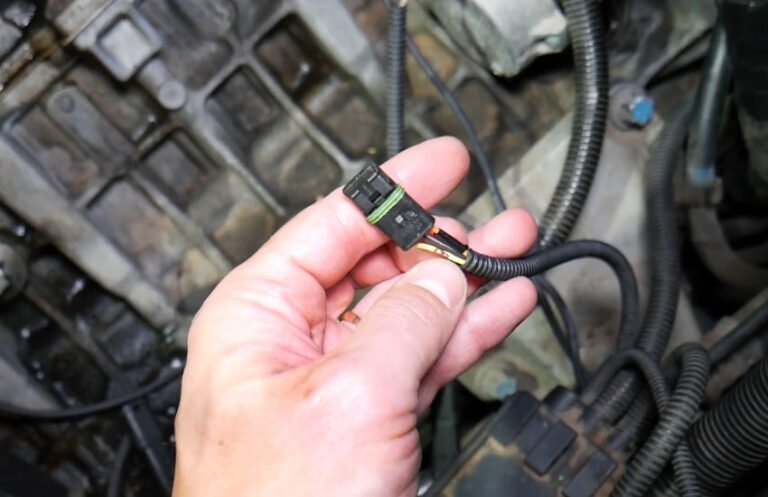
Source: 1aauto.com
Corroded Connector
Can cause sensor communication failures.
Damaged Wiring
Broken wires may trigger the same fault codes as a bad sensor.
Incorrect Torque
Overtightening or undertightening can affect sensor readings.
When the Check Engine Light Returns
If the fault returns, inspect the wiring harness, verify sensor compatibility, check engine ground connections, and confirm that the trouble code was accurately diagnosed.
Verify Wiring
Inspect for pinched, broken, or corroded wires.
Confirm Diagnosis
Rule out engine mechanical issues or computer faults.
Knock Sensor Replacement Time and Cost
Replacement time varies significantly by vehicle. Accessible sensors may take less than one hour, while engines requiring intake manifold removal can take several hours.
Parts are generally affordable, but labor costs increase when extensive disassembly is necessary.
Source: 1aauto.com
Easy Access Vehicles
Typically require less labor and lower repair costs.
Under-Intake Sensors
Often involve higher labor expenses due to additional disassembly.
DIY vs Professional Repair
DIY replacement can save labor costs if the sensor is easily accessible. Professional service is often recommended when intake manifold removal or advanced diagnostics are required.
DIY Advantage
Can reduce repair expenses.
Professional Advantage
Provides accurate diagnostics and proper installation.
Mistakes to Avoid When Replacing a Knock Sensor
Many replacement failures result from installation mistakes rather than defective parts. Following proper procedures improves repair success.
Always verify the cause of the fault code before purchasing replacement components.
Source: 1aauto.com
Skipping Diagnostics
A fault code does not always mean the sensor itself is bad.
Ignoring Wiring Damage
Damaged harnesses can cause repeated failures.
Wrong Torque
Improper torque can affect sensor sensitivity.
Low-Quality Parts
Inferior sensors may provide inaccurate readings.
When to Seek Professional Help
Seek professional assistance if access requires major engine disassembly, if multiple diagnostic codes are present, or if the check engine light returns after replacement.
Complex Engine Layout
Professional tools and procedures may be necessary.
Persistent Faults
Further diagnostics may be required.
Frequently Asked Questions
Q
Can I drive with a bad knock sensor?
Many vehicles remain drivable with a failed knock sensor, but engine performance and fuel economy may suffer. Extended operation could increase the risk of engine damage if detonation occurs undetected.
Q
Do I need to clear codes after replacing a knock sensor?
Yes. Clearing stored diagnostic trouble codes helps verify that the repair was successful and prevents old fault information from causing confusion during future diagnostics.
Q
Can a bad knock sensor cause poor fuel economy?
Yes. The engine control module may reduce ignition timing as a protective measure, which can lower fuel efficiency and overall performance.
Q
How long does it take to replace a knock sensor?
The job can take less than an hour on some vehicles or several hours on engines where the sensor is located beneath the intake manifold.
Q
Should I replace the wiring harness with the knock sensor?
If the harness shows signs of corrosion, heat damage, broken insulation, or connector wear, replacing it during the repair can help prevent recurring faults.
✦ Wrapping Up
Conclusion
Learning how to replace knock sensor components can save time and repair costs when the sensor is confirmed to be faulty. The process involves diagnosis, safe disassembly, correct installation, and post-repair verification.
A successful replacement restores accurate engine knock detection and helps maintain proper performance, efficiency, and engine protection. Always follow vehicle-specific service information and torque specifications.
💡 Key Takeaway
Confirm the fault with a scanner, inspect the wiring carefully, install the new sensor using the correct torque, and verify the repair with a road test.
Ethan Brooks is an automotive writer at Auto News 7, covering car news, vehicle maintenance, new model updates, recalls, and practical buying guides. He focuses on clear, useful information that helps drivers understand their vehicles and make better ownership decisions.
Learn how to remove crankshaft position sensor safely and correctly. Follow step-by-step instructions, tools needed, troubleshooting tips, and common mistakes to avoid.
Learn how to test a Toyota knock sensor using a multimeter, scan tool, and visual inspection. Follow a practical step-by-step process to diagnose knock sensor problems in Toyota vehicles.
Learn how to reset camshaft position sensor Ford vehicles after replacement or repairs. Follow safe troubleshooting steps, relearn procedures, and common fixes.
Learn whether camshaft and crankshaft sensors are interchangeable, how they differ, common symptoms of failure, compatibility concerns, and the correct replacement approach.