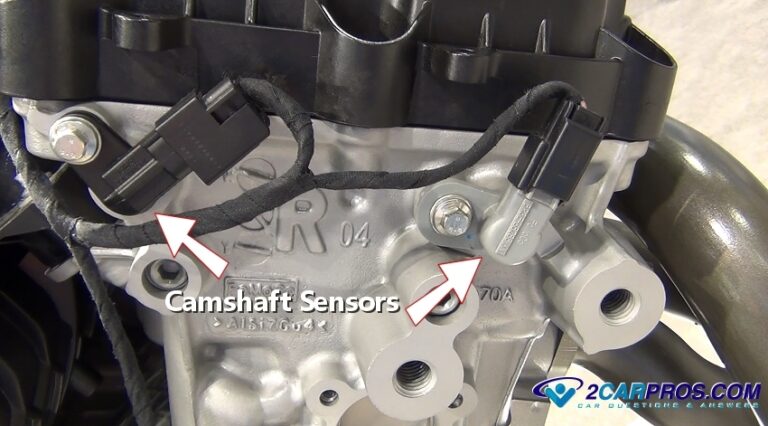
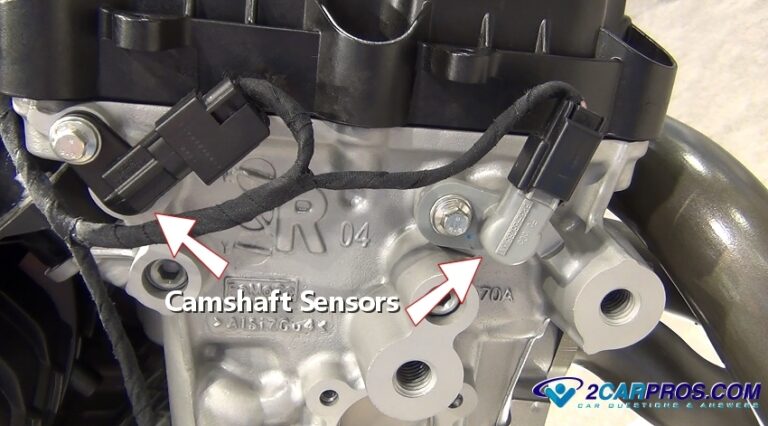
To replace a Bank 1 camshaft position sensor, locate the sensor, disconnect the battery, remove the electrical connector and mounting bolt, install the new sensor, and verify the repair with a scan tool.
Across the United States, a failed camshaft position sensor is a common cause of engine performance problems, hard starting, rough idle, and check engine lights. Many drivers can replace the Bank 1 sensor at home with basic hand tools and careful attention to safety.
The exact sensor location varies by vehicle make and engine design, but the overall replacement process is similar. Understanding how to replace camshaft position sensor bank 1 correctly can save diagnostic time and help restore proper engine timing data.
Source: ehcar.net
What Is a Bank 1 Camshaft Position Sensor?
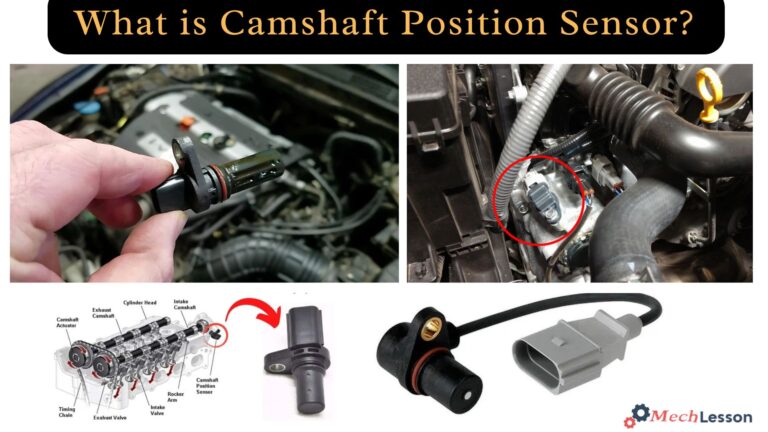
A camshaft position sensor monitors the position and speed of the camshaft and sends information to the engine control module. The computer uses this data to manage ignition timing, fuel injection, and variable valve timing systems.
Bank 1 refers to the side of a V-style engine that contains cylinder number one. Inline engines generally have only one bank, but they may still use multiple camshaft sensors depending on engine design.
Source: obdcode.org
Common Symptoms
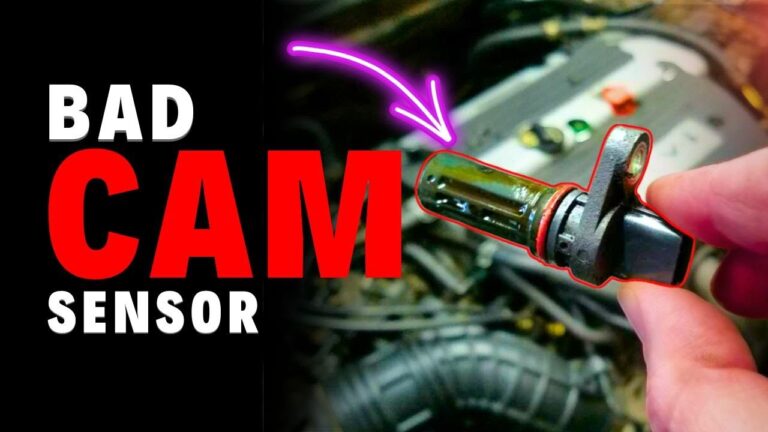
Check engine light, rough idle, misfires, stalling, poor acceleration, or hard starting.
Typical Fault Codes
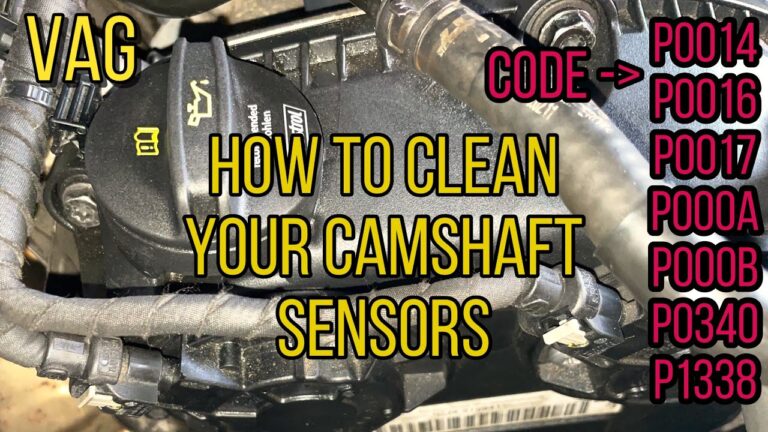
Codes such as P0340, P0341, P0345, and related camshaft sensor circuit faults may appear.
How to Identify Bank 1
Consult the service manual or engine diagram to locate cylinder number one. The side containing that cylinder is Bank 1.
Tip
Do not assume the driver side or passenger side is Bank 1 because engine layouts vary.
Tools and Preparation
Before beginning the repair, gather all necessary tools and verify that the replacement sensor matches your vehicle’s year, make, model, and engine.
Working on a cool engine reduces the risk of burns and makes sensor access easier.
Source: 2carpros.com
Required Tools
Socket set, ratchet, extension, screwdriver, safety gloves, and a scan tool if available.
Replacement Parts
New camshaft position sensor and any required O-ring or seal.
Safety Checklist
Park on a level surface, engage the parking brake, and disconnect the negative battery terminal before unplugging engine sensors.
Battery Safety
Disconnecting power helps prevent accidental shorts and electronic faults.
How to Replace Camshaft Position Sensor Bank 1 Step by Step
The replacement procedure is straightforward on most vehicles. Follow each step carefully and avoid forcing connectors or components.
If the sensor is difficult to access, remove any engine covers or intake components that block access according to your vehicle service information.
Source: youtube.com
Step 1
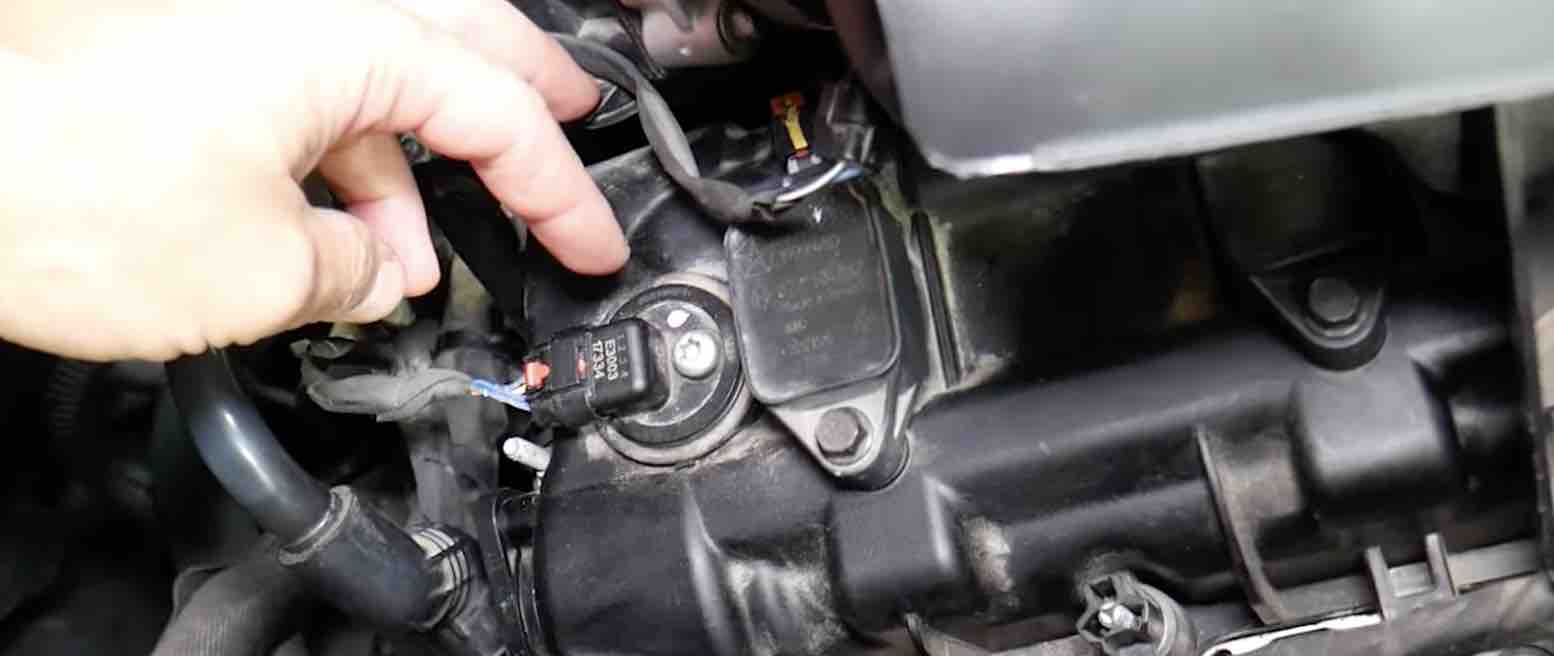
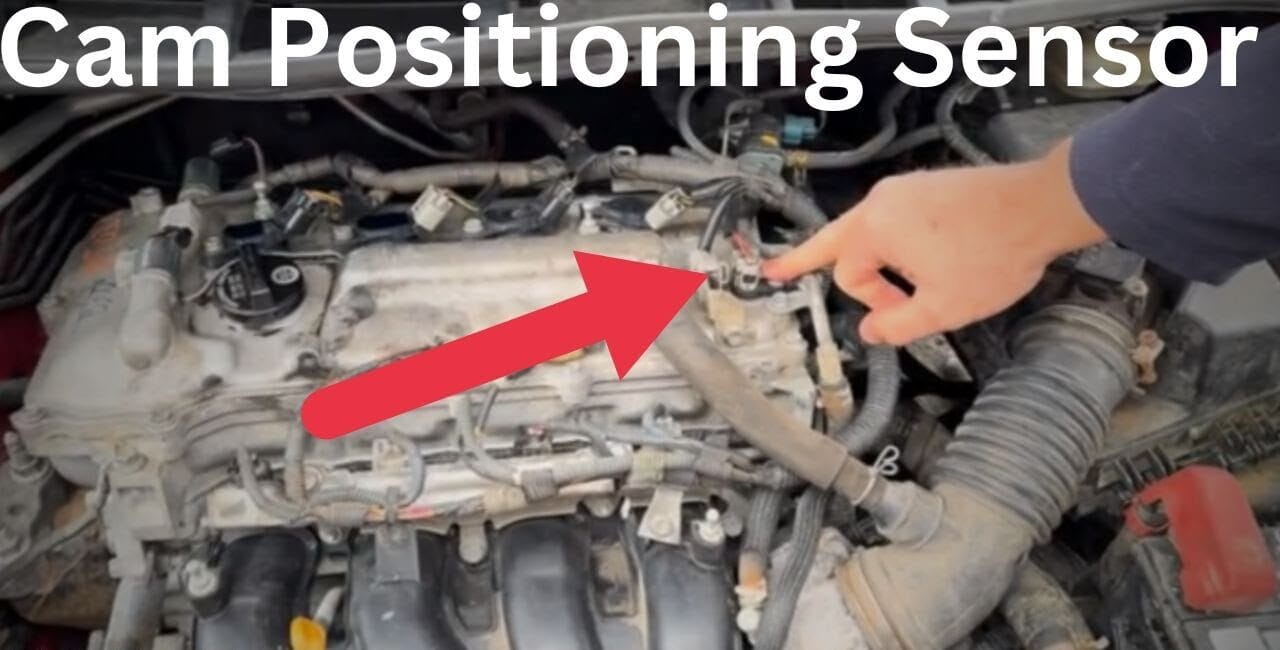
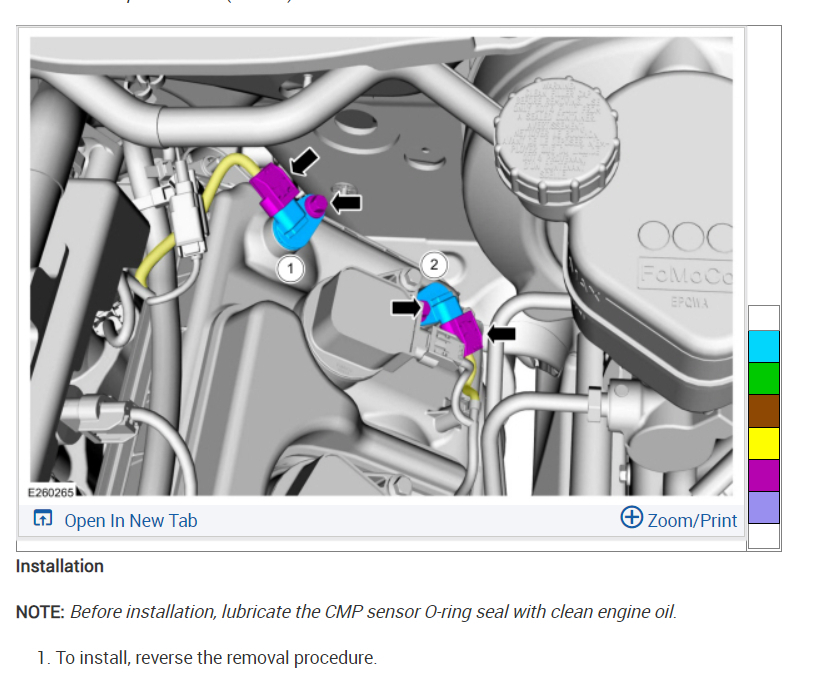
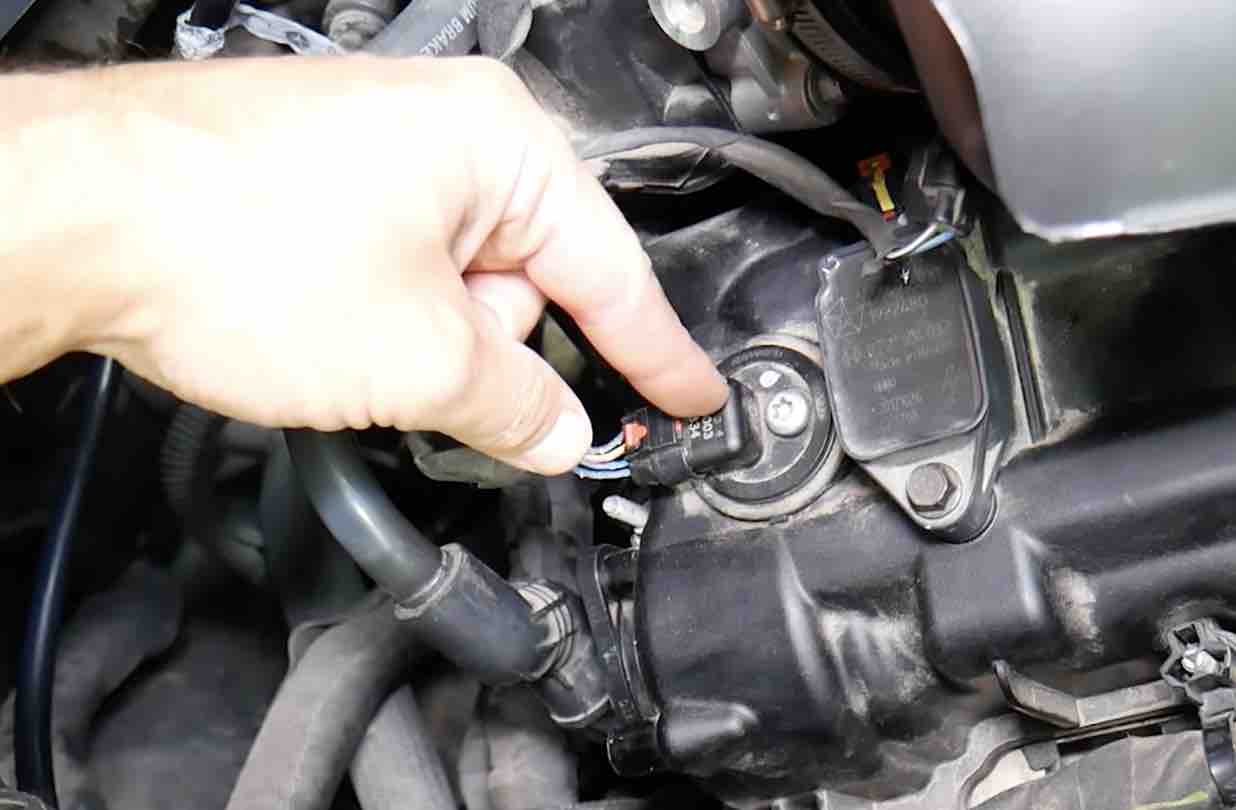
Locate the Bank 1 camshaft position sensor.
Step 2
Disconnect the electrical connector by releasing the locking tab.
Step 3
Remove the retaining bolt using the correct socket.
Step 4
Twist and pull the old sensor out carefully.
Step 5
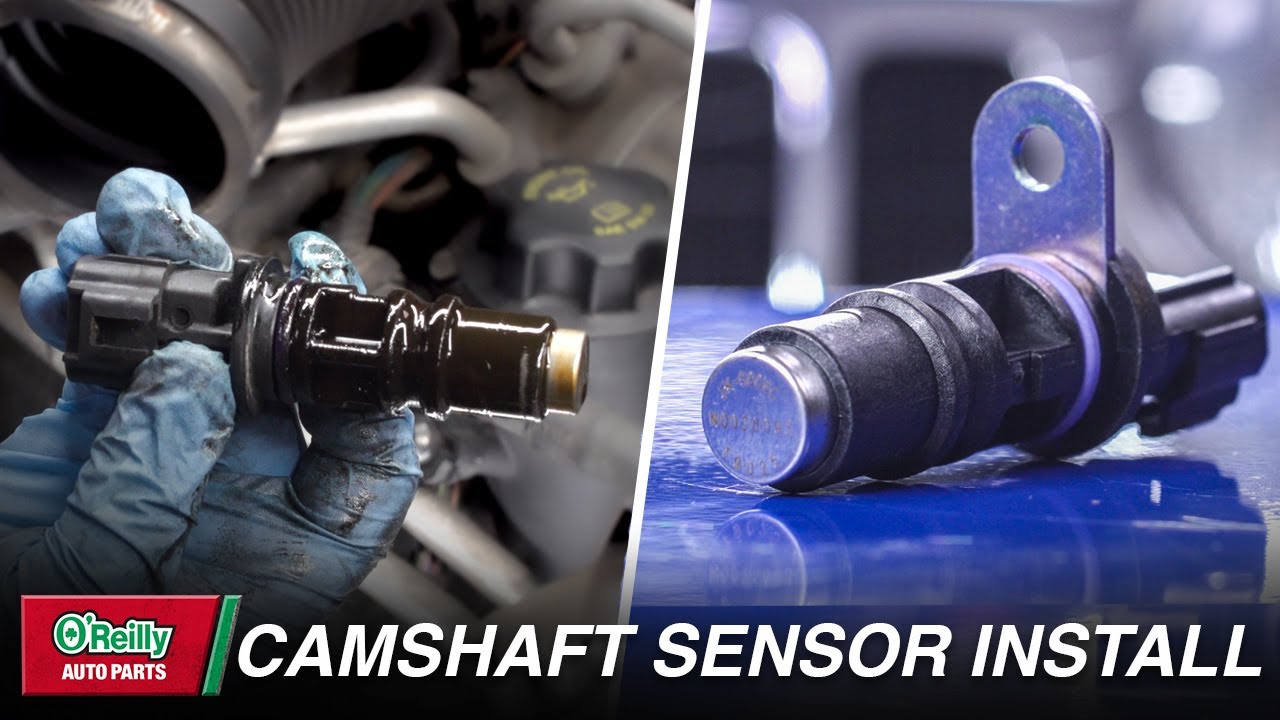
Lubricate the new O-ring lightly with clean engine oil if applicable.
Step 6
Install the new sensor and tighten the retaining bolt to specification.
Step 7
Reconnect the electrical connector and battery cable.
Signs of a Successful Installation
The engine starts normally, fault codes remain cleared, and drivability symptoms improve after a test drive.
Verification
Use a scan tool to confirm the sensor signal is being detected correctly.
Troubleshooting When Replacement Does Not Fix the Problem
A new sensor does not always solve a camshaft sensor fault. Wiring damage, connector corrosion, timing chain wear, or engine control module issues can trigger similar symptoms.
If the same code returns immediately, inspect the sensor circuit and related engine components before replacing additional parts.
Source: 2carpros.com
Check Wiring
Look for damaged insulation, broken wires, or loose terminals.
Inspect Timing Components
A stretched timing chain or timing issue can affect sensor readings.
Verify Sensor Quality
Incorrect or low-quality replacement sensors may create new faults.
When Professional Diagnosis Is Needed
Seek professional diagnostic testing if electrical testing, timing verification, or advanced scan tool analysis is required.
Advanced Testing
Oscilloscope testing can verify signal quality and sensor operation.
Common Mistakes to Avoid
Many replacement problems result from incorrect sensor identification or connector damage during installation.
Taking a few extra minutes to verify the correct part and location can prevent repeat repairs.
Source: ehcar.net
Wrong Sensor
Some engines use intake and exhaust camshaft sensors that look similar.
Damaged Connector
Forcing the connector can break locking tabs or terminals.
Ignoring Codes
Always scan and record fault codes before replacing parts.
Skipping Inspection
Check for oil contamination and wiring issues around the sensor.
Estimated Repair Time
Most Bank 1 camshaft position sensor replacements take between 15 minutes and 2 hours depending on accessibility.
Time Variable
Transverse engines and crowded engine bays generally require more labor.
Frequently Asked Questions
Q
Can I drive with a bad camshaft position sensor?
Some vehicles will continue running, but performance, fuel economy, and starting reliability may suffer. Continued driving can increase the risk of stalling or engine management problems.
Q
How do I know which side is Bank 1?
Bank 1 is the side of the engine that contains cylinder number one. Check a service manual or engine diagram for confirmation.
Q
Do I need to reset the computer after replacing the sensor?
Many vehicles benefit from clearing diagnostic trouble codes with a scan tool. Some systems will also relearn sensor values automatically during normal driving.
Q
What causes camshaft position sensors to fail?
Heat, vibration, oil contamination, electrical faults, and normal wear can all contribute to sensor failure over time.
Q
How much does it cost to replace a camshaft position sensor?
Costs vary by vehicle and location. DIY repairs are generally limited to the sensor price, while professional repairs include labor and diagnostic charges.
✦ Wrapping Up
Conclusion
Learning how to replace camshaft position sensor bank 1 can help resolve common engine performance issues and diagnostic trouble codes. The job is often manageable for DIY vehicle owners with basic tools and proper preparation.
Always verify the correct Bank 1 sensor location, inspect related wiring, and confirm the repair with a scan tool whenever possible.
💡 Key Takeaway
Locate the correct Bank 1 sensor, replace it carefully, clear any fault codes, and test drive the vehicle to confirm the repair.
Ethan Brooks is an automotive writer at Auto News 7, covering car news, vehicle maintenance, new model updates, recalls, and practical buying guides. He focuses on clear, useful information that helps drivers understand their vehicles and make better ownership decisions.
Learn how to clean camshaft position sensor components safely with a simple step-by-step process, tools list, troubleshooting tips, and common mistakes to avoid.
Learn how to replace camshaft position sensor connector wiring safely. Follow step-by-step instructions, tools needed, troubleshooting tips, and common mistakes to avoid.
Learn how to fix a camshaft position sensor with step-by-step troubleshooting, testing, replacement instructions, common symptoms, costs, and repair tips.