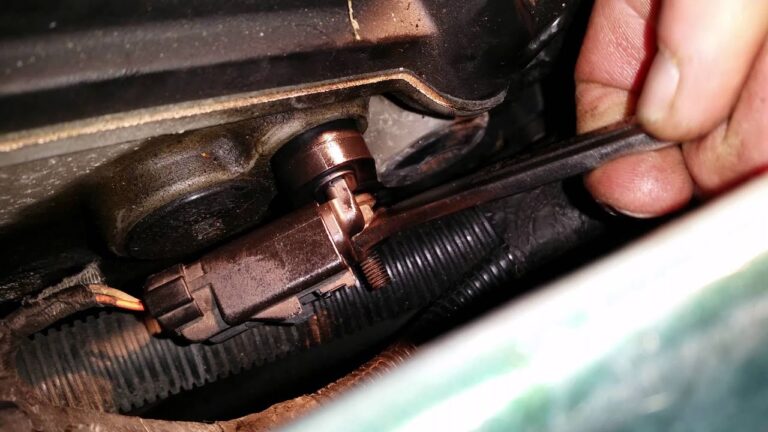
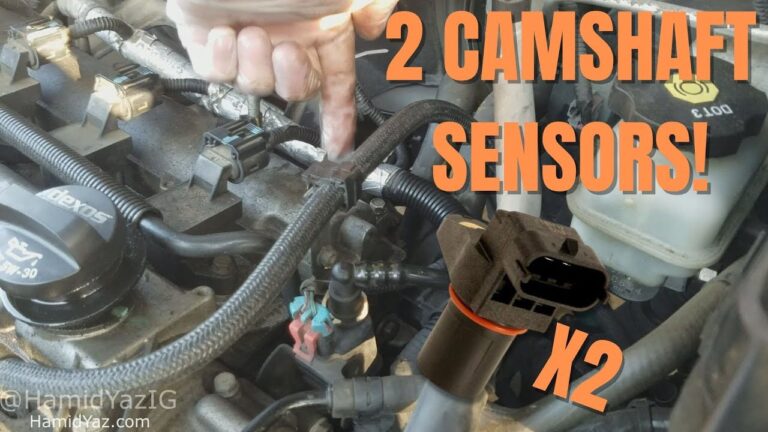
To replace a camshaft position sensor on a Nissan Pathfinder, disconnect the battery, locate the sensor, remove the retaining bolt, install the new sensor, reconnect everything, and clear any diagnostic trouble codes.
Many Nissan Pathfinder owners in the United States encounter camshaft position sensor problems as their vehicles age. Common symptoms include hard starting, engine hesitation, rough idle, reduced power, and an illuminated check engine light. Replacing the sensor is often a manageable DIY repair that can save both time and labor costs.
The exact sensor location depends on the Pathfinder model year and engine. Most repairs require basic hand tools and less than an hour of work. Following the correct procedure helps prevent wiring damage, sensor misalignment, and recurring fault codes.
Source: youtube.com
What Does the Camshaft Position Sensor Do?
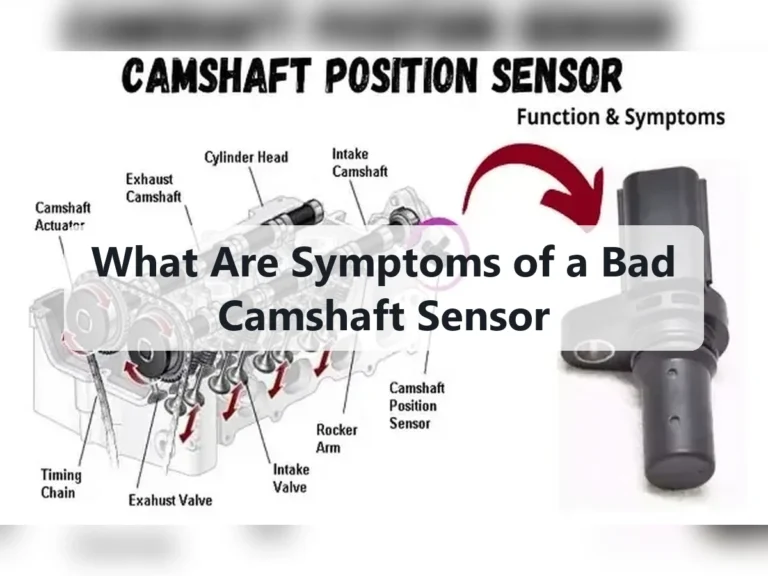
The camshaft position sensor monitors camshaft rotation and sends timing information to the engine control module. This data helps control ignition timing, fuel injection, and overall engine performance.
When the sensor fails, the engine computer may lose accurate timing information. The result can be poor performance, difficult starting, stalling, or diagnostic trouble codes such as P0340 or related camshaft sensor faults.
Source: nissankaengine.com
Primary Function
Tracks camshaft position and rotational speed.
Engine Management
Supports accurate fuel delivery and ignition timing.
Failure Symptoms
Can trigger check engine lights and drivability issues.
Common Signs of a Failing Sensor
Watch for rough idle, hesitation during acceleration, reduced fuel economy, extended cranking, intermittent stalling, or a check engine light. These symptoms often appear before complete sensor failure.
Hard Starting
Engine takes longer than normal to start.
Tools and Parts Needed Before You Begin
Gathering tools before starting makes the repair faster and reduces the chance of mistakes. Most Pathfinder models require only basic automotive tools.
Confirm that the replacement sensor matches your Pathfinder’s model year, engine size, and VIN specifications.
Source: nissanpartsplus.com
Socket Set
Typically includes 8 mm, 10 mm, and extension tools.
Replacement Sensor
Use a quality OEM-equivalent component.
Scan Tool
Useful for clearing fault codes after installation.
Safety Preparations
Park on a level surface, engage the parking brake, allow the engine to cool, and disconnect the negative battery terminal before working near engine electronics.
Battery Disconnect
Helps prevent electrical shorts and accidental faults.
How to Replace Camshaft Position Sensor Nissan Pathfinder
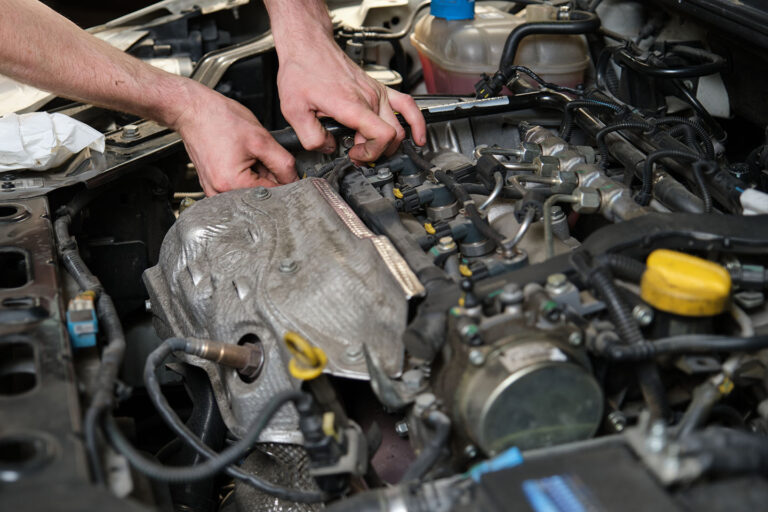
The basic replacement process is similar across many Pathfinder models. Always consult the service information for your exact engine if sensor placement differs.
Work carefully around electrical connectors and avoid pulling on wiring harnesses.
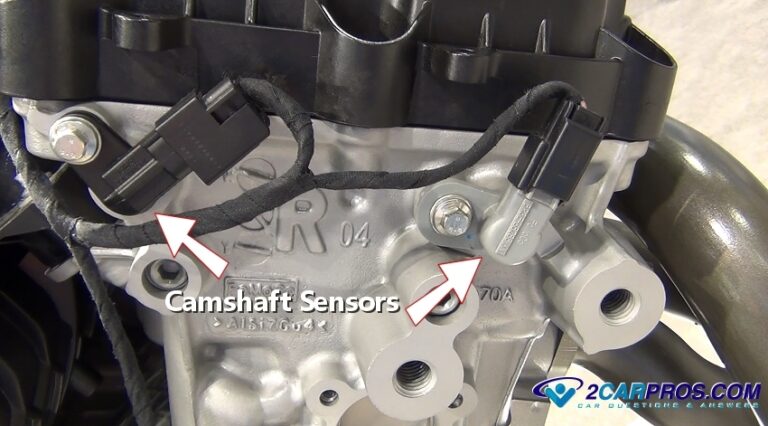
Source: 2carpros.com
Step 1
Disconnect the negative battery cable.
Step 2
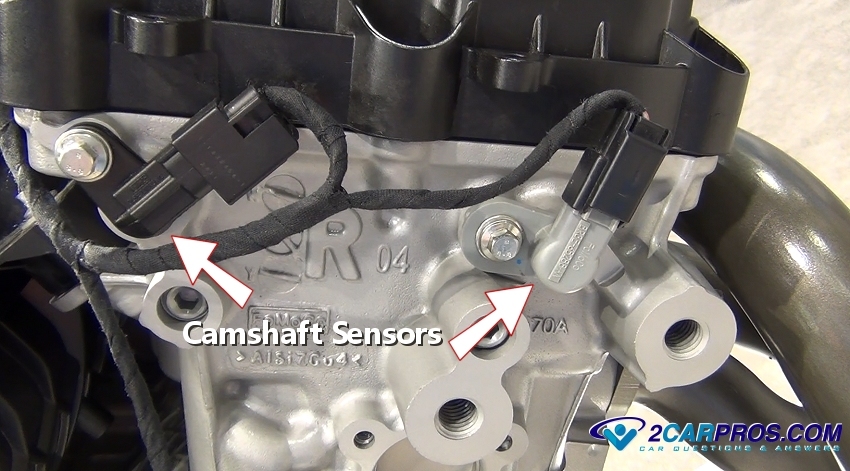
Locate the camshaft position sensor on the engine.
Step 3
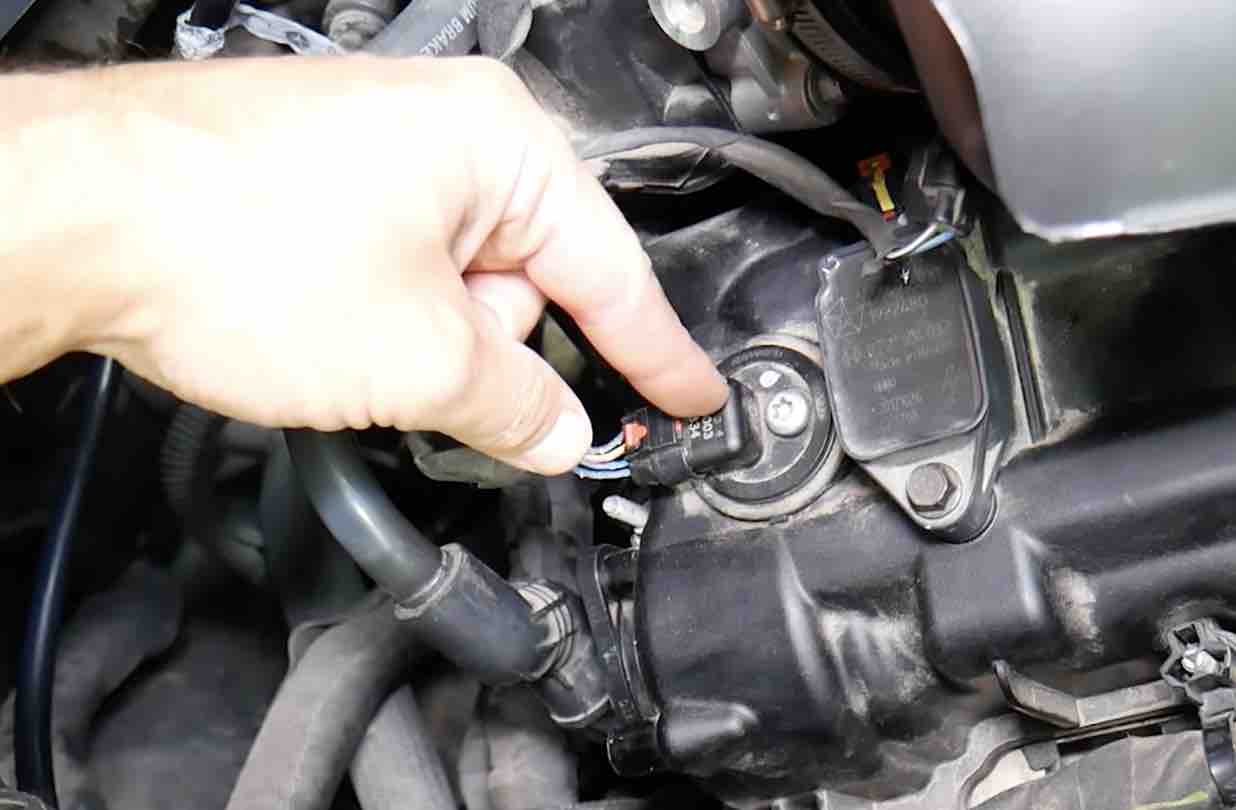
Press the connector tab and unplug the wiring harness.
Step 4
Remove the retaining bolt and pull out the old sensor.
Step 5
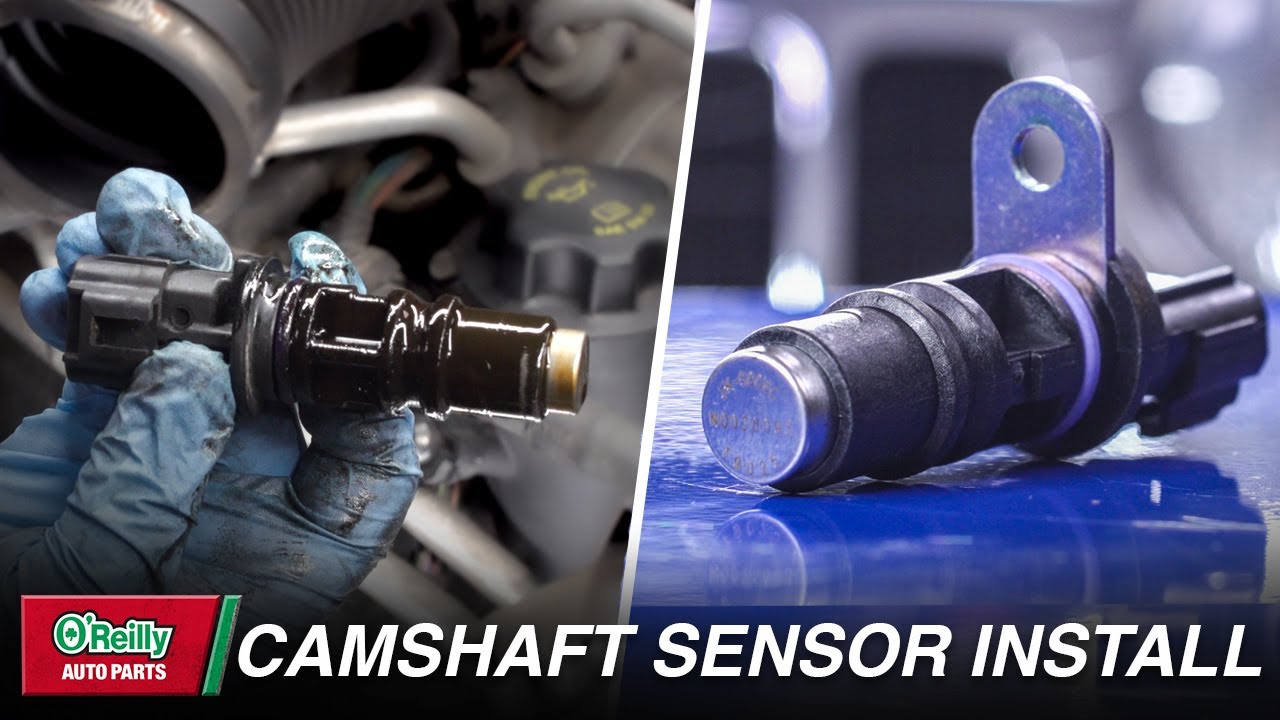
Install the new sensor and secure it with the bolt.
Step 6
Reconnect the electrical connector and battery.
Verifying Correct Installation
Start the engine and confirm that it idles smoothly. Use a scan tool to verify that no active camshaft sensor codes remain.
Successful Repair
Engine starts normally and fault codes do not return.
Troubleshooting Problems After Replacement
If the check engine light returns immediately, inspect the connector, wiring, and sensor installation. A loose connection is a common cause of repeat codes.
Persistent camshaft sensor codes may indicate a wiring fault, timing issue, crankshaft sensor problem, or incorrect replacement part.
Source: ehcar.net
Check Connector
Ensure it is fully seated and locked.
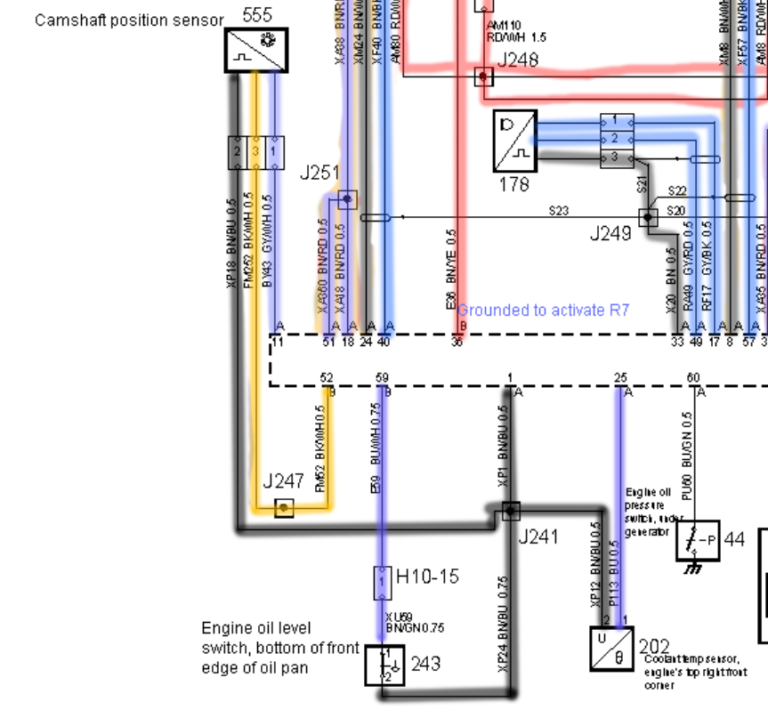
Inspect Wiring
Look for damaged insulation or corrosion.
Verify Part Number
Confirm compatibility with your Pathfinder.
When the Engine Still Runs Poorly
Scan for additional diagnostic codes. Multiple sensor-related codes can point to a larger electrical or timing-related issue.
Further Diagnosis
Investigate related engine management components.
Common Mistakes to Avoid
Many replacement issues occur because of simple oversights. Avoid rushing the repair and double-check every connection before starting the engine.
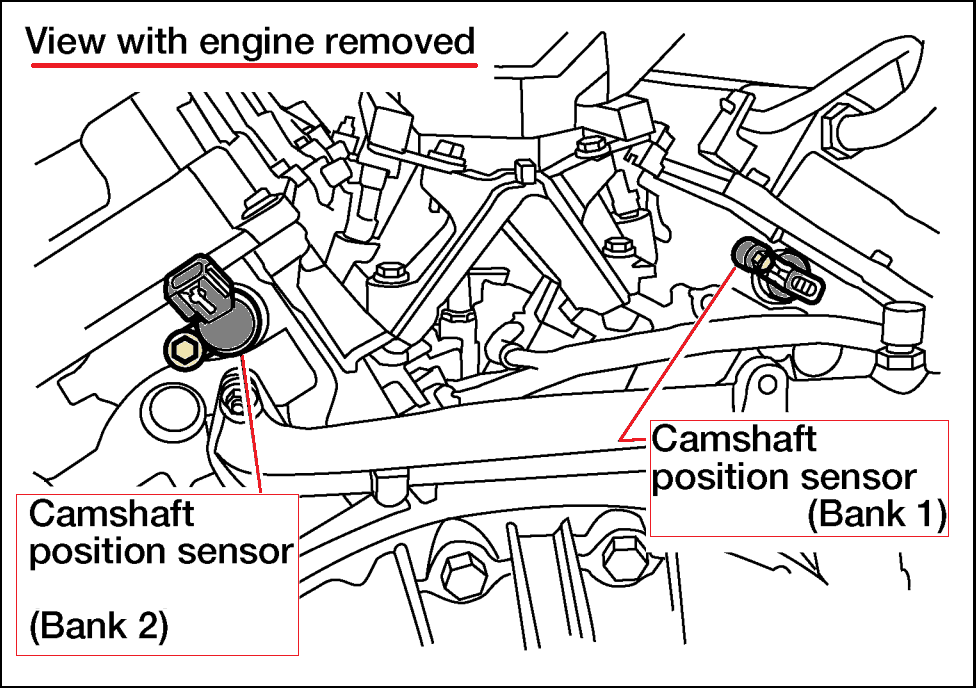
Replacing the wrong sensor is another common mistake on engines equipped with multiple camshaft sensors.
Source: youtube.com
Forgetting Battery Disconnect
Can increase the risk of electrical issues.
Damaging Connector Clips
Use care when releasing locking tabs.
Ignoring Diagnostic Codes
Codes help identify the correct bank and sensor location.
When to Seek Professional Help
If the sensor is difficult to access, the engine has multiple fault codes, or timing-related issues are suspected, professional diagnosis may be the safest option.
Complex Repairs
Require advanced diagnostic equipment and procedures.
Frequently Asked Questions
Q
How long does it take to replace a camshaft position sensor on a Nissan Pathfinder?
Most DIY repairs take between 30 and 90 minutes depending on engine layout and accessibility.
Q
Can I drive with a bad camshaft position sensor?
The vehicle may continue to run, but performance can be unpredictable. Continued driving may increase the risk of stalling or hard starting.
Q
Will replacing the sensor turn off the check engine light?
The light may turn off after several drive cycles, but using a scan tool to clear stored codes is often faster.
Q
What trouble codes are associated with a faulty camshaft position sensor?
Common codes include P0340, P0345, and other camshaft position sensor circuit-related faults depending on the engine and model year.
Q
Do Nissan Pathfinder engines have more than one camshaft position sensor?
Many Pathfinder engines use multiple camshaft sensors. Always identify the correct bank and sensor location before replacing any component.
✦ Wrapping Up
Conclusion
Learning how to replace camshaft position sensor Nissan Pathfinder models can help restore engine performance and eliminate common fault codes. The repair is usually straightforward when you use the correct replacement part and follow a careful step-by-step process.
Always verify sensor location for your specific engine, inspect related wiring, and clear diagnostic codes after installation. If symptoms remain, further diagnosis may be necessary.
💡 Key Takeaway
Gather the correct sensor, follow the replacement steps carefully, and verify the repair with a scan tool before returning the vehicle to normal use.
Ethan Brooks is an automotive writer at Auto News 7, covering car news, vehicle maintenance, new model updates, recalls, and practical buying guides. He focuses on clear, useful information that helps drivers understand their vehicles and make better ownership decisions.
Learn how to replace camshaft position sensor connector wiring safely. Follow step-by-step instructions, tools needed, troubleshooting tips, and common mistakes to avoid.
Learn how to replace camshaft position sensor bank 1 with a clear step-by-step process, required tools, troubleshooting tips, and safety advice for DIY vehicle owners in the USA.
Learn how to rewire a camshaft position sensor safely. Follow step-by-step instructions, wiring checks, troubleshooting tips, and common repair mistakes.
Learn how to remove a broken camshaft sensor safely and correctly. Follow this step-by-step guide to extract a stuck or broken camshaft position sensor without damaging the engine.
Learn how to replace camshaft sensor 2014 Chevy Equinox models with this detailed step-by-step guide. Find symptoms, tools, sensor locations, replacement steps, and troubleshooting tips.