To install a crankshaft position sensor, disconnect the battery, locate the sensor, remove the old unit, install the new sensor, reconnect the wiring, and verify proper engine operation.
Across the United States, crankshaft position sensor replacement is a common repair for vehicles experiencing hard starting, stalling, misfires, or a check engine light. While the exact location varies by make and model, the installation process follows the same basic principles.
Understanding how to install crankshaft position sensor correctly helps prevent starting issues and inaccurate engine timing signals. Careful installation, proper sensor alignment, and verification after replacement are essential for reliable engine performance.
Source: 1aauto.com
What Does a Crankshaft Position Sensor Do?
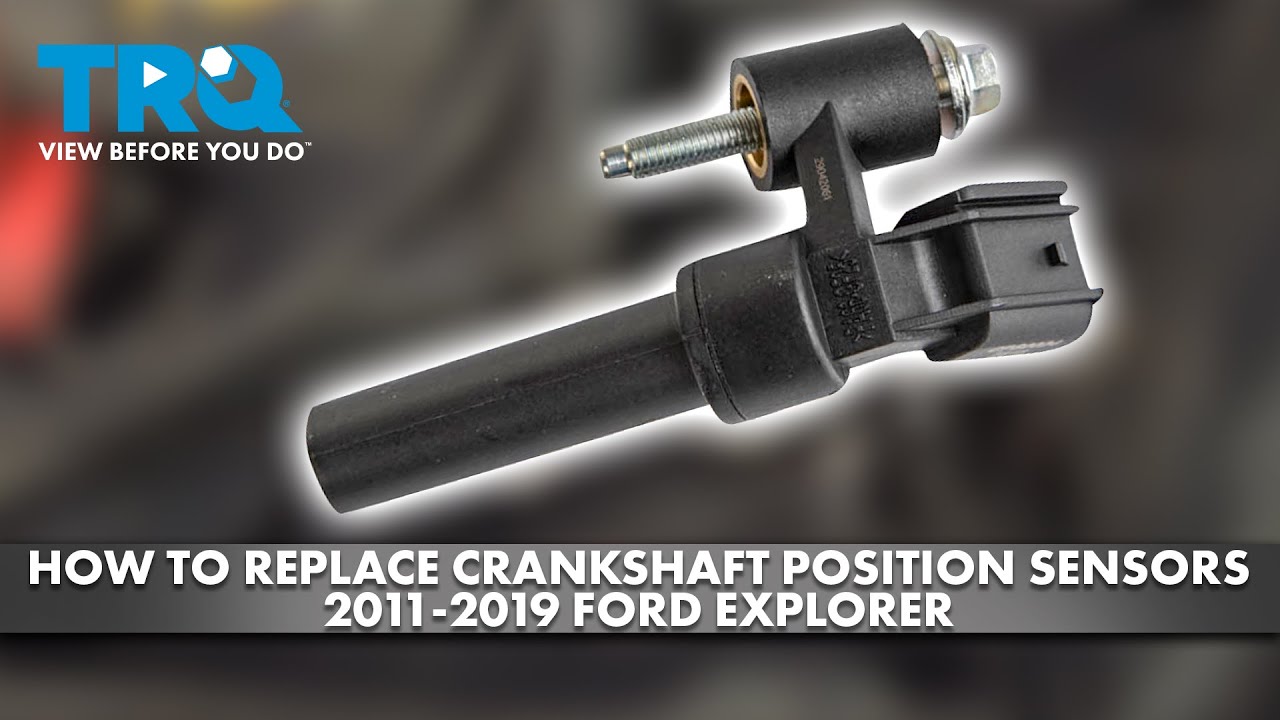
The crankshaft position sensor monitors the speed and position of the crankshaft. The engine control module uses this information to control ignition timing and fuel injection.
When the sensor fails, the engine may crank without starting, stall unexpectedly, run rough, or trigger diagnostic trouble codes. Replacing a faulty sensor restores accurate engine position data.
Source: mechlesson.com
Primary Function
Provides crankshaft position and rotational speed data to the engine computer.
Common Failure Symptoms
Hard starting, stalling, misfires, poor acceleration, and check engine light warnings.
When Replacement Is Necessary
Replacement is usually recommended when diagnostic testing confirms sensor failure or when wiring and connector issues have been ruled out.
Diagnostic Codes
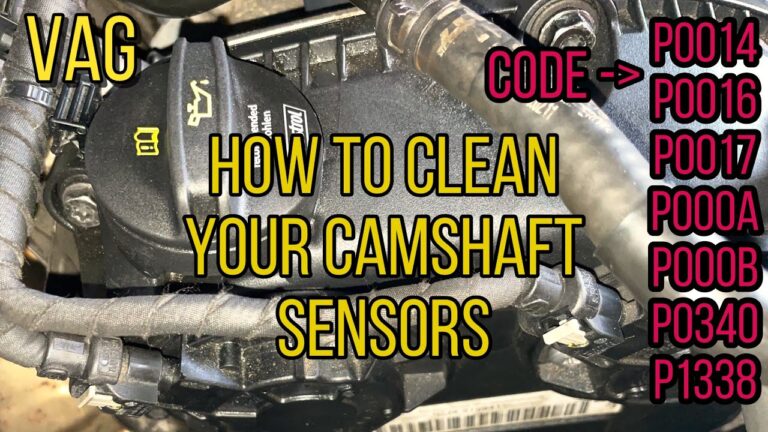
Codes related to crankshaft position sensor circuits often indicate a problem requiring further inspection.
Tools and Preparation Before Installation
Before learning how to install crankshaft position sensor, gather the required tools and verify the replacement part matches your vehicle specifications.
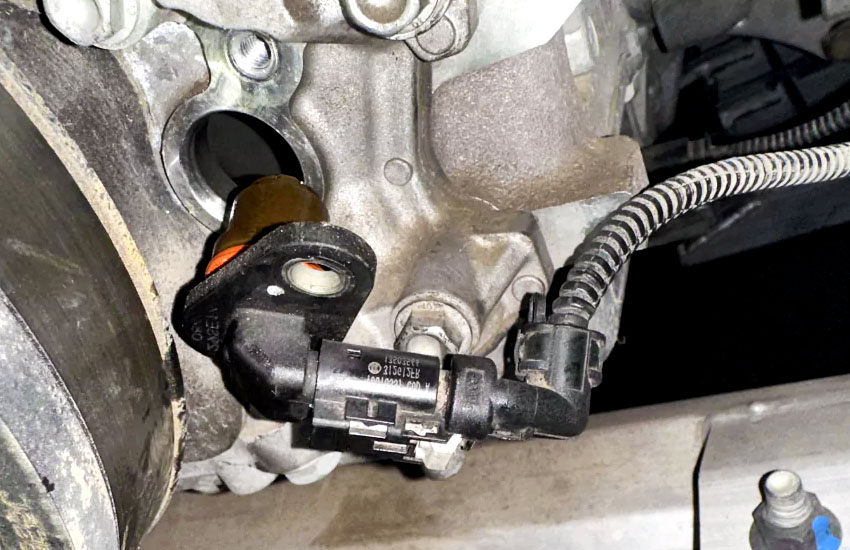
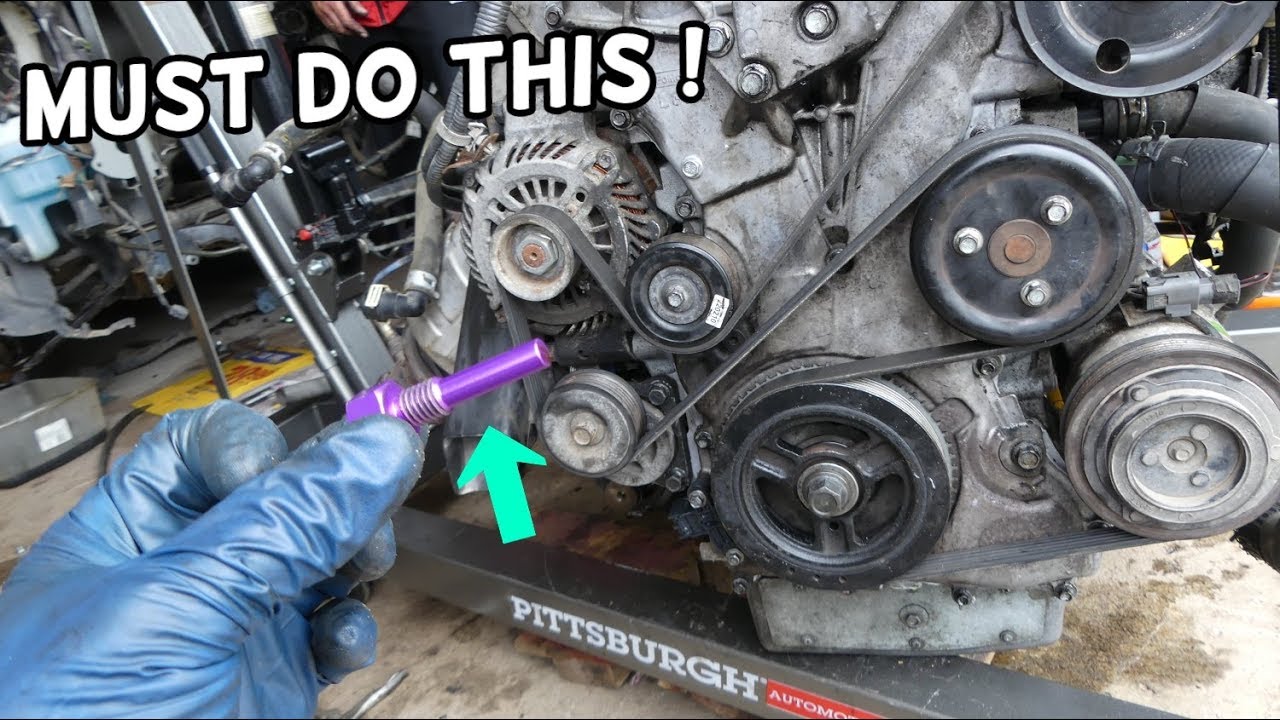
Many sensors are mounted near the crankshaft pulley, transmission bell housing, or engine block. Consult a repair manual for the exact location on your vehicle.
Source: autotoride.com
Basic Tools
Socket set, ratchet, extension, screwdrivers, safety glasses, and work gloves.
Recommended Items
Vehicle repair manual, scan tool, flashlight, and torque wrench.
Safety Precautions
Park on a level surface, engage the parking brake, and allow the engine to cool before working near engine components.
Battery Safety
Disconnect the negative battery cable to reduce the risk of electrical shorts.
How to Install Crankshaft Position Sensor Step by Step
The exact procedure varies by vehicle, but the following sequence applies to most passenger cars, SUVs, and light trucks.
Work carefully around wiring harnesses and avoid forcing the new sensor into place. Proper fitment is critical for accurate engine timing signals.
Source: 2carpros.com
Step 1
Disconnect the negative battery terminal.
Step 2
Locate the crankshaft position sensor and unplug the electrical connector.
Step 3
Remove the mounting bolt or fastener securing the old sensor.
Step 4
Carefully remove the old sensor from the engine.
Step 5
Compare the old and new sensors to confirm they match.
Step 6
Install the new sensor and seat it fully in its mounting location.
Step 7
Reinstall the mounting bolt and tighten according to specifications.
Step 8
Reconnect the electrical connector and battery cable.
Signs the Installation Is Correct
The engine starts normally, diagnostic codes remain cleared, and the sensor connector locks securely into place.
Normal Operation
Stable idle, smooth acceleration, and no sensor-related warning lights.
Common Installation Mistakes and Troubleshooting
Even a new sensor may not solve the problem if wiring damage, connector corrosion, or incorrect installation is present.
Troubleshooting should begin with the simplest checks before replacing additional components.
Source: mechanictimes.com
Loose Connector
Verify the connector is fully seated and locked.
Damaged Wiring
Inspect nearby wiring harnesses for abrasion, breaks, or heat damage.
Wrong Sensor
Confirm the replacement sensor matches the vehicle application.
If the Engine Still Will Not Start
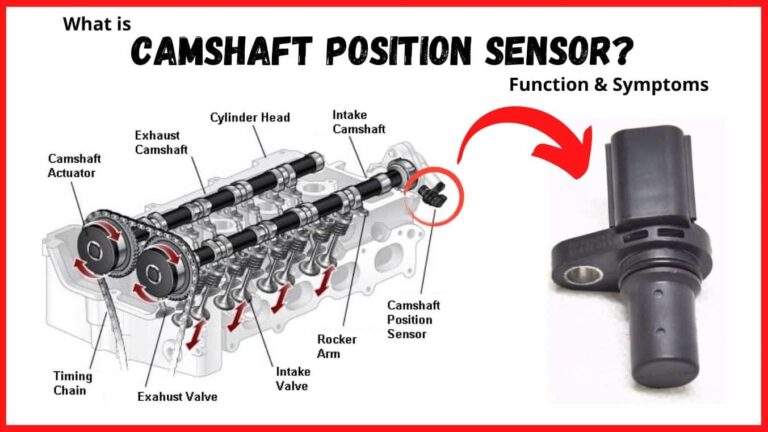
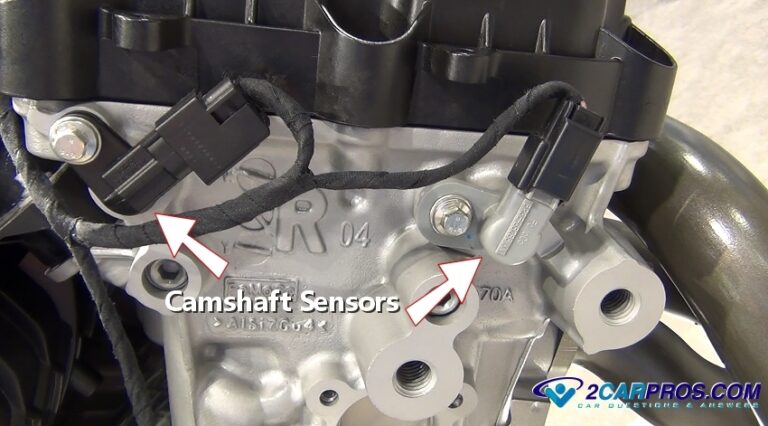
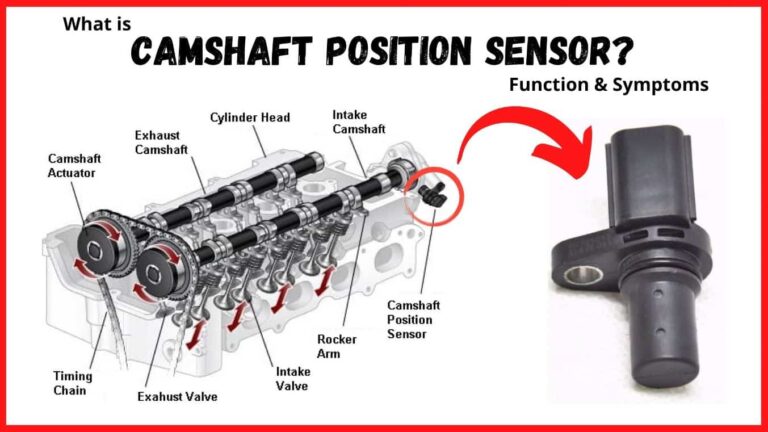
Scan for diagnostic trouble codes and inspect related components such as camshaft position sensors, wiring circuits, and engine grounds.
Further Testing
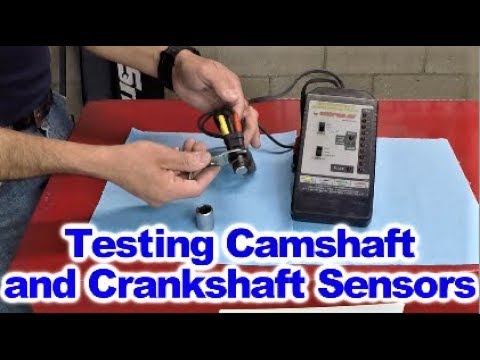
Use a scan tool or multimeter according to service information for your vehicle.
Final Checks After Installation
After completing the repair, clear any stored trouble codes if necessary and perform a road test. Monitor engine performance and verify that warning lights do not return.
Some vehicles may require a crankshaft position relearn procedure using a scan tool. Consult the manufacturer’s service information if applicable.
Source: safetyfic.com
Check for Codes
Verify no crankshaft sensor fault codes remain active.
Road Test
Confirm smooth starting, idling, and acceleration.
When to Seek Professional Help
Professional diagnosis may be necessary if symptoms persist after installation or if the sensor location requires extensive engine disassembly.
Complex Repairs
Some vehicles have limited access that requires specialized tools or procedures.
Frequently Asked Questions
Q
Can I drive with a bad crankshaft position sensor?
A vehicle may continue running temporarily, but a failing sensor can cause stalling, poor performance, or a no-start condition. Repairing the issue promptly is recommended.
Q
Do I need to disconnect the battery before replacing the sensor?
Yes. Disconnecting the negative battery cable is a standard safety step that helps prevent electrical shorts and accidental damage.
Q
How long does it take to replace a crankshaft position sensor?
Replacement can take from less than an hour to several hours depending on the vehicle design and sensor accessibility.
Q
Will a new crankshaft position sensor clear the check engine light automatically?
Some vehicles clear the warning light after several successful drive cycles, while others may require code clearing with a scan tool.
Q
What happens if the sensor is installed incorrectly?
Improper installation can cause engine timing signal problems, persistent trouble codes, poor performance, or a failure to start.
✦ Wrapping Up
Conclusion
Learning how to install crankshaft position sensor is a practical repair that can restore reliable engine operation when performed correctly. Proper preparation, careful installation, and post-repair testing are the keys to success.
Always follow vehicle-specific service procedures, verify the replacement part, and inspect wiring and connectors during the repair process.
💡 Key Takeaway
Disconnect the battery, install the correct sensor carefully, verify all connections, clear codes, and confirm proper engine operation with a road test.
Ethan Brooks is an automotive writer at Auto News 7, covering car news, vehicle maintenance, new model updates, recalls, and practical buying guides. He focuses on clear, useful information that helps drivers understand their vehicles and make better ownership decisions.
Learn what code is camshaft position sensor, the most common OBD-II trouble codes, symptoms, causes, diagnosis steps, and repair options for U.S. drivers.
Learn when to replace a camshaft position sensor, the warning signs of failure, diagnostic tips, replacement timing, costs, and whether it is safe to keep driving.
Learn how to clean camshaft position sensor components safely with a simple step-by-step process, tools list, troubleshooting tips, and common mistakes to avoid.