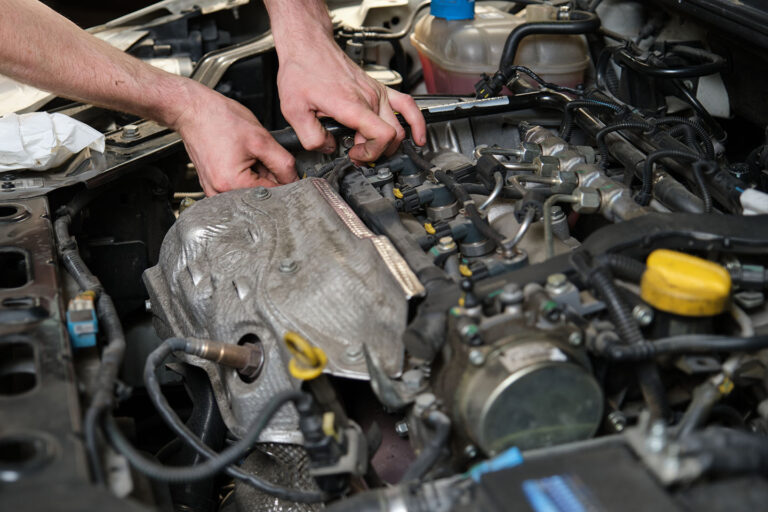
To replace a camshaft position sensor connector, disconnect the battery, remove the damaged connector, match and splice the wires correctly, install the new connector, and verify sensor operation.
Across the United States, camshaft position sensor connector failures are a common cause of engine performance problems, check engine lights, hard starting, and intermittent stalling. Heat, vibration, oil contamination, and aging plastic can damage the connector even when the sensor itself still works properly.
If you are researching how to replace camshaft position sensor connector assemblies, the job is usually straightforward when you have the correct replacement pigtail and basic wiring tools. Careful wire matching and secure connections are the most important parts of a successful repair.
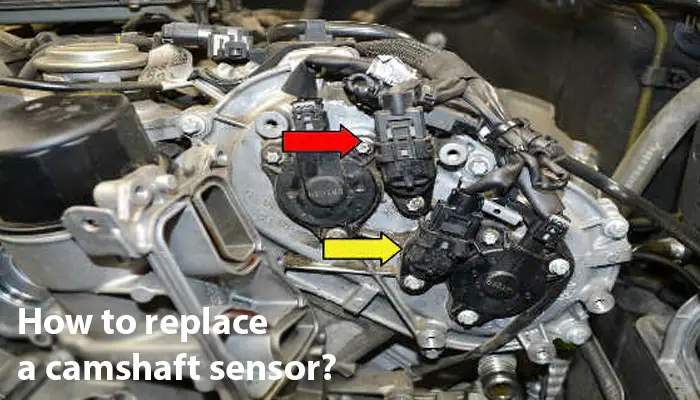
Source: hitchesguide.com
What Does the Camshaft Position Sensor Connector Do?
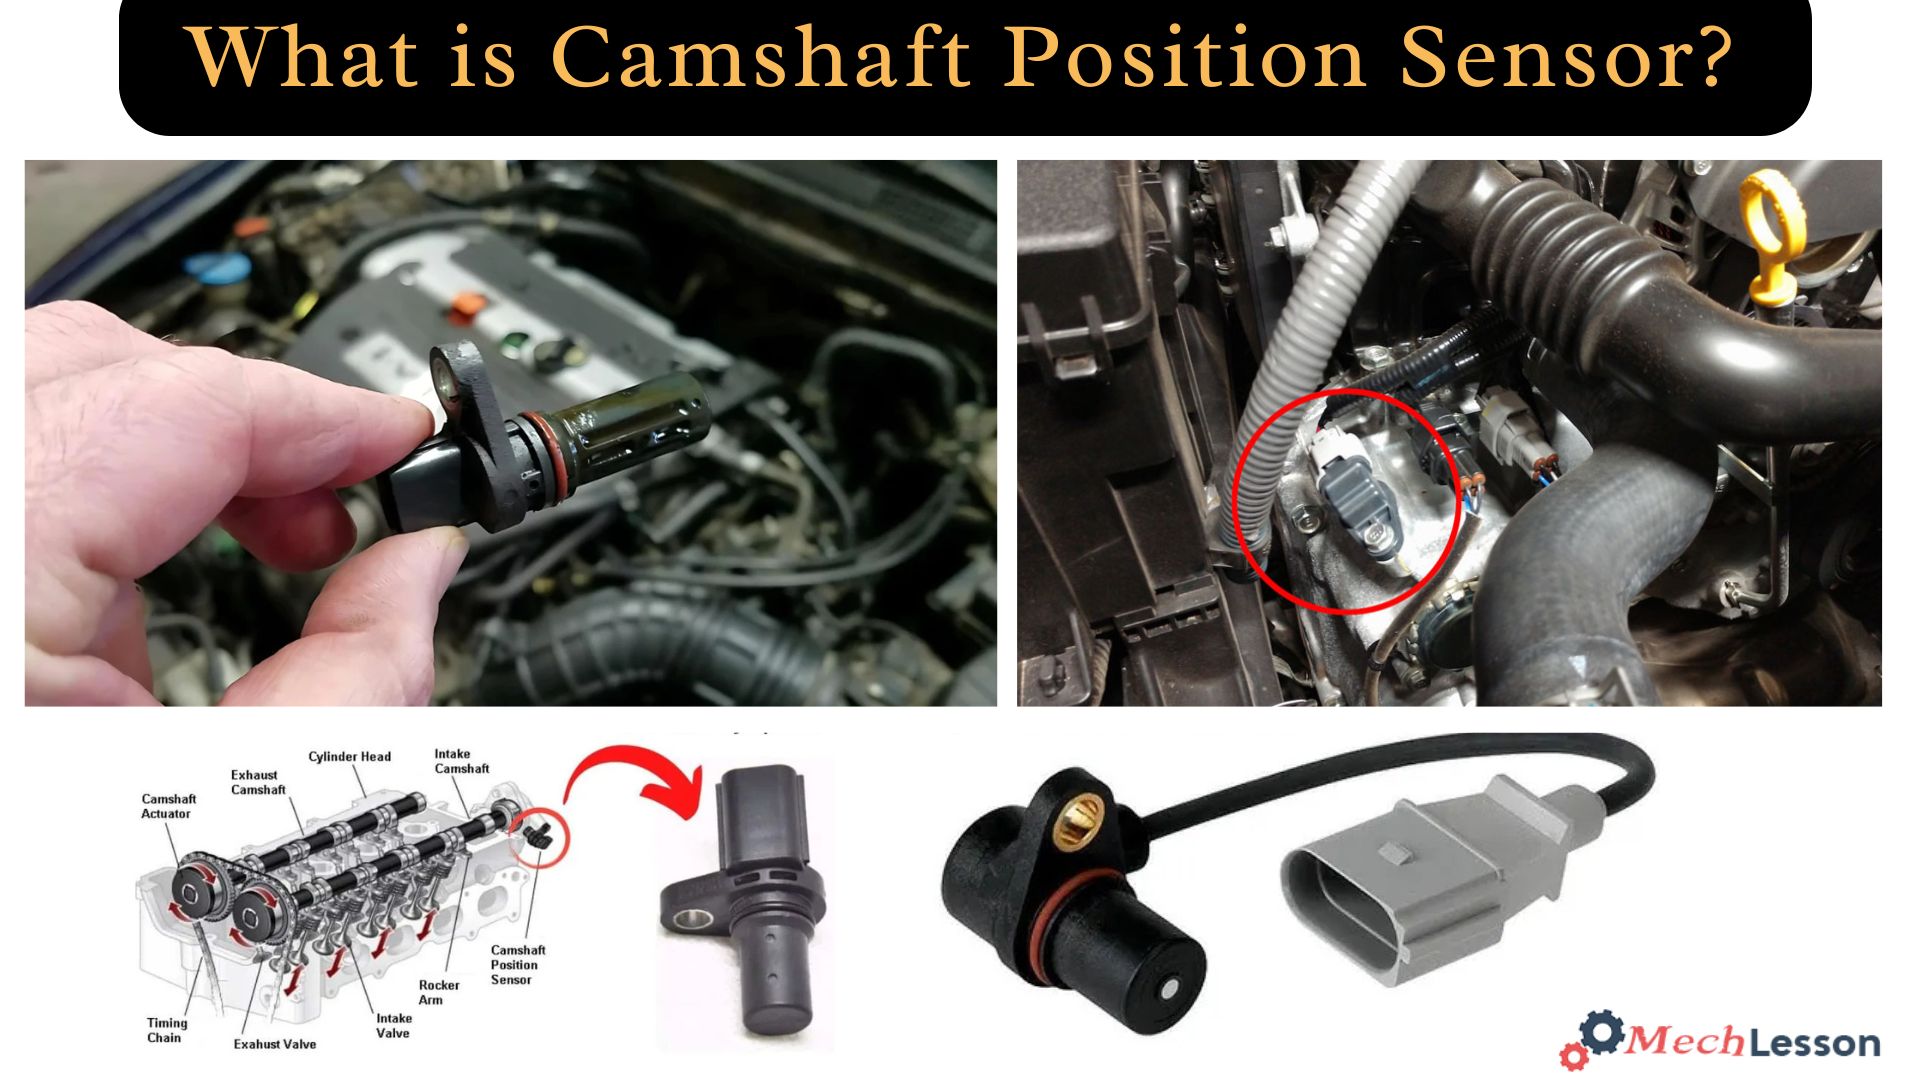
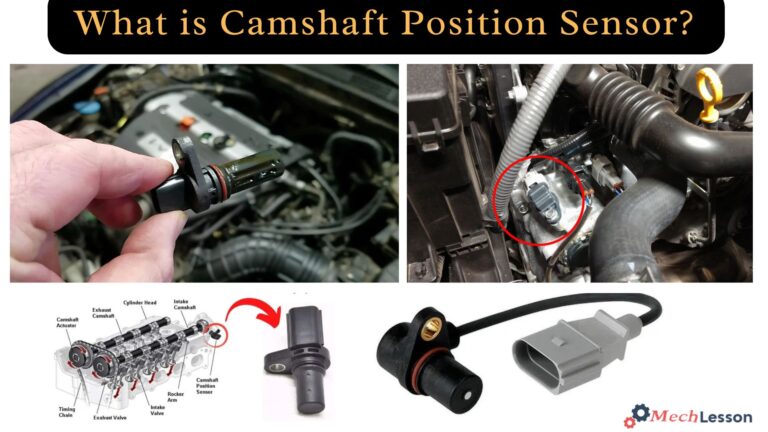
The camshaft position sensor connector links the engine wiring harness to the camshaft position sensor. The engine control module uses this signal to determine camshaft position, ignition timing, and fuel injection timing.
When the connector becomes loose, corroded, melted, cracked, or oil-soaked, the signal can become unreliable. This may trigger fault codes, rough running, misfires, poor fuel economy, or a no-start condition.
Source: mechlesson.com
Electrical Connection
Carries power, ground, and signal circuits between the sensor and engine computer.
Engine Timing Support
Provides critical timing information used by modern engine management systems.
Signs the Connector Needs Replacement
Common symptoms include broken locking tabs, exposed wires, corrosion inside terminals, melted plastic, intermittent fault codes, and poor engine performance.
Visual Damage
Cracked housing, damaged terminals, or brittle wiring insulation.
Tools and Parts Needed Before You Start
Gathering the correct tools before beginning will reduce mistakes and help create a reliable repair. Most connector replacements require only basic hand tools and electrical repair supplies.
Verify the replacement connector matches your vehicle’s year, make, model, engine size, and sensor type before cutting any wires.
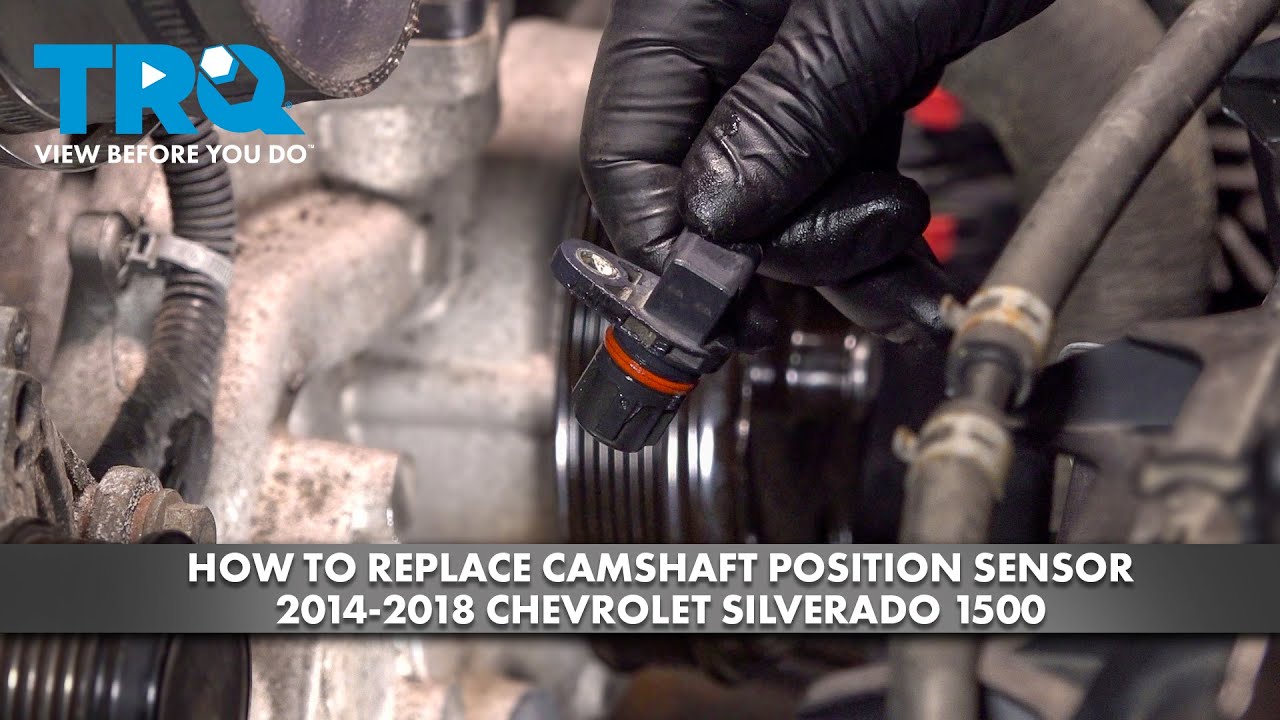
Source: 1aauto.com
Replacement Connector
Vehicle-specific pigtail with attached wires.
Wire Tools
Wire strippers, cutters, and crimping tools.
Protection Materials
Heat-shrink tubing, electrical tape, or weatherproof connectors.
Safety Preparation
Allow the engine to cool and disconnect the battery to prevent accidental short circuits or electrical damage.
Battery Safety
Remove the negative cable before handling wiring.
How to Replace Camshaft Position Sensor Connector Step by Step
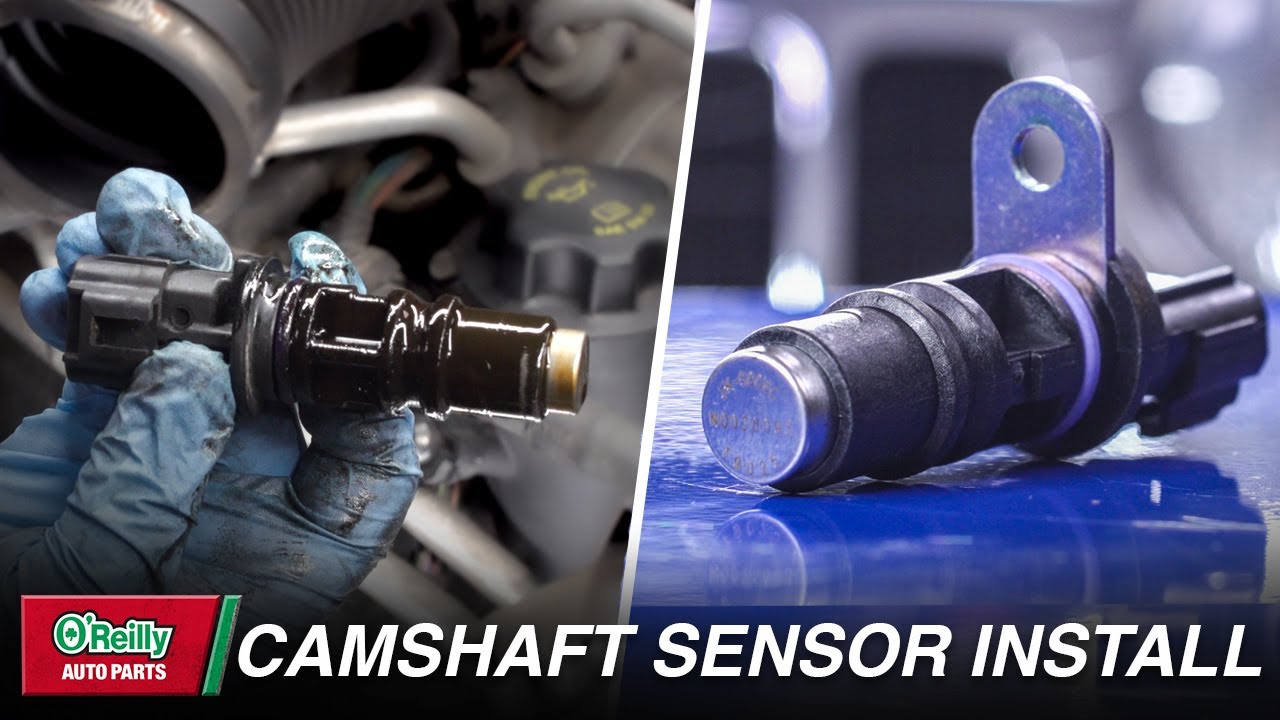
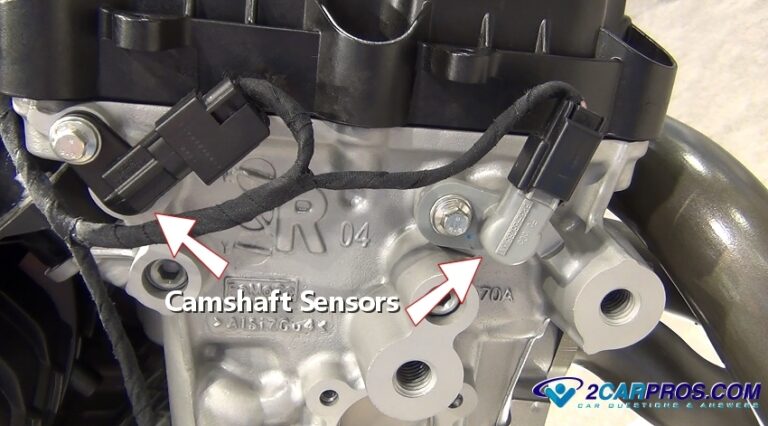
The exact sensor location varies by engine design, but the replacement process is generally similar across most vehicles. Work methodically and verify wire positions before making permanent connections.
Take photos of the original connector and wiring before disconnecting anything. This provides a useful reference during reassembly.
Source: youtube.com
Step 1
Disconnect the battery and locate the camshaft position sensor.
Step 2
Unplug the damaged connector and inspect the wiring.
Step 3
Cut the old connector off, leaving enough wire length for splicing.
Step 4
Match each wire on the replacement pigtail to the original harness.
Step 5
Crimp or solder the connections and seal them with heat-shrink tubing.
Step 6
Reconnect the sensor, reconnect the battery, and test operation.
Signs of a Successful Repair
The connector locks securely, wiring is protected, diagnostic codes stay cleared, and the engine runs normally without sensor-related symptoms.
Stable Engine Operation
No intermittent stalling, misfires, or timing-related codes.
Common Problems During Connector Replacement
Many repair issues occur because wires are connected in the wrong order or because poor-quality splices create intermittent electrical connections.
If the vehicle still shows fault codes after replacement, inspect the sensor itself, verify wire routing, and confirm terminal positions match the original connector.
Source: youtube.com
Incorrect Wire Matching
Can cause immediate sensor communication failures.
Loose Connections
May create intermittent signals and recurring trouble codes.
Hidden Harness Damage
Damaged wiring farther up the harness can mimic connector failure.
When the Repair Fails
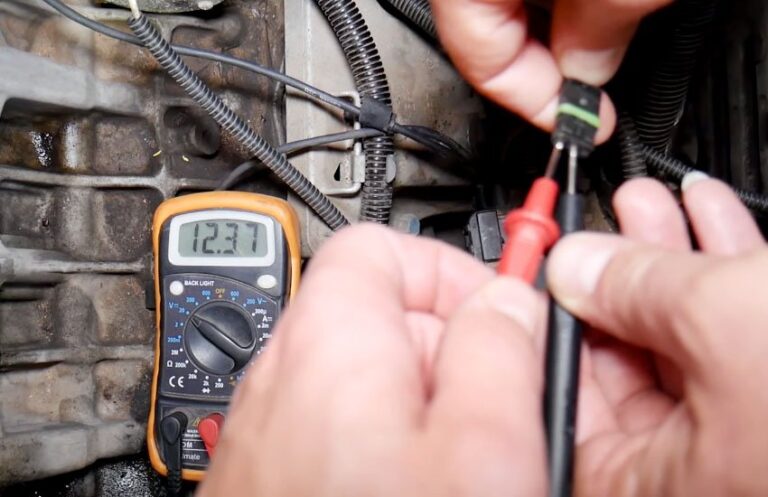
Check connector pin orientation, inspect wiring continuity with a multimeter, and verify the replacement connector matches the original design.
Electrical Testing
Use a wiring diagram and multimeter to verify power, ground, and signal circuits.
Repair Versus Full Harness Replacement
A connector replacement is usually sufficient when only the connector housing or short wire section is damaged. Extensive wiring damage may require harness repair or replacement.
Inspect nearby wiring for heat damage, abrasion, oil saturation, and previous repair work before deciding on the best repair strategy.
Source: youtube.com
Connector Repair
Best for localized connector damage with otherwise healthy wiring.
Harness Replacement
Recommended when multiple wires are damaged or corroded.
When to Seek Professional Help
If wiring diagrams are unavailable, fault codes persist, or the repair involves difficult engine access, a qualified automotive technician can diagnose the issue more efficiently.
Advanced Diagnostics
Professional testing can identify sensor, wiring, or control module faults.
Frequently Asked Questions
Q
Can I replace only the connector and not the sensor?
Yes. If testing confirms the sensor works correctly and only the connector is damaged, replacing the connector is often sufficient.
Q
Do I need to solder the wires?
Not always. High-quality crimp connectors designed for automotive use can work well when installed correctly and sealed against moisture.
Q
How long does connector replacement take?
Most DIY repairs take between 30 minutes and 2 hours depending on sensor location and vehicle design.
Q
Will a bad connector trigger a check engine light?
Yes. A poor electrical connection can interrupt the sensor signal and cause diagnostic trouble codes related to camshaft position sensor performance.
Q
Can I drive with a damaged camshaft position sensor connector?
Some vehicles may continue running, but performance problems, stalling, hard starting, or engine damage risks can increase. Repairing the issue promptly is recommended.
✦ Wrapping Up
Conclusion
Learning how to replace camshaft position sensor connector assemblies can save time and restore proper engine operation when the original connector becomes damaged. The key steps are accurate wire identification, secure splicing, and proper sealing of the repair.
After installation, clear any stored diagnostic codes and verify that the engine starts, idles, and accelerates normally. Persistent issues may indicate a sensor problem or additional wiring faults that require further diagnosis.
💡 Key Takeaway
Inspect the connector carefully, use the correct replacement pigtail, match every wire accurately, and test the repair before returning the vehicle to regular service.
Ethan Brooks is an automotive writer at Auto News 7, covering car news, vehicle maintenance, new model updates, recalls, and practical buying guides. He focuses on clear, useful information that helps drivers understand their vehicles and make better ownership decisions.
Learn how to check camshaft position sensor operation, wiring, voltage, and signal output. Follow this practical step-by-step guide to diagnose common camshaft sensor problems.
Learn how to fix a camshaft position sensor with step-by-step troubleshooting, testing, replacement instructions, common symptoms, costs, and repair tips.
Learn how to replace camshaft position sensor bank 1 with a clear step-by-step process, required tools, troubleshooting tips, and safety advice for DIY vehicle owners in the USA.