No. Diesel engine oil is not a reliable way to clean a dirty oil pressure sensor. It may loosen some oily residue, but it cannot reliably remove hardened deposits or repair a faulty sensor. Use a cleaning method approved for the specific component, and replace the sensor if testing confirms an internal failure.
In the United States, drivers may encounter oil pressure warning lights while maintaining gasoline cars, diesel pickups, SUVs, and work trucks. When an oil pressure sensor appears dirty, using diesel engine oil as a cleaner may seem convenient because it is designed to lubricate and protect engine components. However, engine oil is a lubricant, not a dedicated cleaning solvent.
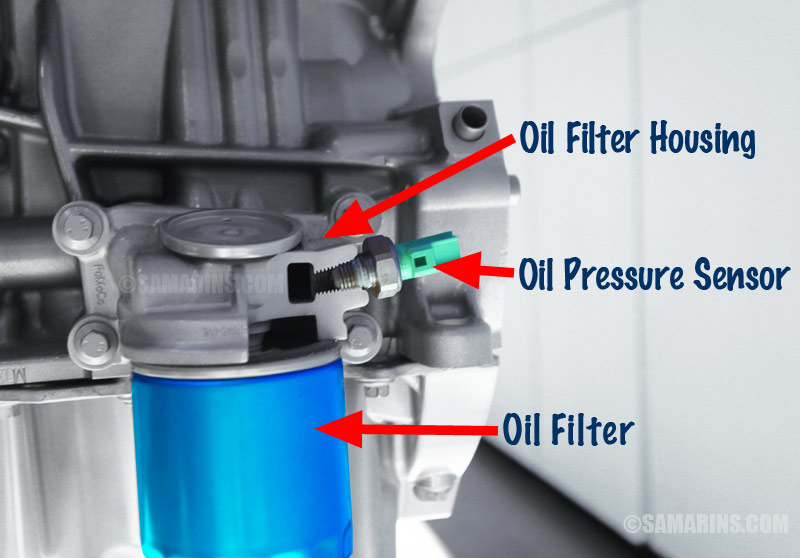
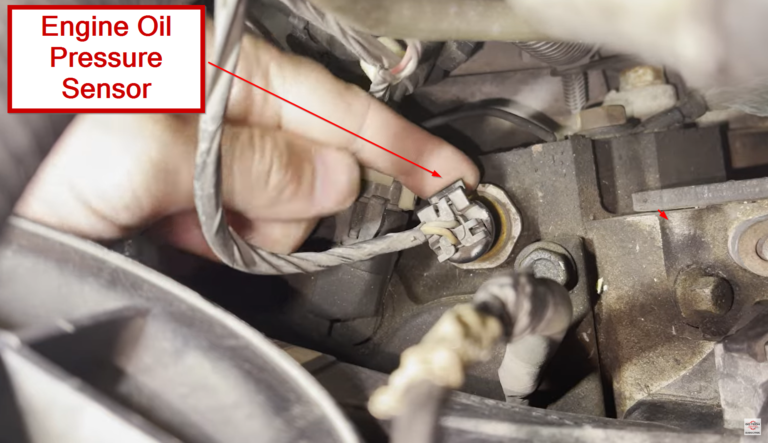
An oil pressure sensor measures engine oil pressure and sends a signal to the vehicle’s instrument cluster or engine control module. Depending on the design, contamination around the sensor may affect its connector, while internal wear or electrical failure can cause inaccurate readings. Before cleaning or replacing anything, verify whether the problem involves actual low oil pressure, a contaminated connection, a restricted passage, or a failed sensor.
Source: storage.googleapis.com
Will Diesel Engine Oil Clean a Dirty Oil Pressure Sensor?
Diesel engine oil is not recommended as a dedicated cleaner for a dirty oil pressure sensor. Although fresh oil can soften or displace some oily residue, it also leaves an oil film behind. That makes it unsuitable for cleaning electrical contacts or removing deposits that require a compatible cleaning solvent.
The result depends on where the contamination is located. Oil on the outside of a sensor may be removable with a suitable cloth and approved cleaner. Deposits inside an oil passage may require a different diagnostic and repair procedure, while contamination or damage inside a sealed sensor may not be repairable through cleaning.
Diesel engine oil also varies in formulation and viscosity. Oil designed for a diesel engine is not automatically a better cleaning agent for a sensor in a gasoline or diesel vehicle. Its intended purpose is lubrication under operating conditions, not removal of contamination from precision electrical components.
Source: hitchesguide.com
External oily residue
A compatible cleaner and lint-free cloth may remove accessible grime without introducing additional oil.
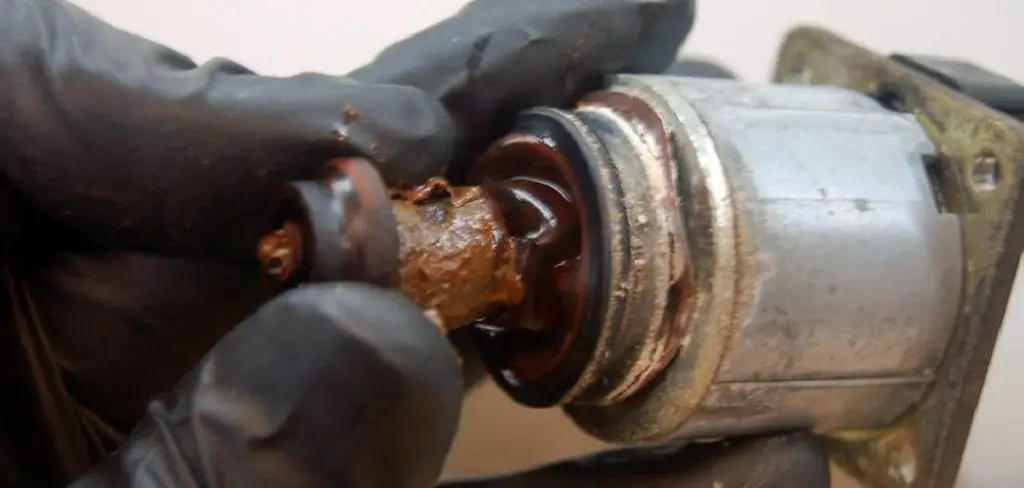
Sludge or hardened deposits
Thick deposits may indicate broader engine contamination or restricted oil passages. Investigate the underlying cause instead of relying on engine oil as a cleaning treatment.
Internal electrical or mechanical failure
Cleaning the outside of the sensor will not repair damaged electronics, worn internal components, or a failed pressure transducer.
Why Diesel Oil Is Different From a Cleaning Solvent
Engine oil contains base oils and additives designed to reduce friction, resist oxidation, control deposits, and protect engine parts. Some formulations can help suspend contaminants during engine operation, but that does not mean the oil can dissolve or safely remove every type of sensor deposit.
A suitable cleaning solvent is selected for the material being cleaned and the component’s compatibility requirements. Electrical contact cleaners, for example, are intended for compatible electrical connections, while other automotive cleaners may be unsuitable for plastic housings, seals, or sensitive sensor elements.
Residue
Diesel oil can leave a film that attracts dust and complicates electrical contact cleaning.
Compatibility
A solvent must be approved for the sensor materials, seals, connector, and intended cleaning location.
What Does a Dirty Oil Pressure Sensor Actually Mean?
A dirty oil pressure sensor may have oil on its outer housing, contamination in its electrical connector, deposits near its threaded mounting point, or sludge in the engine’s oil passage. These are different conditions and should not be treated as one problem.
Many pressure sensors are designed to operate in engine oil, so oil contacting the sensing element is normal. The concern is whether deposits restrict a pressure passage, damage the electrical connection, or indicate that the sensor itself has failed. Some designs use a diaphragm or internal electronic components that cannot be serviced individually.
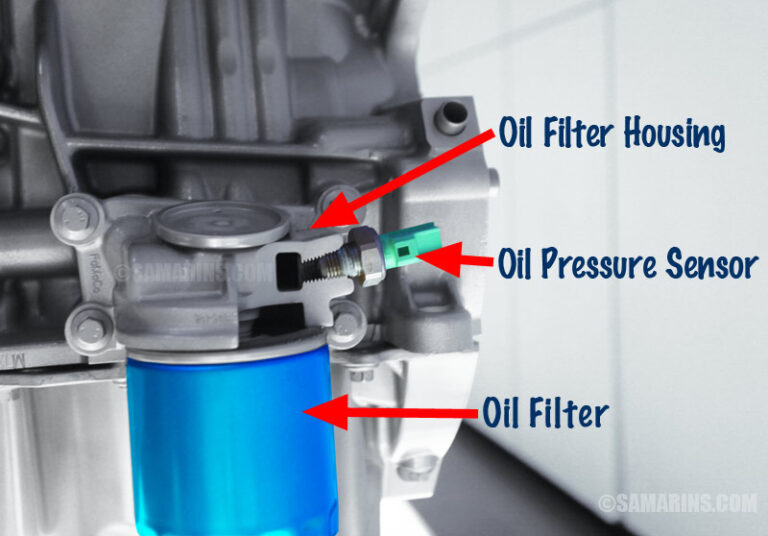
The sensor’s location and construction vary by vehicle. Some are mounted near an oil filter housing, while others are installed in an engine block, cylinder head, or oil gallery. Consult the vehicle’s service information before removing the part because access, sealing requirements, and replacement procedures differ.
Source: safetywish.com
Oil on the sensor body
Check for leaks from the sensor seal, threaded connection, nearby components, or wiring area before assuming the sensor needs cleaning.
Oil inside the electrical connector
Inspect for damaged seals, loose terminals, corrosion, and oil intrusion. Use only a cleaner approved for the connector and allow it to dry completely.
Sludge in the oil passage
A restricted passage may affect pressure readings. Diagnosis may require professional inspection and a service procedure specific to the engine.
An inaccurate pressure signal
A failed sensor, damaged wiring, poor ground where applicable, or a genuine oil pressure problem can produce similar symptoms.
How to Clean an Oil Pressure Sensor Safely
Clean an oil pressure sensor only when the manufacturer’s service procedure permits it and the suspected problem is accessible contamination. Cleaning is not a substitute for measuring oil pressure or checking the sensor circuit. If the oil pressure warning is active, diagnose the warning before attempting routine cleaning.
Source: safetywish.com
Step 1: Gather the Correct Supplies
Use the vehicle’s service information to identify the sensor, connector type, removal procedure, and approved cleaning products. Depending on the task, you may need protective gloves, eye protection, a lint-free cloth, the specified socket, and a cleaner compatible with the component. Have the correct replacement seal or sensor available if removal requires a new part.
Compatible cleaner
Choose a product specifically suitable for the sensor or electrical connector being cleaned. Do not assume brake cleaner, carburetor cleaner, or penetrating oil is safe for every component.
Vehicle service information
Check the specified torque, seal type, electrical test procedure, and any instructions concerning sensor removal.
Step 2: Switch Off the Engine and Let It Cool
Park on a level surface, switch off the engine, remove the key or disable the vehicle according to its instructions, and allow hot components to cool. Keep the work area ventilated and away from flames or sparks when using a flammable cleaner. Follow the manufacturer’s battery-disconnection procedure if required.
Prevent burns
Engine oil, exhaust components, and nearby metal surfaces can remain hot after shutdown.
Avoid accidental damage
Do not pull wiring by its insulation or pry against the connector housing when releasing the electrical plug.
Step 3: Inspect the Sensor and Wiring
Look for external oil leaks, cracked insulation, bent pins, corrosion, loose terminals, damaged connector seals, and visible deposits around the mounting point. Record any diagnostic trouble codes before disconnecting components because removing a connector may generate additional codes.
If the connector is dirty
Disconnect it using the proper release mechanism and inspect for damaged terminals or oil intrusion. Clean only with a compatible product if the manufacturer permits it.
If the sensor is leaking
Determine whether the leak comes from the sensor body, sealing washer, O-ring, threads, or a nearby component. Cleaning alone will not correct a failed seal.
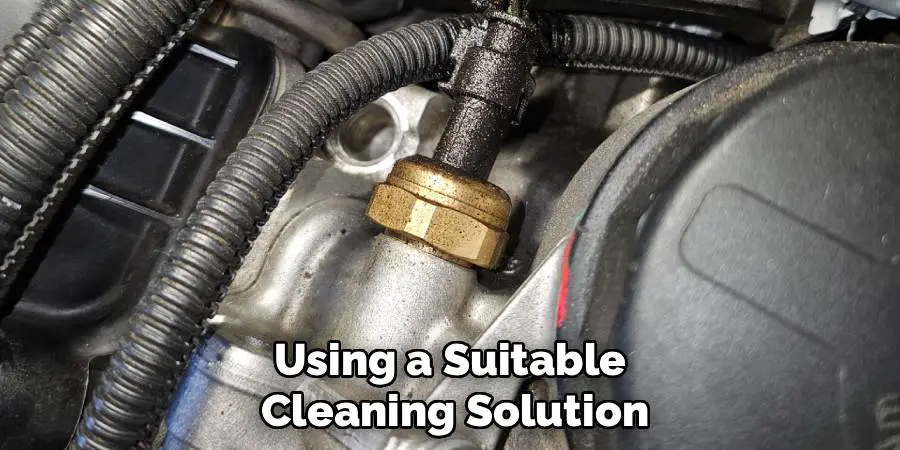
Step 4: Clean Only Accessible, Approved Surfaces
For permitted external cleaning, apply an appropriate cleaner to a lint-free cloth or use it as directed on the product label. Wipe away accessible grime without forcing liquid into the sensing port, sealed housing, or connector. If the manufacturer approves direct application to a disconnected electrical connector, follow its instructions and allow the component to dry fully.
Do not immerse the sensor in diesel oil, solvent, or another liquid unless the manufacturer specifically authorizes immersion. Avoid scraping the sensing opening with wire, picks, or other tools that could damage the sensing element or introduce debris into the oil passage.
Avoid diesel oil as a cleaner
It can leave an unwanted film and does not provide a controlled method for removing deposits.
Avoid unapproved compressed air
High-pressure air can damage delicate components or force contamination deeper into the sensor or passage.
Step 5: Reinstall and Check the Result
Reinstall the sensor only if removal and reuse are permitted. Use the specified seal and tightening torque, reconnect the wiring securely, and restore any disconnected battery connections according to the service procedure. Incorrect tightening or sealing can cause leaks, thread damage, or an unreliable connection.
Start the engine only when the oil level is correct and there is no unresolved reason to suspect dangerously low pressure. Observe the warning indicator and inspect for leaks. If the oil pressure warning remains illuminated, a gauge reading is abnormal, or the engine makes unusual mechanical noises, shut it off and continue diagnosis rather than driving.
Successful result
The connector is secure, there are no leaks, and the warning behavior agrees with verified normal oil pressure and the vehicle’s specifications.
Unsuccessful result
Persistent warnings or abnormal readings require circuit testing and actual oil pressure verification. Do not keep cleaning the sensor in the hope that the problem disappears.
Diesel Oil vs. Other Cleaning Methods
The correct cleaning method depends on whether the contamination is external, electrical, or inside an oil passage. The following comparison explains what each approach can and cannot accomplish. Always prioritize the vehicle manufacturer’s instructions over a general cleaning recommendation.
Source: safetywish.com
Diesel engine oil
Not recommended as a dedicated sensor cleaner. It may loosen some oily residue but leaves a lubricating film and does not repair a faulty sensor.
Lint-free cloth
Useful for wiping accessible external oil and dirt without introducing additional liquid into the sensor.
Electrical contact cleaner
May be appropriate for compatible disconnected electrical connectors. Confirm material compatibility, application instructions, and drying requirements.
Manufacturer-approved solvent
Can be appropriate for specific accessible surfaces when the service procedure explicitly permits it. It is not automatically suitable for internal sensor components.
Professional inspection
Appropriate when sludge, a restricted oil passage, an unresolved warning, or a possible engine lubrication problem is suspected.
Can an Oil Change Clean a Dirty Oil Pressure Sensor?
An oil change can remove some contaminants suspended in the old engine oil, provided the correct oil and filter are installed. It does not guarantee that sludge in an oil passage will be removed or that a dirty connector will become clean. Nor does it restore a sensor with failed electronics.
If the old oil is unusually thick, heavily contaminated, or contains visible metal particles, investigate the cause before treating the problem as routine maintenance. Severe deposits may require a manufacturer-approved repair procedure rather than an aggressive engine flush, which can create additional risks in an engine with substantial sludge.
Routine oil contamination
Use the specified oil grade and approval, install the correct filter, and follow the maintenance interval for the vehicle.
Heavy sludge or metal debris
Seek diagnosis before using additives or flushing products. The contamination may indicate an underlying lubrication or mechanical problem.
How to Tell Whether Cleaning or Replacement Is Necessary
Cleaning is worth considering only when the problem is accessible contamination and the sensor remains serviceable. Replacement becomes more appropriate when diagnostic testing confirms a failed sensor, its housing is damaged, the connector is compromised beyond repair, or the manufacturer specifies replacement instead of cleaning.
The most important step is to distinguish a faulty pressure signal from actual low engine oil pressure. A dashboard warning does not prove that the sensor is bad. A mechanical oil pressure gauge or another manufacturer-approved pressure test can help establish actual pressure under the specified test conditions.
Source: hitchesguide.com
Consider cleaning
Visible external grime or removable connector contamination is present, the component is undamaged, and the service procedure permits cleaning.
Consider electrical diagnosis
The warning is intermittent, a trouble code is present, or the signal changes when wiring or connector faults are investigated.
Consider replacement
The sensor fails the prescribed test, has physical damage, or is not designed to be cleaned or repaired internally.
Stop and investigate engine pressure
The warning persists, the gauge shows abnormal pressure, or the engine develops knocking, ticking, or other signs that could indicate inadequate lubrication.
What If the Oil Pressure Warning Light Stays On?
If the red oil pressure warning remains on while the engine is running, pull over safely and shut the engine off. Check the oil level when it is safe to do so, but understand that a normal dipstick reading does not confirm adequate oil pressure. Do not restart or drive the vehicle when low pressure remains a realistic possibility.
A qualified technician can inspect the wiring, compare scan-tool data where supported, and measure actual oil pressure with the correct gauge and procedure. Depending on the findings, the cause may be the sensor, wiring, a restricted oil pickup, a failing oil pump, excessive bearing clearance, or another lubrication-system problem.
Do not ignore engine noise
Knocking or pronounced ticking combined with a pressure warning can indicate a serious lubrication problem. Stop the engine and arrange professional assistance.
Do not assume a sensor fault
Replacing or cleaning a sensor without verifying oil pressure can leave a dangerous mechanical problem unresolved.
Common Mistakes When Cleaning an Oil Pressure Sensor
The most common mistake is treating every oil pressure warning as a dirty-sensor problem. A warning can result from actual low pressure, electrical faults, or a defective sensor, and each condition requires a different response. Cleaning should follow diagnosis rather than replace it.
Source: cityofclovis.org
Using diesel oil to wash the sensor
Engine oil is not a purpose-designed cleaning solvent and may leave more residue behind.
Spraying solvent into the sensor opening
The product may damage internal components or move debris into a sensitive pressure passage. Clean only areas explicitly approved by the manufacturer.
Using aggressive chemicals indiscriminately
Some cleaners can attack plastics, rubber seals, coatings, or electrical insulation. Verify compatibility before application.
Removing the sensor without checking the procedure
The part may require a particular socket, seal, torque value, or replacement procedure. Incorrect installation can cause oil leaks or thread damage.
Driving to see whether the warning clears
A persistent oil pressure warning can indicate a threat to the engine. Verify actual pressure before returning the vehicle to service.
A Practical Decision Guide for a Dirty Oil Pressure Sensor
Use the symptom and location of the contamination to choose the next step. This decision guide is a general troubleshooting aid, not a substitute for model-specific service instructions.
Source: cbgbfest.com
Oil on the outside of the sensor
Inspect nearby leak sources and clean the exterior with an approved method. Repair any failed seal or leaking component.
Oil or corrosion in the connector
Inspect the terminals and seals, use a compatible electrical cleaner only when permitted, and replace damaged connector components as required.
Warning light with normal-looking oil level
Do not assume pressure is normal. Check diagnostic codes and verify actual oil pressure using the prescribed test.
Persistent fault after cleaning
Test the sensor and circuit. Replace the sensor if it fails the specified test, or diagnose the engine lubrication system if pressure is abnormal.
Sludge or debris in the oil system
Investigate oil maintenance history and possible internal contamination. Obtain professional help when restricted passages or engine damage are suspected.
Frequently Asked Questions
Q
Can diesel engine oil dissolve sludge on an oil pressure sensor?
Diesel engine oil is not a dependable sludge remover for an oil pressure sensor. It may soften some oily residue, but hardened deposits and restricted passages may require a specific service procedure. Do not soak the sensor or force oil through its pressure opening unless the manufacturer explicitly permits that method.
Q
Can I soak an oil pressure sensor in diesel fuel or diesel oil?
No, not unless the vehicle or sensor manufacturer explicitly approves immersion in the specified substance. Diesel fuel and diesel engine oil are different products, and neither should be assumed safe for sensor electronics, seals, or plastic components. Use an approved cleaning method or replace a sensor that cannot be serviced.
Q
Will cleaning a dirty oil pressure sensor turn off the warning light?
It may help if accessible contamination is causing a permitted, correctable connection problem, but cleaning will not fix actual low oil pressure, damaged wiring, or a failed sensor. If the warning stays on, shut the engine off and verify actual pressure before driving.
Q
Can I use brake cleaner on an oil pressure sensor?
Do not assume brake cleaner is safe for an oil pressure sensor. Formulations vary, and some products may damage plastics, seals, coatings, or electrical components. Use brake cleaner only if the specific product and the vehicle manufacturer’s service instructions explicitly allow the intended application.
Q
Can dirty engine oil cause an oil pressure sensor problem?
Contaminated or degraded engine oil can contribute to deposits in an oil passage and may be associated with lubrication problems. However, dirty oil does not automatically mean the sensor itself is dirty or defective. Check oil condition, the maintenance history, the electrical circuit, and actual pressure as appropriate.
Q
Should I replace an oil pressure sensor instead of cleaning it?
Replace the sensor when the prescribed diagnostic test confirms failure, its housing is damaged, or the manufacturer does not permit cleaning or repair. If contamination is limited to an accessible connector or exterior surface, approved cleaning may be sufficient. Diagnose the cause before replacing parts unnecessarily.
Q
Is it safe to drive with a dirty oil pressure sensor?
A dirty exterior alone does not necessarily make a vehicle unsafe to drive. A persistent oil pressure warning, abnormal pressure reading, or engine noise is different and may indicate inadequate lubrication. Stop the engine and arrange diagnosis rather than assuming the warning is caused by dirt.
✦ Wrapping Up
Conclusion
Diesel engine oil is not a reliable cleaning solution for a dirty oil pressure sensor. Although it may loosen some oily residue, it can leave a film behind and will not repair a failed sensing element, damaged wiring, or a restricted oil passage. The appropriate response depends on where the contamination is located and whether the sensor’s design permits cleaning.
Inspect the sensor and connector, use only a compatible manufacturer-approved cleaner, and verify the actual oil pressure if a warning light or abnormal reading is present. When testing confirms sensor failure, replacement is generally more appropriate than repeated cleaning. If low oil pressure is possible, avoid running the engine until the problem has been assessed.
💡 Key Takeaway
Do not use diesel engine oil to clean an oil pressure sensor. First identify the contamination, follow the vehicle-specific cleaning procedure, and verify actual oil pressure before driving if the warning light is on.
Ethan Brooks is an automotive writer at Auto News 7, covering car news, vehicle maintenance, new model updates, recalls, and practical buying guides. He focuses on clear, useful information that helps drivers understand their vehicles and make better ownership decisions.
Learn how to ground oil pressure sensor circuits safely, identify the correct ground path, test continuity and voltage, and avoid common wiring mistakes.
Learn what an oil pressure sensor switch does, how it works, where it is located, common failure symptoms, and how to diagnose oil pressure problems safely.
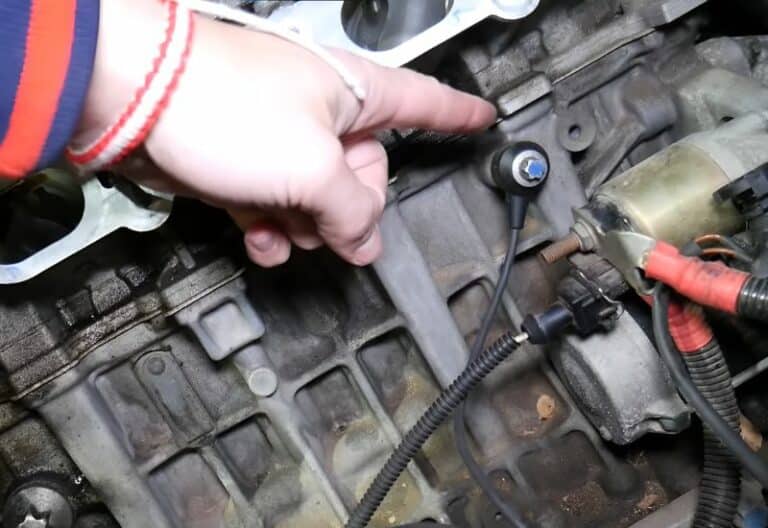
Learn how to test a knock sensor Chevy vehicle using a scan tool, multimeter, and physical inspection. Follow this step-by-step guide to diagnose knock sensor problems accurately.
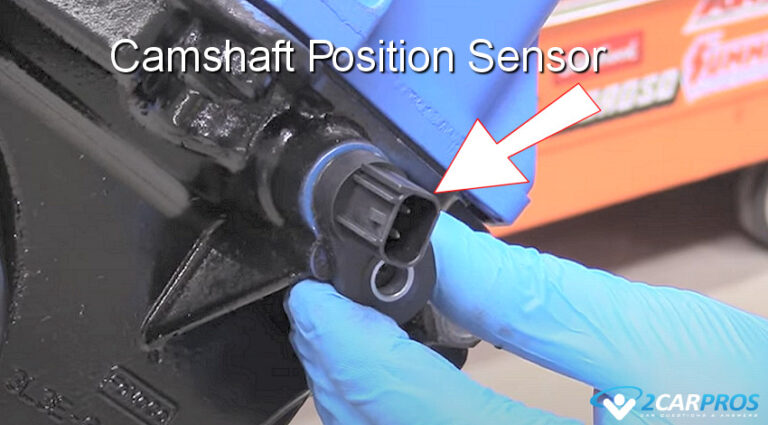
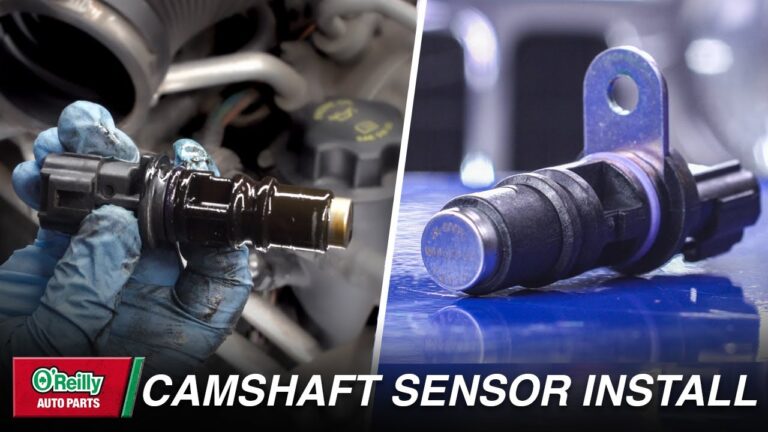
Learn how to remove a camshaft position sensor safely with this detailed step-by-step guide. Discover required tools, common mistakes, troubleshooting tips, and what to do after removal.