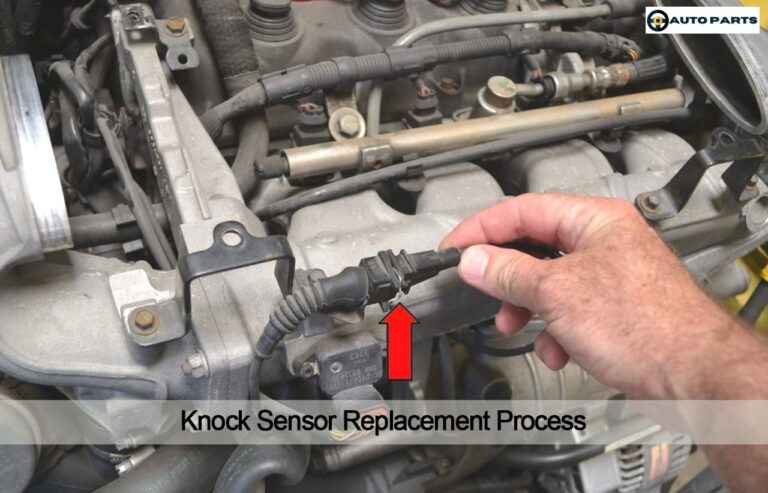
To test a Chevy knock sensor, scan for fault codes, inspect wiring, and verify sensor response with a multimeter or scan tool.
Across the United States, Chevrolet trucks and SUVs commonly use knock sensors to detect engine vibration caused by detonation or spark knock. When the sensor fails, drivers may notice reduced performance, poor fuel economy, or a check engine light.
Understanding how to test a knock sensor Chevy vehicle can help identify whether the sensor, wiring harness, connector, or engine control module is responsible for the problem. A systematic diagnosis prevents unnecessary parts replacement and improves repair accuracy.
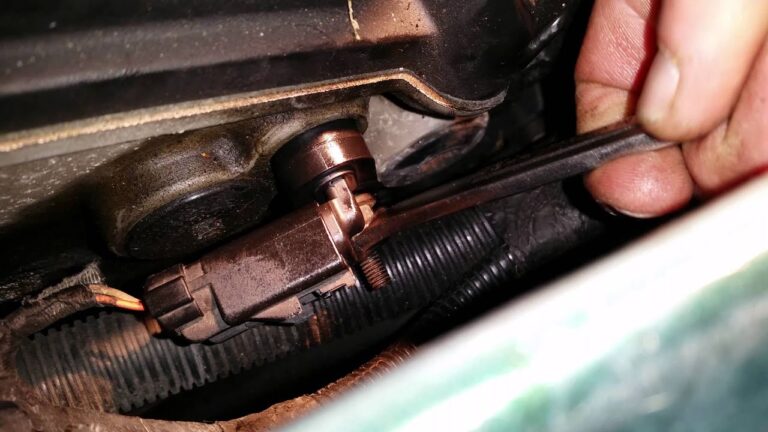
Source: safetyfic.com
What Does a Chevy Knock Sensor Do?
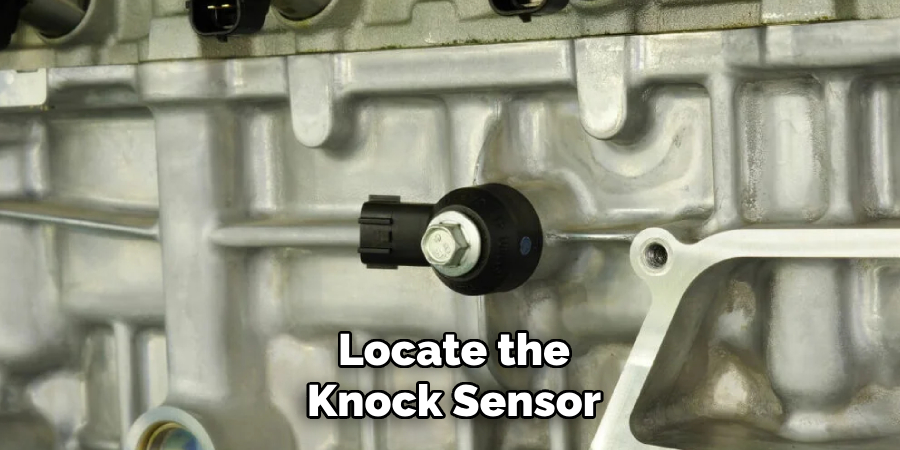
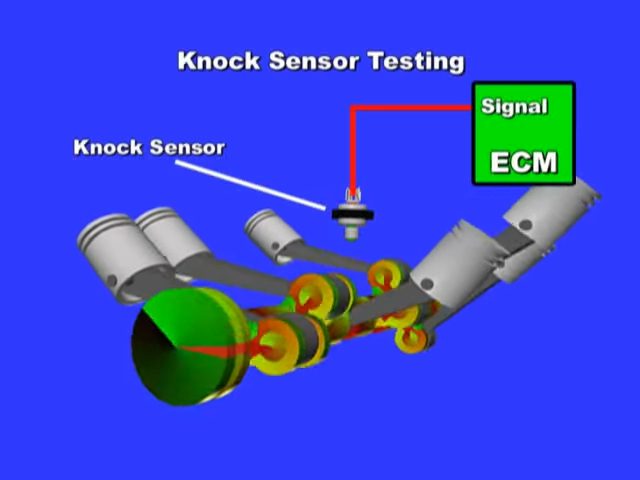
A knock sensor monitors engine vibrations and sends signals to the engine control module. When abnormal combustion occurs, the module adjusts ignition timing to protect the engine from damage.
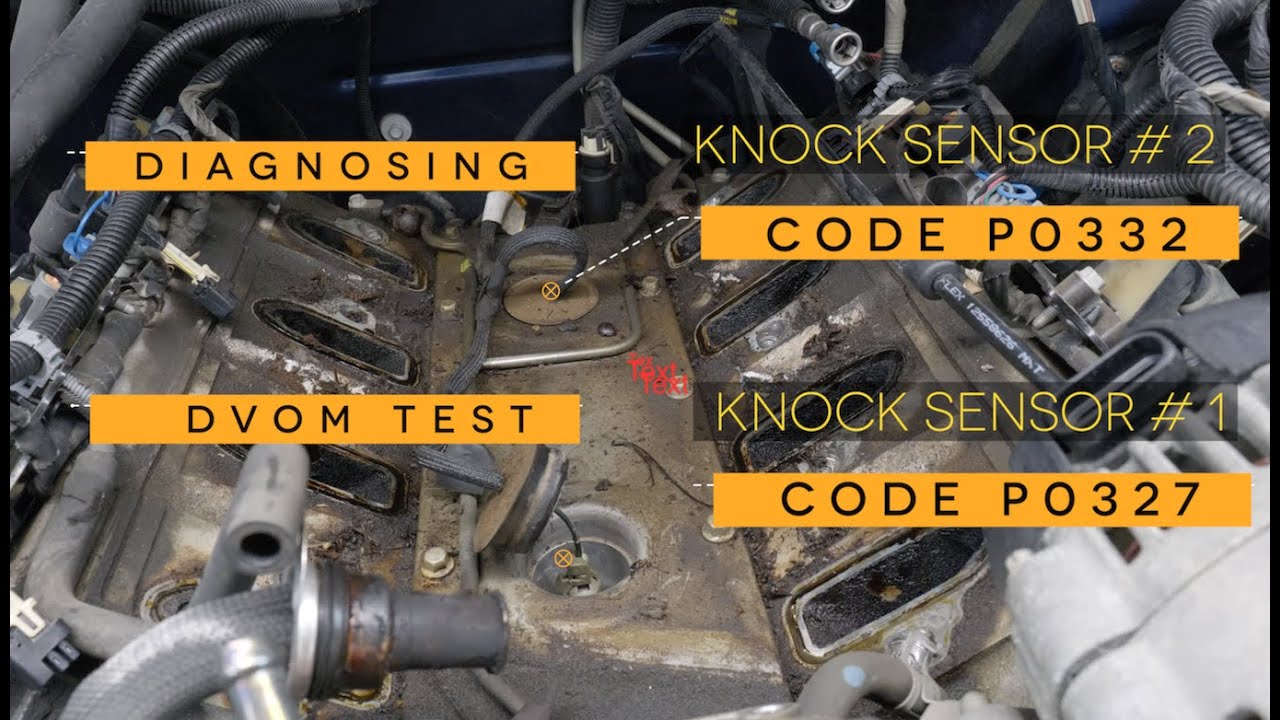
Many Chevrolet V8 engines use one or two knock sensors mounted in the engine block or beneath the intake manifold. Their location varies by model and engine generation.
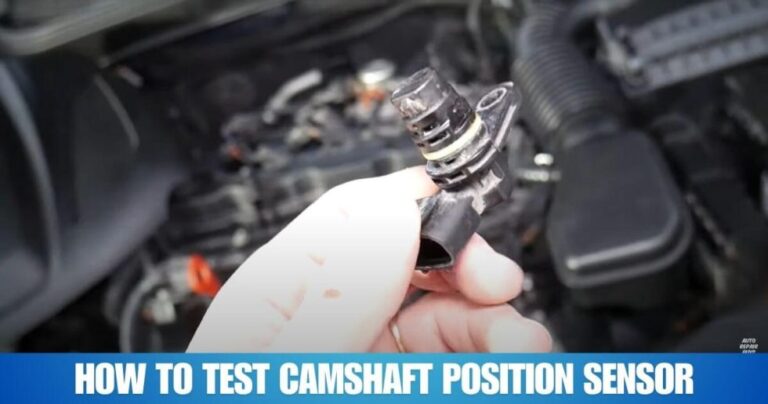
Source: i.ytimg.com
Primary Function
Detect engine knock and pinging before damage occurs.
Engine Protection
Allows the control module to reduce ignition timing when necessary.
Common Symptoms of a Bad Knock Sensor
Common symptoms include a check engine light, reduced power, poor acceleration, lower fuel economy, and stored trouble codes such as P0327, P0332, P0325, or P0330.
Check Engine Light
One of the earliest indicators of a sensor or circuit issue.
Tools Needed to Test a Chevy Knock Sensor
Before beginning the diagnostic process, gather the necessary tools. Using proper equipment improves accuracy and reduces the risk of misdiagnosis.
Some tests require access to live engine data, while others focus on electrical resistance and circuit integrity.
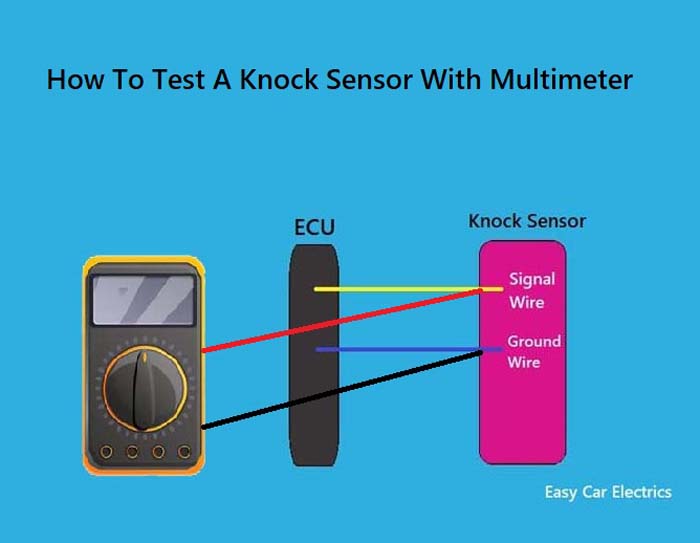
Source: toolsweek.com
OBD-II Scan Tool
Reads trouble codes and live sensor data.
Digital Multimeter
Measures voltage, continuity, and resistance.
Basic Hand Tools
Required for accessing sensors and connectors.
Safety Preparation
Park the vehicle on a level surface, set the parking brake, and allow the engine to cool before touching engine components.
Disconnect Battery
Recommended when performing electrical inspections.
How to Test a Knock Sensor Chevy Step by Step
The most effective approach is to diagnose the entire knock sensor circuit rather than focusing only on the sensor itself.
Follow the steps below in order. This process identifies whether the issue involves the sensor, wiring, connector, or control module.
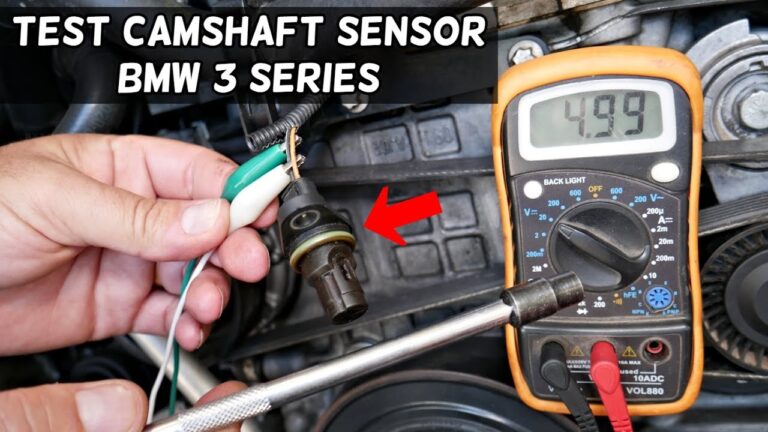
Source: i.ytimg.com
Step 1
Connect a scan tool and record all stored trouble codes.
Step 2
Inspect the sensor connector for corrosion, moisture, or damaged pins.
Step 3
Check the wiring harness for abrasion, broken insulation, or loose connections.
Step 4
Use a multimeter to verify circuit continuity according to the vehicle service specifications.
Step 5
Monitor knock sensor activity with a scan tool while lightly tapping near the sensor location.
Signs the Sensor Responds Correctly
A functioning sensor typically produces a measurable change in voltage or knock count data when engine vibrations are introduced. Lack of response may indicate a failed sensor or circuit problem.
Normal Response
Scan tool data changes when vibration is detected.
Using a Multimeter to Check the Knock Sensor
A digital multimeter can help verify whether the sensor circuit is open, shorted, or operating within specifications. Exact resistance values vary by Chevrolet model and engine.
Consult the service manual for your specific engine before interpreting resistance measurements.
Source: i.ytimg.com
Open Circuit
Infinite resistance may indicate a failed sensor or broken wiring.
Short Circuit
Extremely low resistance may suggest internal sensor damage.
When Measurements Look Normal
A sensor can pass a resistance test yet still fail under operating conditions. Live data testing is often necessary to confirm proper operation.
Combine Tests
Use both electrical and scan tool diagnostics for best results.
Common Causes of Chevy Knock Sensor Failure
A stored knock sensor code does not always mean the sensor itself is defective. Several related problems can trigger similar symptoms.
Identifying the root cause prevents repeat repairs and unnecessary expenses.
Source: i.ytimg.com
Water Intrusion
Moisture can damage sensors and connectors, especially on older trucks.
Damaged Harness
Broken or corroded wiring can interrupt sensor signals.
Loose Sensor
Incorrect torque may affect sensor performance.
Codes Often Associated With Knock Sensor Problems
Chevrolet vehicles commonly store P0327, P0332, P0325, or P0330 when the control module detects abnormal sensor activity.
Code Interpretation
Always verify code definitions for the specific vehicle model.
When a Knock Sensor Should Be Replaced
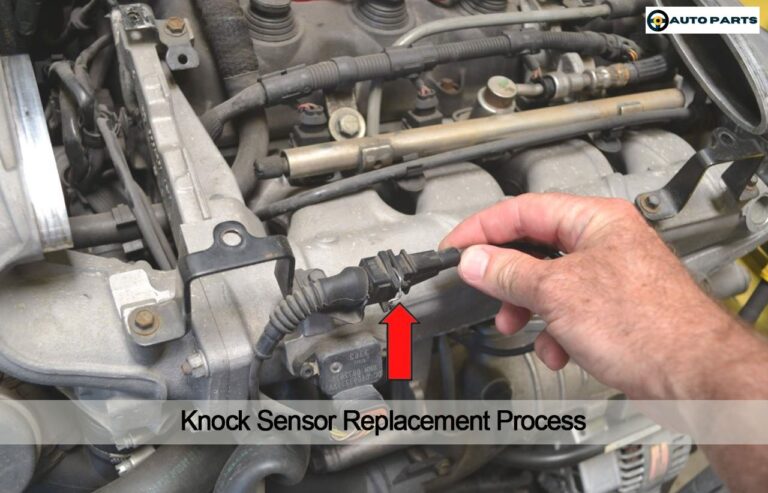
Replace the sensor when testing confirms a failed component, damaged housing, water intrusion, or an internal electrical fault.
If wiring and connectors test correctly but the sensor produces no response during live testing, replacement is generally the next step.
Source: i.ytimg.com
Replace After Diagnosis
Avoid replacing parts until testing confirms failure.
Use Correct Torque
Improper installation torque can affect sensor operation.
After Replacement
Clear diagnostic codes, perform a road test, and verify that the fault does not return.
Final Verification
Confirm normal engine performance and absence of warning lights.
Frequently Asked Questions
Q
Can I drive with a bad Chevy knock sensor?
You can often drive temporarily, but performance may decrease and engine protection strategies may activate. Prolonged operation without proper diagnosis is not recommended.
Q
What trouble codes indicate a bad knock sensor?
Common Chevrolet knock sensor codes include P0325, P0327, P0330, and P0332. Additional diagnosis is required because wiring faults can trigger the same codes.
Q
Can a multimeter test a knock sensor accurately?
A multimeter can identify some electrical faults, but it may not reveal all performance issues. Combining multimeter testing with live scan tool data provides a more complete diagnosis.
Q
Why does a new knock sensor still trigger a code?
Possible causes include damaged wiring, connector corrosion, moisture intrusion, incorrect installation torque, or an unresolved engine control issue.
Q
Where is the knock sensor located on a Chevy Silverado?
Location varies by engine. Many V8 Silverado models place the sensor beneath the intake manifold or in the engine block valley, while newer engines may use different mounting points.
✦ Wrapping Up
Conclusion
Learning how to test a knock sensor Chevy vehicle involves more than checking the sensor itself. Accurate diagnosis requires evaluating fault codes, wiring, connectors, and live sensor performance.
Following a structured testing process can save time, reduce repair costs, and help ensure the engine remains protected from harmful detonation.
💡 Key Takeaway
Begin with a scan tool, inspect the entire circuit, verify sensor response, and replace components only after confirming the source of the fault.
Ethan Brooks is an automotive writer at Auto News 7, covering car news, vehicle maintenance, new model updates, recalls, and practical buying guides. He focuses on clear, useful information that helps drivers understand their vehicles and make better ownership decisions.
Learn how to remove a broken camshaft sensor safely and correctly. Follow this step-by-step guide to extract a stuck or broken camshaft position sensor without damaging the engine.
Learn how many ohms a camshaft sensor should have, why resistance varies by sensor type, and how to test a camshaft position sensor accurately with a multimeter.
Learn how to test a BMW camshaft position sensor using a scan tool, multimeter, and practical troubleshooting steps. Diagnose faults, symptoms, and sensor failures accurately.