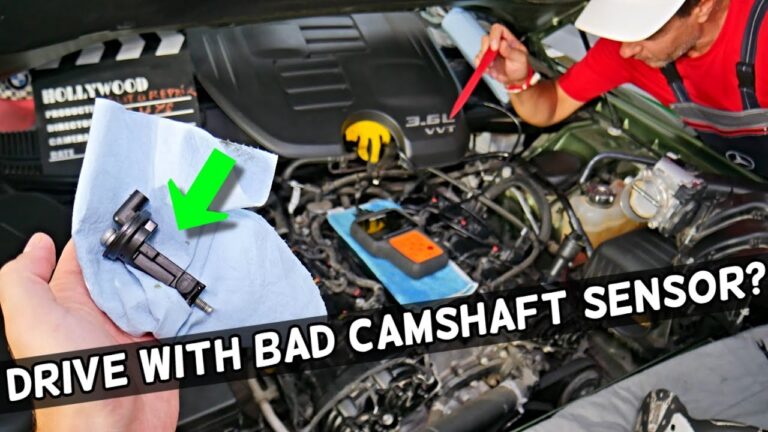
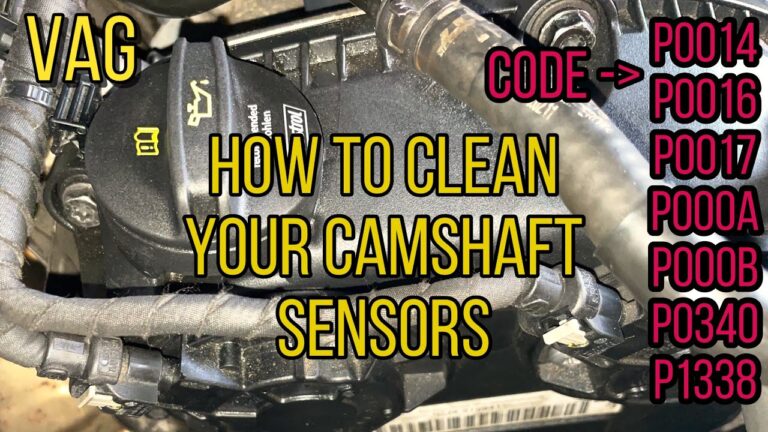
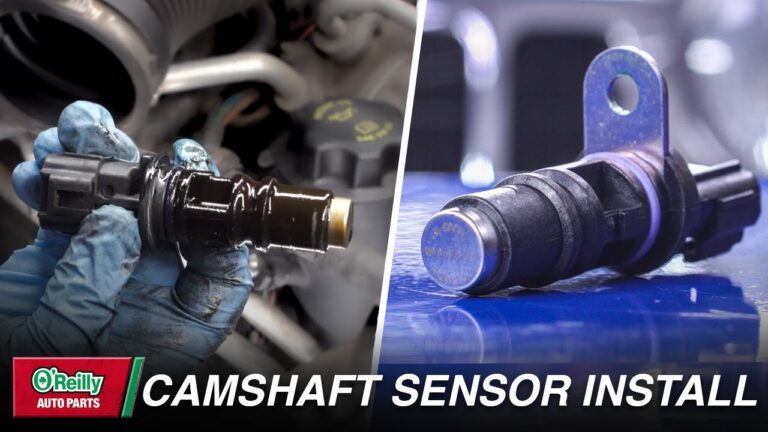
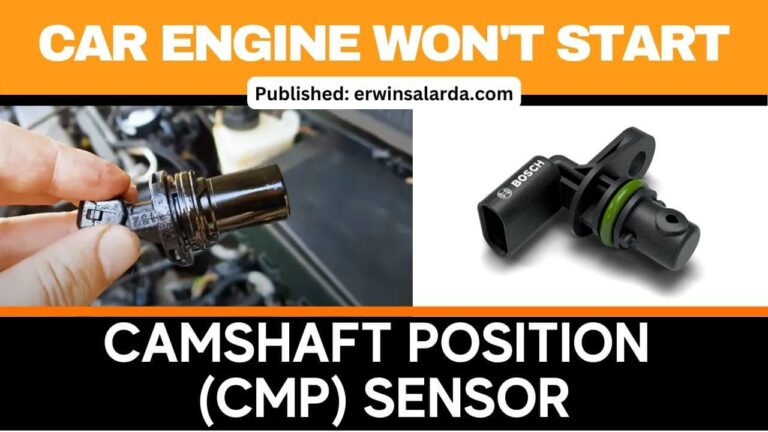
To remove a camshaft position sensor, disconnect the battery, locate the sensor, unplug the electrical connector, remove the retaining bolt, and carefully pull the sensor out of the engine.
Across the United States, many vehicle owners replace a camshaft position sensor when diagnosing a check engine light, hard starting, engine misfires, or poor performance. The exact location varies by vehicle make and engine design, but the removal process follows a similar pattern on most gasoline-powered vehicles.
Before beginning, consult your vehicle’s service information and work on a cool engine. Removing the sensor carefully helps prevent damage to the electrical connector, mounting bolt, and sensor bore, making installation of a replacement sensor much easier.
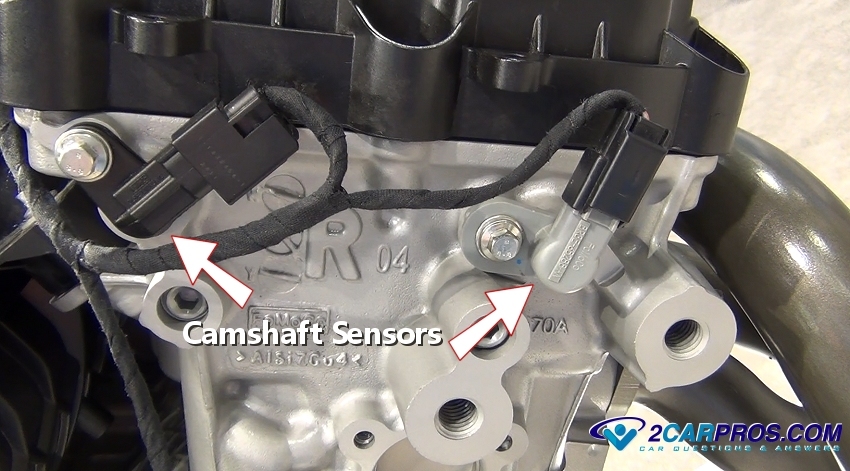
Source: 2carpros.com
What Is a Camshaft Position Sensor and Why Remove It?
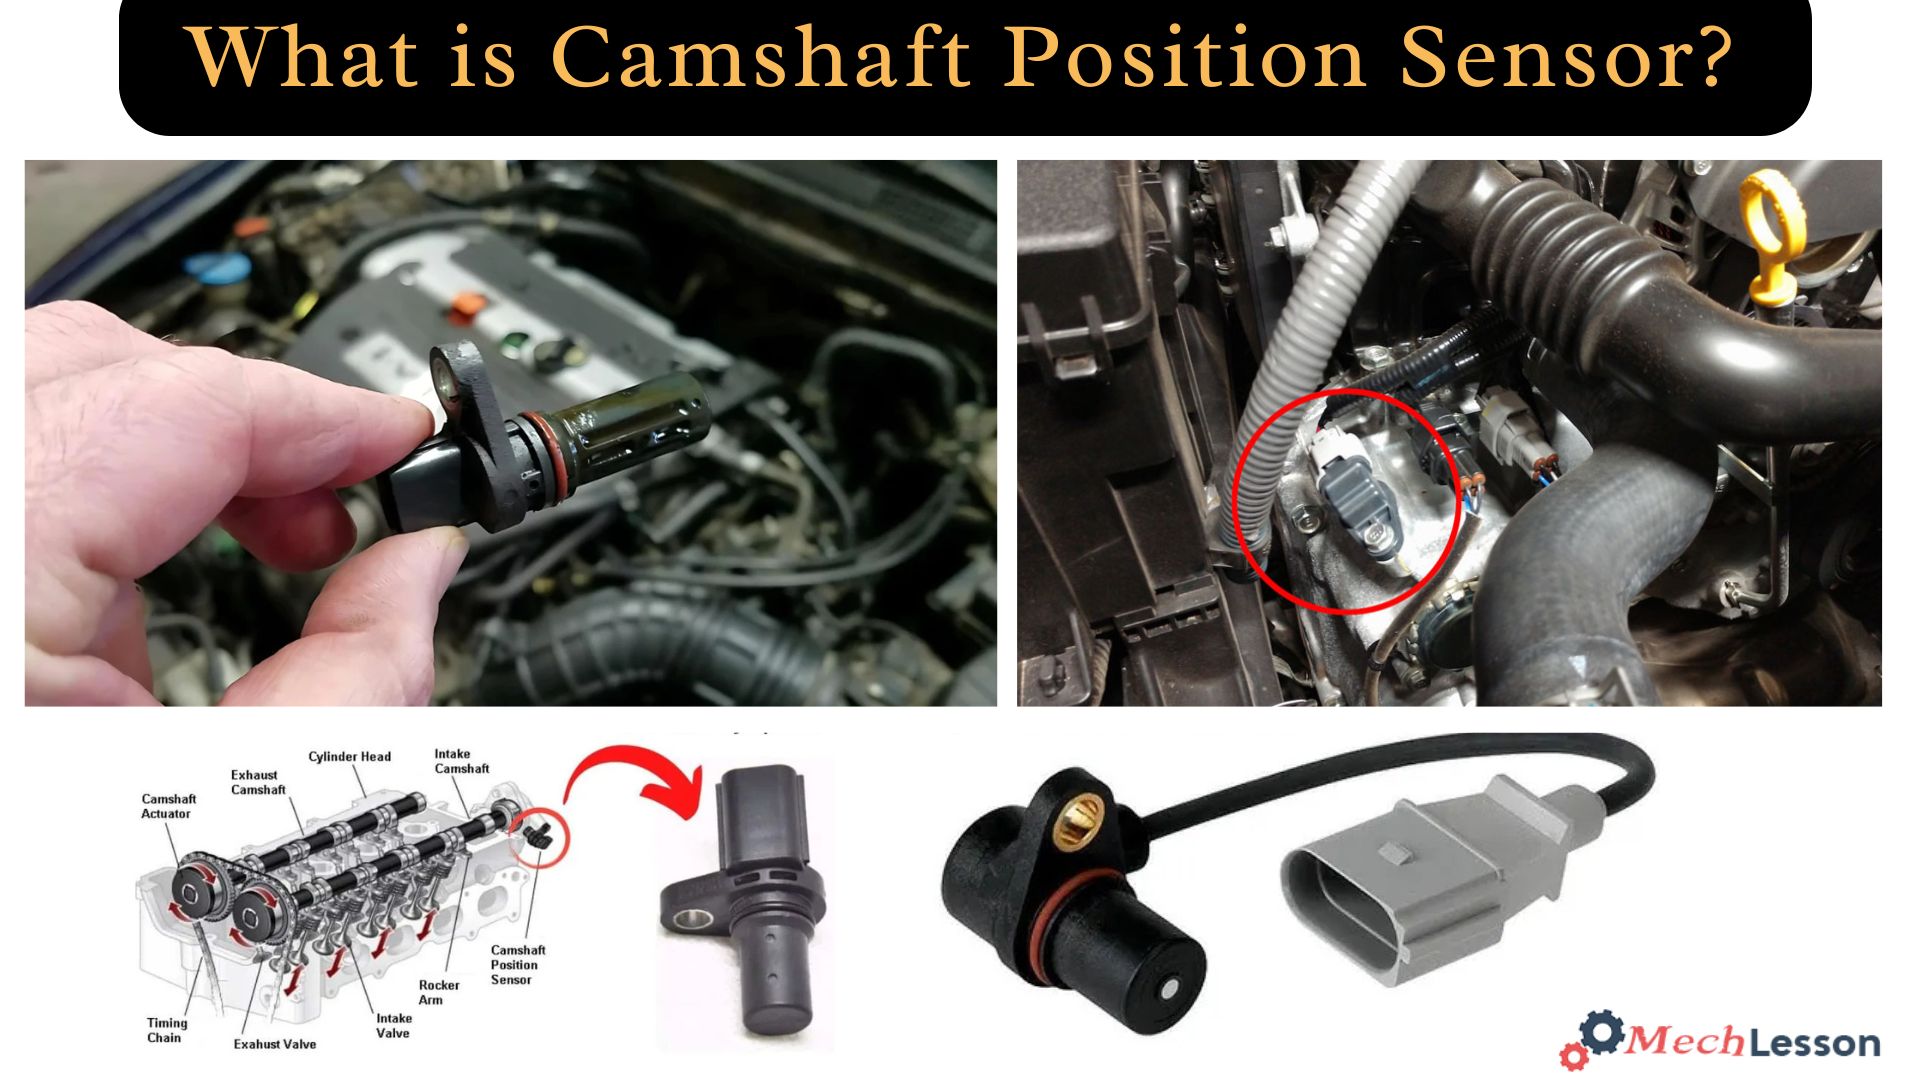
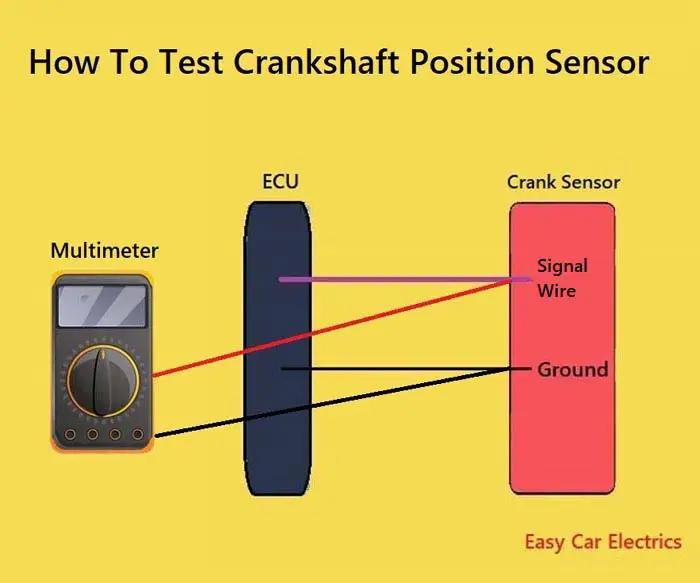
A camshaft position sensor monitors camshaft rotation and sends timing information to the engine control module. The computer uses this information to manage ignition timing, fuel injection, and engine performance.
You may need to remove the sensor when replacing a failed unit, diagnosing engine trouble codes, repairing oil leaks around the sensor, or inspecting the wiring harness.
Source: mechlesson.com
Common symptoms
Check engine light, rough idle, misfires, stalling, or hard starting.
Common repair reason
Replacement after a diagnostic trouble code indicates a sensor-related fault.
Where is the sensor located?
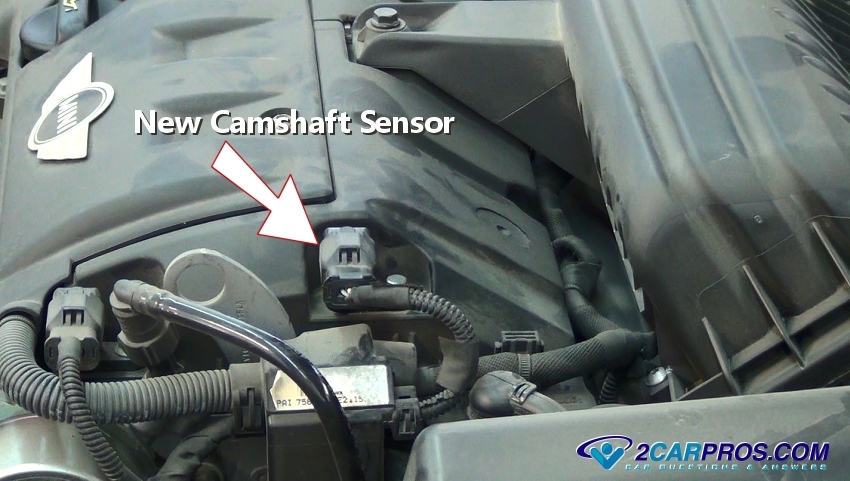
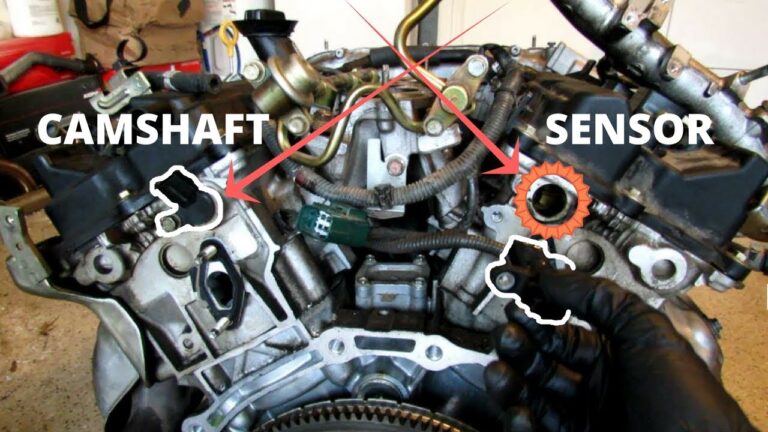
The sensor is commonly mounted near the camshaft, cylinder head, timing cover, or valve cover. Some engines have more than one camshaft position sensor.
Check service information
Verify the exact location before starting work.
Tools and Preparation Needed
Gathering the correct tools before starting saves time and reduces the risk of damaging components. Most sensors require only basic hand tools.
Park on a level surface, engage the parking brake, and allow the engine to cool completely before working in the engine bay.
Source: youtube.com
Socket set
Used to remove retaining bolts and covers.
Safety gloves
Protects hands from sharp edges and hot components.
Flashlight
Helps locate sensors in tight engine compartments.
Safety checklist
Disconnect the negative battery terminal and keep metal tools away from exposed electrical connections.
Cool engine
Avoid burns from hot engine parts.
How to Remove Camshaft Position Sensor Step by Step
Start by identifying the correct sensor. If your engine has multiple camshaft position sensors, verify which one requires removal.
Disconnect the electrical connector by pressing the locking tab and gently pulling the connector away from the sensor. Avoid pulling on the wires.
Remove the retaining bolt or fastener using the correct socket. Keep the fastener in a safe place for reinstallation.
Twist the sensor gently if it feels stuck. Then pull it straight out of the mounting bore. Some resistance is normal because of the sealing O-ring.
Source: epakistantrade.org
Step 1
Disconnect the battery.
Step 2
Locate and access the sensor.
Step 3
Unplug the electrical connector.
Step 4
Remove the retaining bolt.
Step 5
Pull the sensor out carefully.
Signs of successful removal
The sensor comes out without breaking the connector, damaging the mounting surface, or leaving pieces of the O-ring behind.
Inspect the opening
Check for debris, oil contamination, or damaged seals.
What If the Sensor Is Stuck?
A sensor may stick because of age, heat cycles, corrosion, or a hardened O-ring. Avoid excessive force that could crack the sensor housing or damage the engine.
Apply a small amount of penetrating lubricant around the sensor base if appropriate for your vehicle. Rotate the sensor gently while pulling outward.
Source: 2carpros.com
Do not pry aggressively
Excessive force can damage aluminum engine components.
Use patience
Small movements often free a stuck sensor.
When professional help is needed
If the sensor breaks inside the mounting bore or access requires major engine disassembly, professional repair may be the safest option.
Complex engines
Some designs require removal of additional components.
What to Do After Removing the Sensor
Compare the old sensor with the replacement part to confirm matching connector shape, mounting style, and dimensions.
Inspect the wiring harness for damage and clean the mounting area before installing the new sensor. Replace damaged O-rings or seals as required.
After installation, reconnect the battery, clear diagnostic codes if necessary, and test drive the vehicle.
Source: storage.googleapis.com
Check wiring
Look for corrosion, broken insulation, or loose terminals.
Verify operation
Confirm that warning lights and symptoms are resolved.
When problems remain
If the check engine light returns, additional diagnosis may be needed. Wiring faults, timing issues, or engine control module problems can create similar symptoms.
Scan for codes
Review any stored diagnostic trouble codes.
Frequently Asked Questions
Q
Can I remove a camshaft position sensor without disconnecting the battery?
Disconnecting the battery is recommended because it reduces the risk of accidental electrical shorts and protects sensitive electronics.
Q
How long does it take to remove a camshaft position sensor?
On many vehicles, removal takes between 15 and 60 minutes depending on sensor location and engine accessibility.
Q
Do all vehicles have only one camshaft position sensor?
No. Many modern engines have multiple camshaft position sensors, especially dual overhead camshaft designs.
Q
Can a bad camshaft position sensor prevent the engine from starting?
Yes. Some vehicles may experience extended cranking, hard starting, or a complete no-start condition when the sensor fails.
Q
Should I replace the O-ring when changing the sensor?
Yes. Replacing the O-ring helps prevent oil leaks and ensures a proper seal between the sensor and engine.
✦ Wrapping Up
Conclusion
Learning how to remove camshaft position sensor components is a manageable task for many vehicle owners with basic tools and careful preparation. The key steps are disconnecting the battery, locating the sensor, removing the connector and retaining bolt, and extracting the sensor without damaging surrounding components.
Take your time, follow vehicle-specific procedures, and inspect the wiring and mounting area before installing a replacement sensor. Proper removal helps ensure a successful repair and reliable engine performance.
💡 Key Takeaway
Gather the correct tools, verify the sensor location for your vehicle, and follow a careful step-by-step removal process to avoid unnecessary damage.
Ethan Brooks is an automotive writer at Auto News 7, covering car news, vehicle maintenance, new model updates, recalls, and practical buying guides. He focuses on clear, useful information that helps drivers understand their vehicles and make better ownership decisions.
Learn how to clean camshaft position sensor components safely with a simple step-by-step process, tools list, troubleshooting tips, and common mistakes to avoid.
Learn how to replace camshaft position sensor components with a detailed step-by-step guide, tools list, troubleshooting tips, safety advice, and common mistakes to avoid.