To sync camshaft and crankshaft sensors, verify mechanical timing, install sensors correctly, clear fault codes, and perform the manufacturer-required crankshaft position relearn procedure.
In the United States, camshaft and crankshaft sensor synchronization is a common diagnostic task when a vehicle shows timing correlation codes, rough running, hard starting, or reduced engine performance. Modern engine control modules depend on accurate signals from both sensors to manage ignition timing and fuel injection.
Learning how to sync camshaft and crankshaft sensors starts with understanding that the sensors themselves do not usually require manual adjustment. In most cases, synchronization is restored by correcting engine timing, repairing wiring faults, replacing failed components, and completing a relearn procedure with a compatible scan tool.
Source: triscan.dk
What Does Camshaft and Crankshaft Sensor Synchronization Mean?
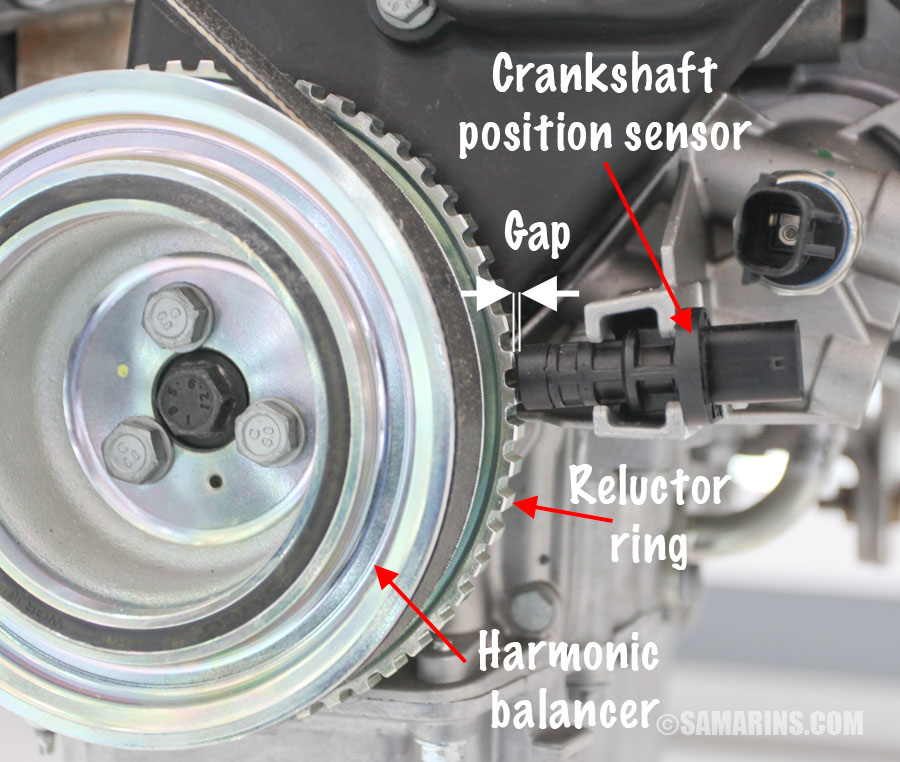
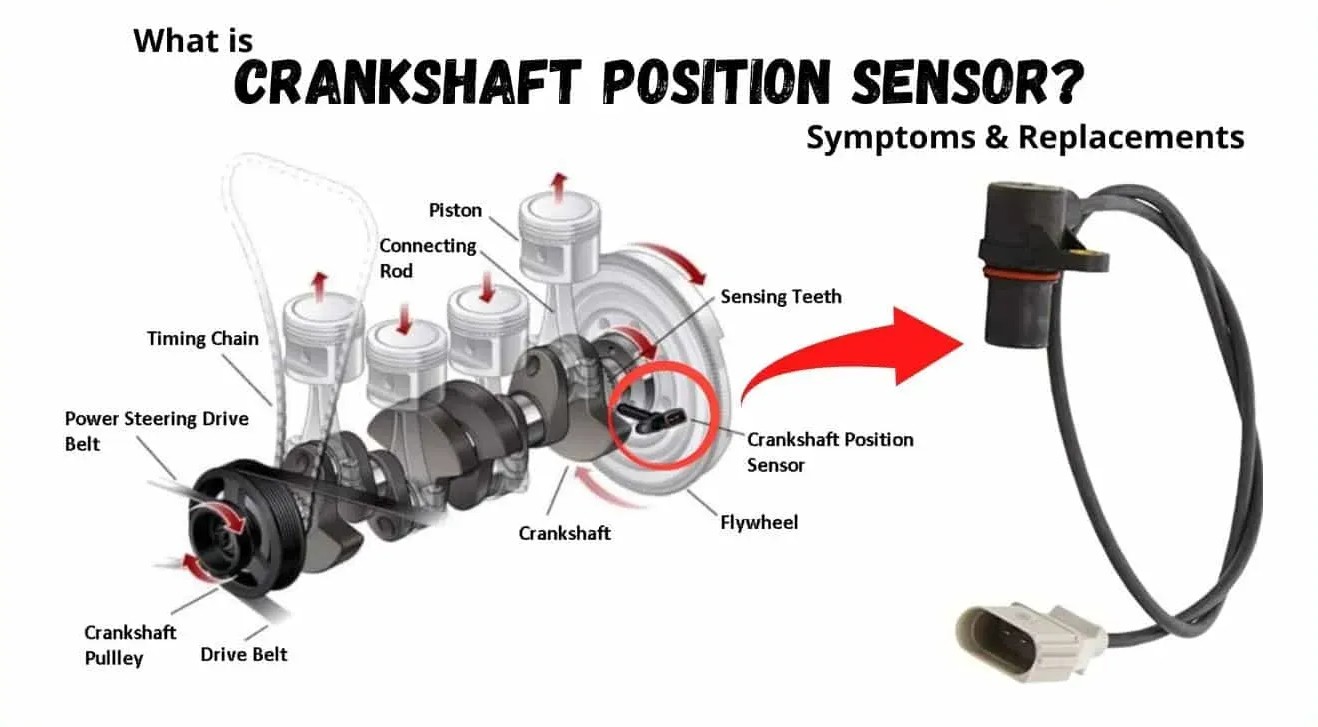
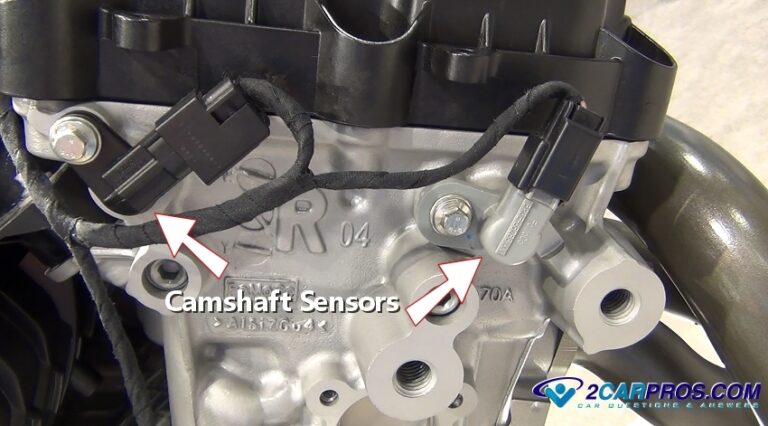
Synchronization means the engine control module can accurately compare crankshaft position with camshaft position. The crankshaft sensor tracks piston movement, while the camshaft sensor identifies valve timing and cylinder position.
When both signals match expected values, the engine can control ignition timing, fuel injection, variable valve timing systems, and emissions functions correctly.
Source: wagnerbrake.com
Crankshaft Sensor Role
Tracks crankshaft rotation speed and position.
Camshaft Sensor Role
Identifies valve timing and cylinder identification.
Signs of a Synchronization Problem
Common symptoms include a check engine light, extended cranking, rough idle, misfires, reduced power, stalling, or diagnostic trouble codes related to cam and crank correlation.
Common Codes
Codes such as P0016 through P0019 often indicate correlation issues.
Prerequisites Before Syncing the Sensors
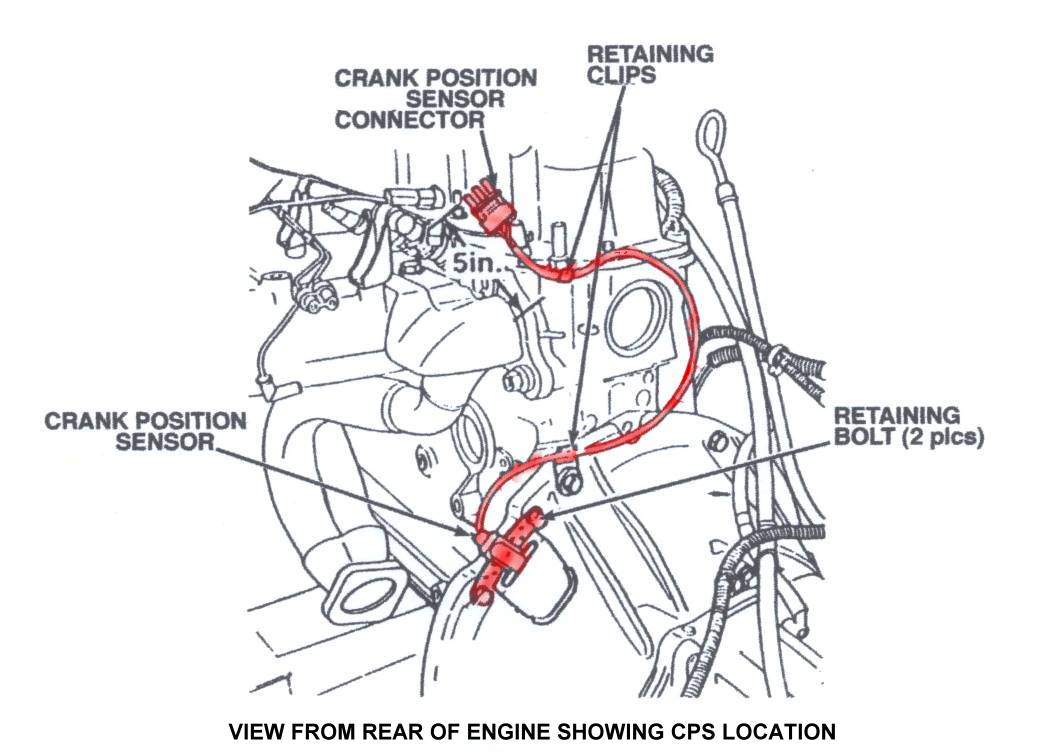
Before attempting any synchronization procedure, verify battery voltage, inspect wiring, confirm sensor connectors are secure, and check for active trouble codes.
You should also confirm that the timing chain or timing belt has not jumped timing. A relearn procedure will not fix a mechanical timing problem.
Source: ar.inspiredpencil.com
Required Tools
Scan tool, service information, multimeter, and basic hand tools.
Safety
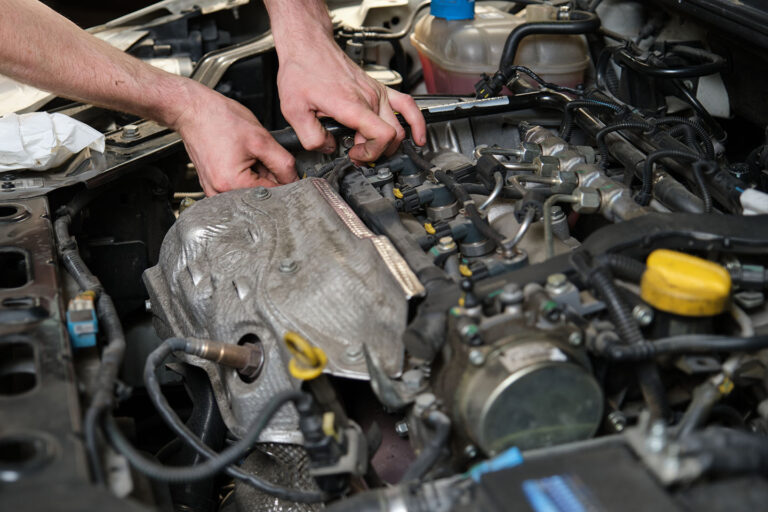
Work on a cool engine and follow manufacturer procedures.
Inspect Mechanical Timing First
If timing marks do not align correctly, repair the timing chain, belt, tensioner, or related components before continuing.
How to Sync Camshaft and Crankshaft Sensors Step by Step
The exact procedure varies by vehicle, but most synchronization repairs follow the same sequence. Correct the underlying fault first, then complete any required relearn process.
After repairs, clear stored codes and monitor live data to confirm proper correlation between the camshaft and crankshaft signals.
Source: obdtech.co.nz
Step 1
Repair timing, sensor, wiring, or connector issues.
Step 2
Install sensors correctly and verify connector engagement.
Step 3
Clear diagnostic trouble codes.
Step 4
Perform the crankshaft position relearn if required.
Step 5
Road test and verify no correlation codes return.
Performing a Relearn Procedure
Many modern vehicles require a scan tool relearn. The procedure allows the engine computer to record precise crankshaft variations and establish accurate synchronization values.
Verification
Confirm the relearn completed successfully using scan tool data.
Troubleshooting When Synchronization Fails
If the relearn procedure fails or correlation codes return, continue diagnosis instead of repeating the procedure. An unresolved mechanical or electrical issue is usually present.
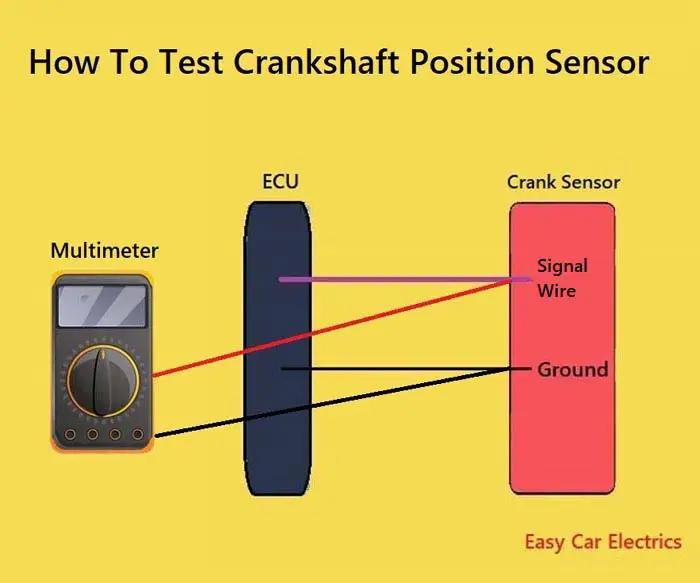
Data stream analysis with a professional scan tool can help identify timing offsets, missing sensor signals, or intermittent faults.
Source: lunghd.com
Timing Chain Wear
Stretched chains can create correlation errors.
Damaged Reluctor Wheel
Broken or shifted reluctor teeth can affect sensor readings.
Wiring Faults
Open circuits, shorts, or corrosion may interrupt signals.
Common Diagnostic Mistakes
Replacing sensors without checking timing components is a frequent mistake. Another common error is skipping the required relearn procedure after repairs.
Avoid Guessing
Verify faults with testing before replacing parts.
Signs That the Sensors Are Properly Synchronized
Successful synchronization is usually confirmed by normal engine operation, no active correlation codes, and stable live data readings.
The vehicle should start easily, idle smoothly, accelerate normally, and complete readiness monitors without returning camshaft or crankshaft-related faults.
Source: learnmech.com
No Correlation Codes
Diagnostic trouble codes remain cleared.
Stable Performance
Engine runs smoothly across different operating conditions.
When to Seek Professional Help
If advanced timing measurements, oscilloscope testing, or engine disassembly are required, professional diagnostic assistance may save time and prevent costly mistakes.
Professional Diagnostics
Useful for intermittent faults and complex timing issues.
Frequently Asked Questions
Q
Can a bad camshaft sensor cause synchronization issues?
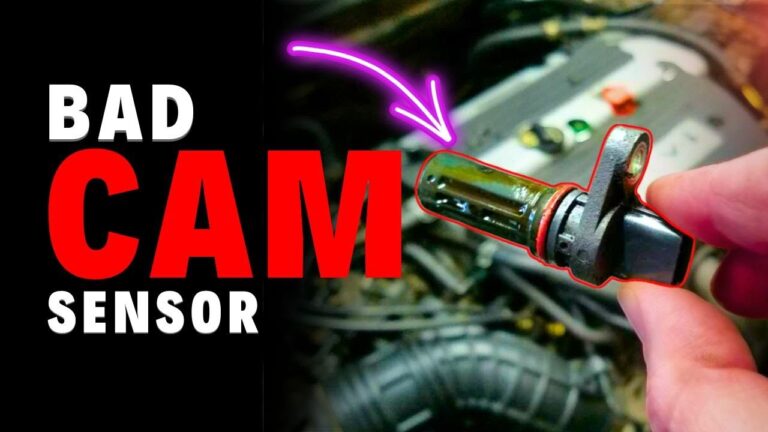
Yes. A faulty camshaft sensor can send inaccurate timing information to the engine control module and trigger correlation codes or drivability problems.
Q
Do all vehicles require a crankshaft relearn?
No. Requirements vary by manufacturer and model. Always check the service information for the specific vehicle.
Q
Will replacing both sensors automatically fix synchronization problems?
Not necessarily. Mechanical timing faults, wiring issues, damaged reluctor wheels, and computer-related problems can also cause synchronization errors.
Q
What trouble codes are associated with cam and crank correlation?
Codes in the P0016 to P0019 range are commonly associated with camshaft and crankshaft correlation faults.
Q
Can I drive with a camshaft and crankshaft correlation code?
Some vehicles remain drivable, but performance, fuel economy, and reliability may suffer. Continued driving could worsen underlying timing problems.
✦ Wrapping Up
Conclusion
Understanding how to sync camshaft and crankshaft sensors requires more than replacing parts. Successful synchronization depends on correct mechanical timing, healthy sensor signals, proper wiring, and completion of any required relearn procedure.
When correlation problems persist, focus on systematic diagnosis rather than repeated part replacement. Identifying the root cause is the fastest path to a reliable repair.
💡 Key Takeaway
Verify timing components first, repair any faults found, perform the correct relearn procedure, and confirm synchronization using scan tool data.
Ethan Brooks is an automotive writer at Auto News 7, covering car news, vehicle maintenance, new model updates, recalls, and practical buying guides. He focuses on clear, useful information that helps drivers understand their vehicles and make better ownership decisions.
Learn how to replace camshaft position sensor bank 1 with a clear step-by-step process, required tools, troubleshooting tips, and safety advice for DIY vehicle owners in the USA.
Learn how to replace intake camshaft position sensor with a detailed step-by-step guide, tools list, troubleshooting tips, safety advice, and common mistakes to avoid.
Learn how to remove a broken camshaft sensor safely and correctly. Follow this step-by-step guide to extract a stuck or broken camshaft position sensor without damaging the engine.