An oil pressure sensor should be tightened to the torque specification provided by the vehicle manufacturer, not to a universal tightness. The correct torque depends on the vehicle, engine, sensor design, thread size, and installation requirements. Use a torque wrench and the service manual whenever a specification is available.
For drivers and DIY mechanics in the United States, replacing an oil pressure sensor may seem like a straightforward repair, but tightening it incorrectly can create expensive problems. An under-tightened sensor may leak engine oil, while an over-tightened sensor can strip threads, crack a sensor housing, damage an engine component, or make future removal difficult.
There is no single torque value that applies to every oil pressure sensor. Some sensors use tapered pipe threads that seal as they tighten, while others use straight threads with a sealing washer or another specified sealing arrangement. The correct installation method depends on the exact application, so identify the vehicle’s year, make, model, engine, and replacement sensor before beginning.
This guide explains how to determine the correct tightening torque, install an oil pressure sensor safely, recognize common installation mistakes, and respond to leaks or persistent oil pressure warnings. If the warning indicates genuinely low engine oil pressure, stop the engine rather than assuming the problem is only a loose sensor.
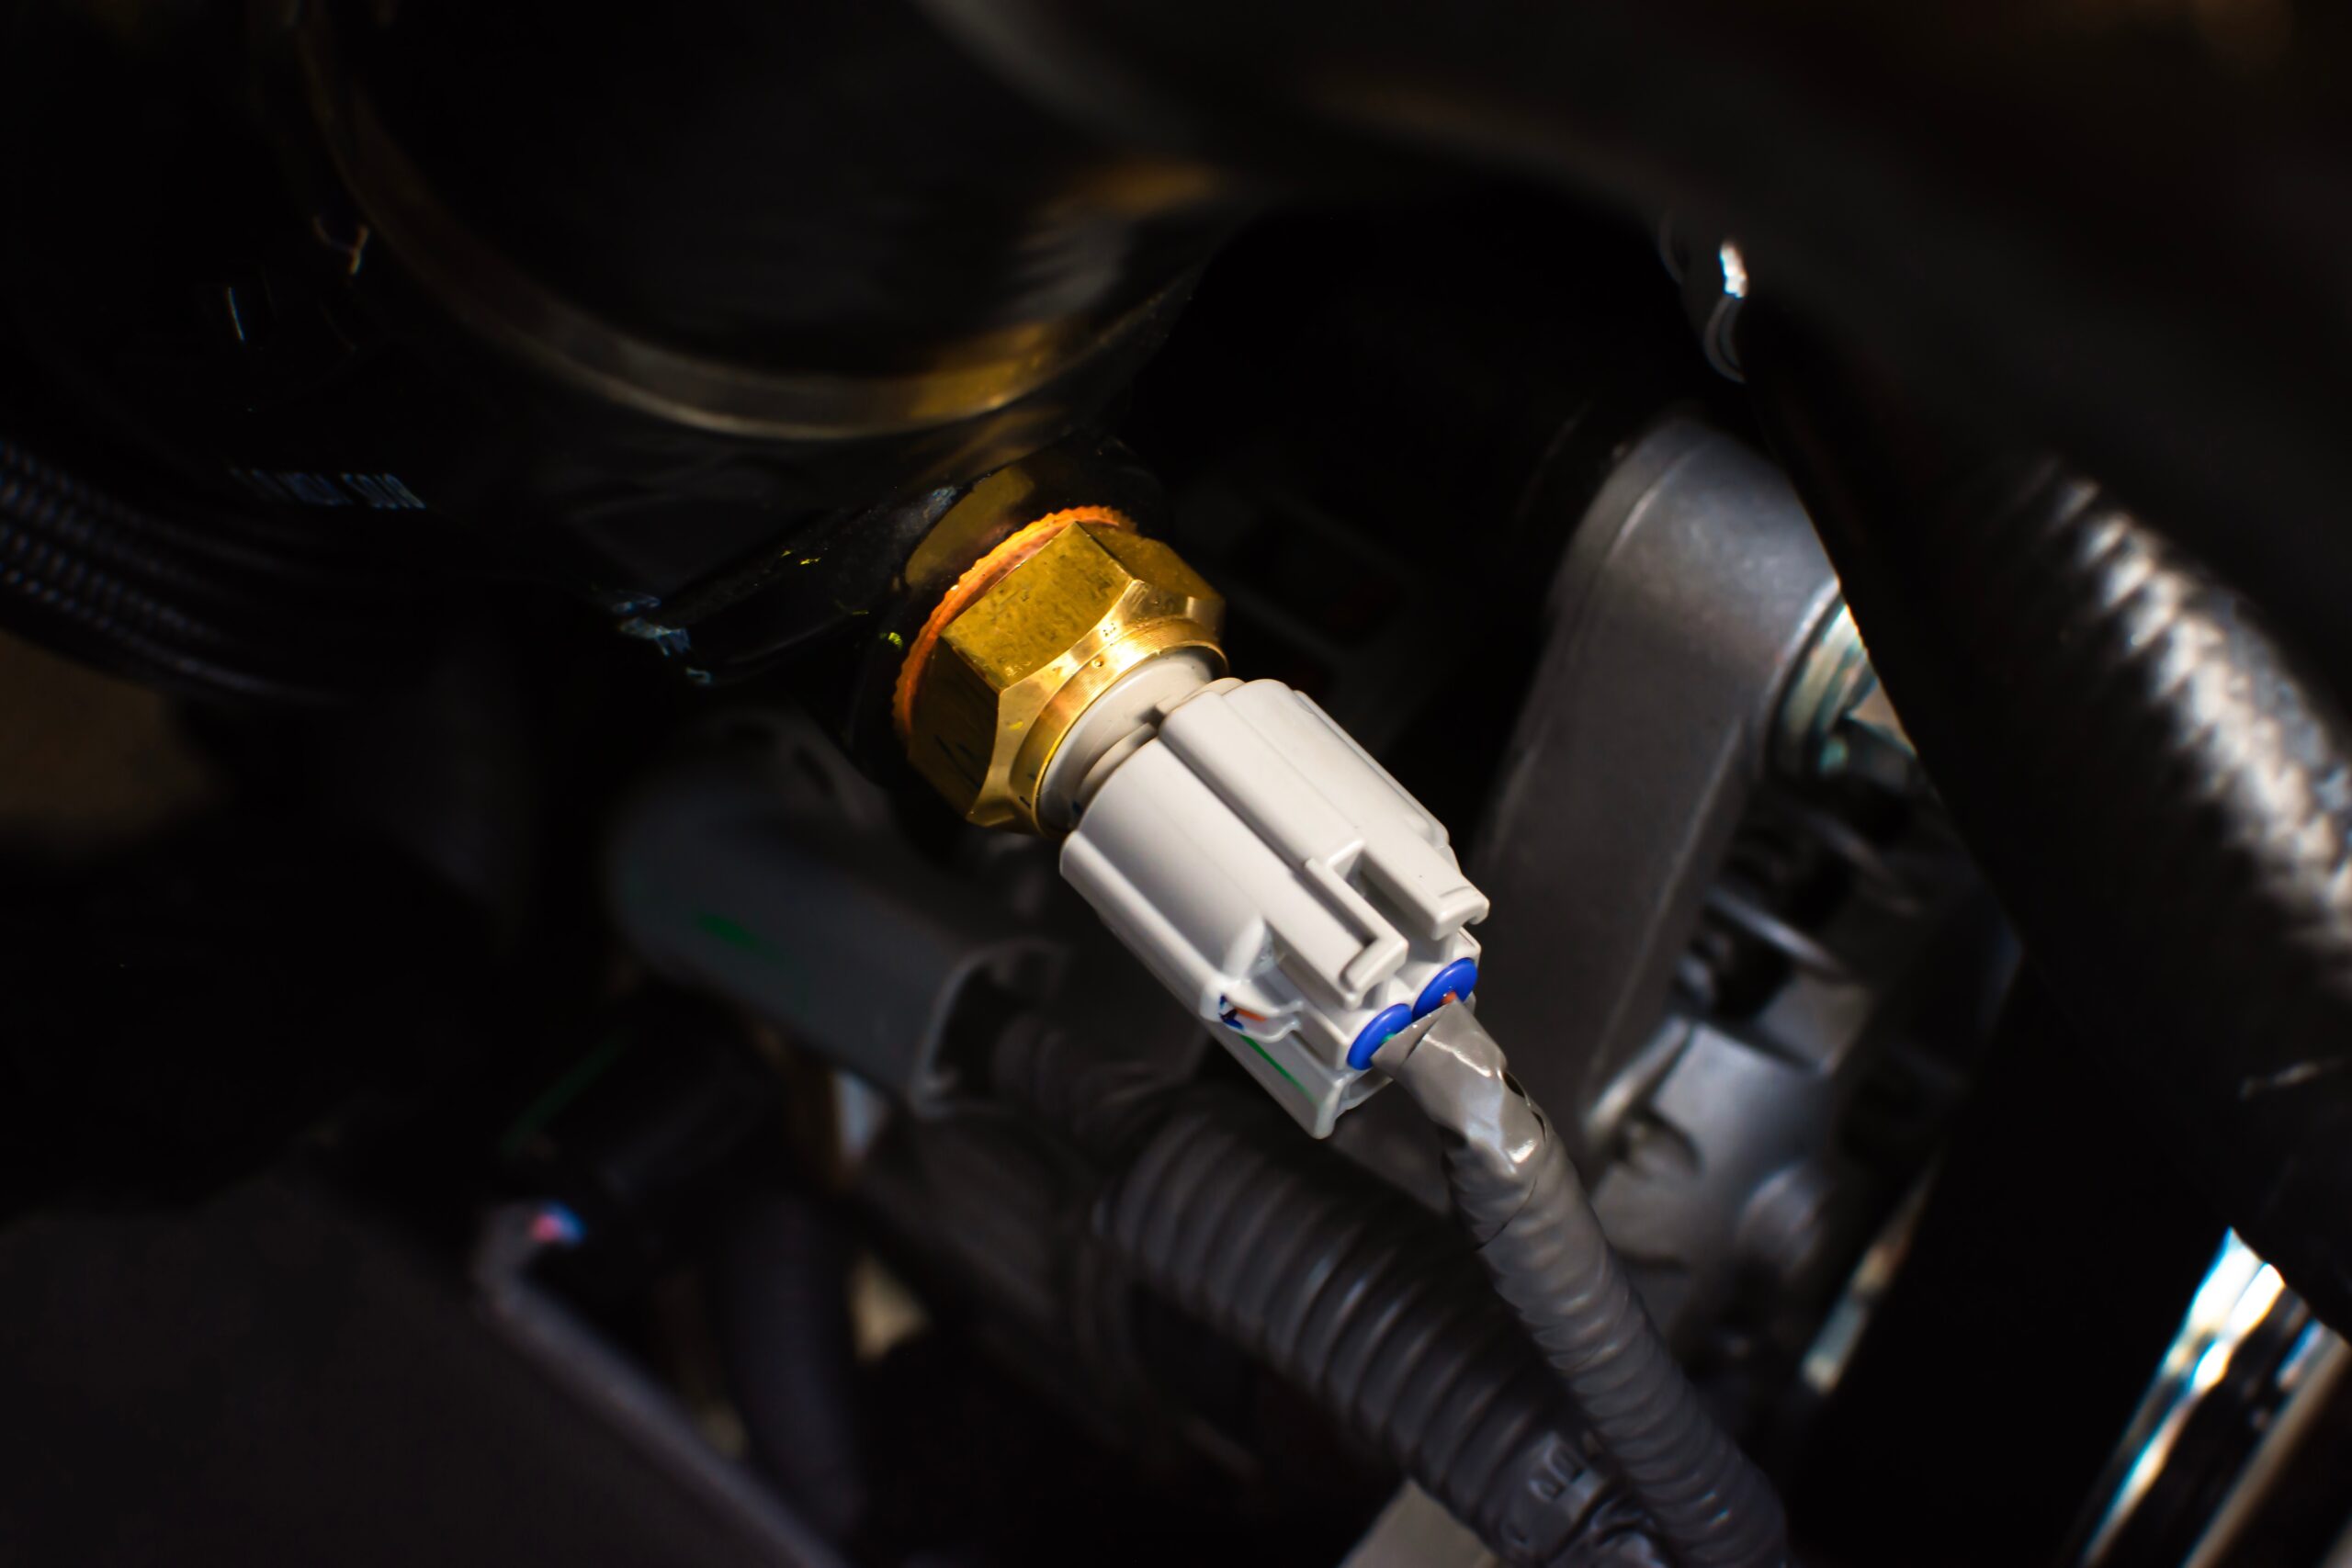
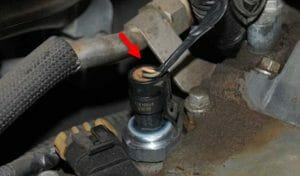
Source: efi-service.com
What Is the Correct Tightness for an Oil Pressure Sensor?
The correct tightness is the torque specified by the vehicle manufacturer for the particular oil pressure sensor and engine. Torque is the rotational force applied to a fastener, commonly measured in pound-feet (lb-ft), pound-inches (lb-in), or newton-meters (N·m). A torque specification helps achieve the intended seal without placing excessive stress on the threads or sensor body.
Do not assume that two sensors with similar shapes require the same torque. Their thread dimensions, sealing surfaces, materials, and mounting locations may differ. Even vehicles from the same manufacturer can use different specifications across engine families and model years.
Look up the repair procedure in the factory service manual or a reliable vehicle-specific service information database. Confirm that the stated specification applies to the oil pressure sensor or sending unit itself, rather than an adjacent oil filter housing, adapter, retaining bolt, or engine plug.
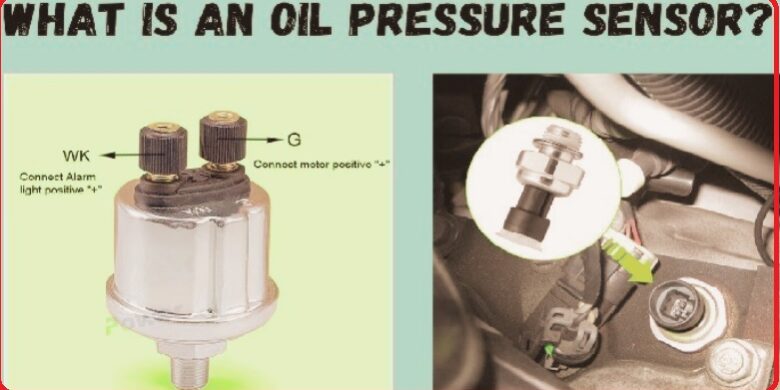
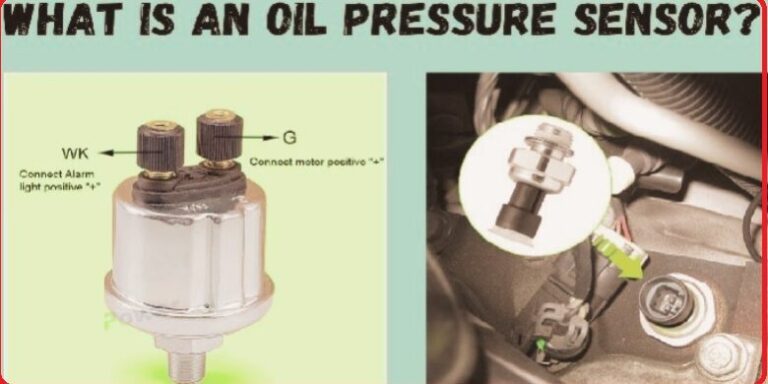
Source: theengineeringknowledge.com
Factory torque specification
Use the value specified for the exact engine and sensor installation. Follow any instructions concerning thread condition, sealant, washer replacement, and tightening sequence.
Thread design
Tapered pipe threads and straight threads with sealing washers work differently. Their tightening requirements are not interchangeable.
Sensor and mounting materials
A sensor installed in an aluminum engine housing may be particularly vulnerable to thread damage from excessive force. The specified torque remains the deciding factor.
Is There a Universal Oil Pressure Sensor Torque?
No. A single torque recommendation cannot safely cover every oil pressure sensor. Generic instructions that say to tighten a sensor until it feels snug may be inadequate, especially when the sensor threads directly into an engine block, cylinder head, or oil filter housing.
If you cannot find the exact specification, identify the sensor part number and consult the vehicle manufacturer’s service information or the sensor manufacturer’s installation instructions. Do not substitute a guessed torque value based only on thread diameter or the size of the wrench.
Avoid guessed specifications
A torque value for a different engine or sensor may cause leaks or mechanical damage, even if the parts look similar.
Confirm the measurement units
Check whether the specification is given in N·m, lb-ft, or lb-in. Confusing pound-inches with pound-feet can produce a substantial tightening error.
Why Correct Oil Pressure Sensor Torque Matters
Correct tightening helps the sensor remain secure, maintain its intended seal, and withstand normal engine vibration and operating conditions. The purpose is not to make the sensor as tight as possible; it is to achieve the specified clamping force or thread engagement without damaging the installation.
Over-tightening is especially concerning when a sensor screws into a softer aluminum component. Excessive force can damage internal threads, crack a mounting boss, deform a sealing washer, or damage the sensor. Repairs involving stripped engine threads may require specialized thread restoration or component replacement.
Under-tightening can also create problems. Depending on the design, a sensor that is not seated correctly may leak oil, loosen with vibration, or fail to establish the intended seal. However, a leak does not automatically mean the sensor needs more torque. Incorrect sealant, a damaged sealing washer, cross-threading, or a defective sensor can produce similar symptoms.
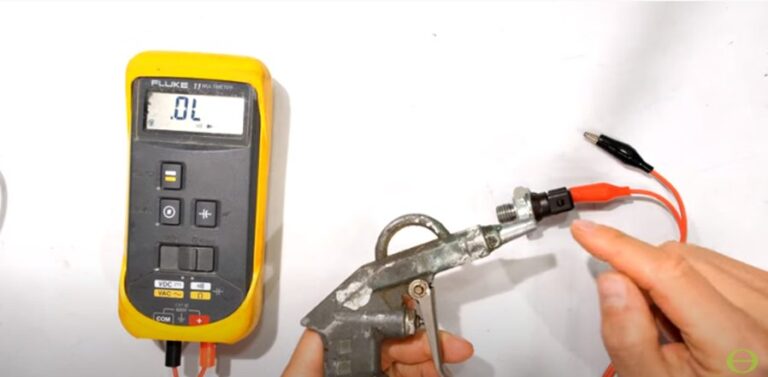
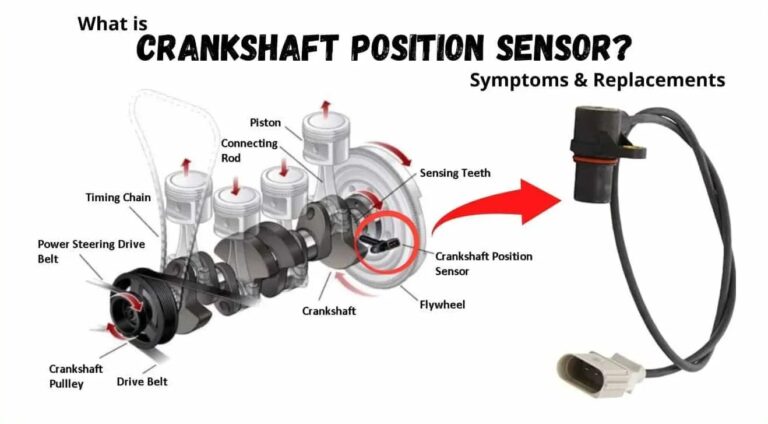
Source: storage.googleapis.com
Oil leakage
Oil around the sensor or its mounting point can indicate a sealing problem, damaged threads, a faulty sensor, or oil escaping from a nearby component.
Thread damage
Excessive tightening can damage the sensor threads or the engine’s threaded opening, making a simple replacement much more expensive.
Incorrect readings
A damaged sensor, contaminated connector, wiring fault, or actual engine oil pressure problem can cause an incorrect warning or gauge reading. Tightening alone will not correct every electrical or mechanical fault.
Can Over-Tightening Break an Oil Pressure Sensor?
Yes. Excessive tightening can crack or deform a sensor, damage its threads, or break a mounting section, depending on the design and materials. A sensor that has been forced into a misaligned opening may also cross-thread and damage the engine component.
If the sensor becomes unusually difficult to turn early in installation, stop and inspect the alignment and thread condition. Do not use a longer ratchet or an impact tool to force it into place.
Warning sign
Sudden resistance, grinding, binding, or a sensor that will not thread in smoothly by hand can indicate cross-threading or incompatible threads.
Safer response
Remove the sensor carefully, inspect the threads, and verify the replacement part. Have damaged engine threads assessed before installing another sensor.
How to Find the Correct Torque Specification
Find the torque specification before loosening or installing the sensor. The most reliable reference is the factory service information for the exact vehicle and engine. If that information is unavailable, consult a reputable professional repair database or the sensor manufacturer’s instructions when they explicitly cover the application.
Start with the vehicle identification number (VIN), model year, make, model, engine size, and engine code if available. The VIN can help distinguish engine options, but verify that the service procedure matches the actual engine installed in the vehicle, especially if the engine has been replaced.
Search the service information for terms such as oil pressure sensor, oil pressure switch, oil pressure sending unit, or engine oil pressure sender. These terms are often used for related components, but they are not guaranteed to describe identical parts or installation procedures.
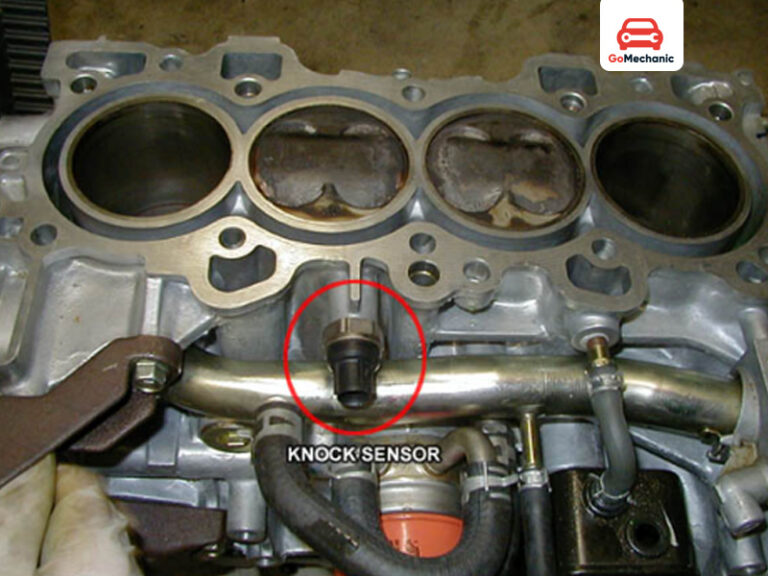
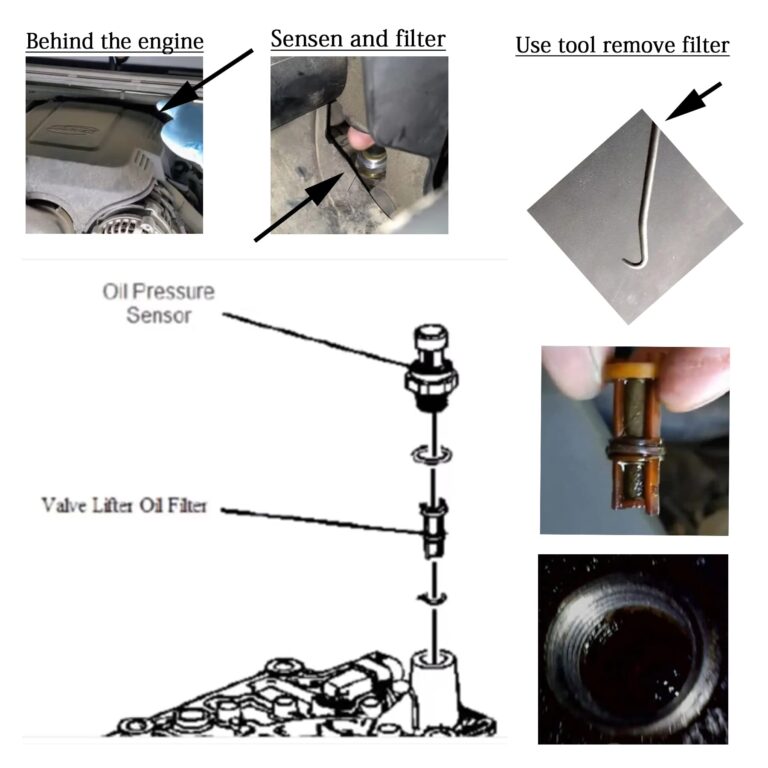
Source: mechlesson.com
Factory service manual
Check the engine mechanical or lubrication system section for the sensor installation procedure, torque specification, and sealing instructions.
Vehicle-specific repair database
Confirm the engine configuration, model year, and component location before relying on a listed torque value.
Sensor installation instructions
Use the instructions supplied for the exact replacement part when they specify the correct application and installation method.
What If the Service Manual Does Not List a Torque Value?
Do not invent a specification or borrow one from a similar vehicle. Contact the manufacturer’s technical support, consult an authorized service department, or use a professional repair information service that covers the application.
Some installations may specify a tightening angle, a particular sealing method, or a special procedure rather than a general torque value. Follow the documented procedure instead of applying a generic rule.
Verify the exact component
Make sure the instructions cover the pressure sensor rather than an oil pressure control valve, adapter, plug, or other threaded component.
Check replacement-part requirements
An aftermarket sensor may include different sealing hardware or instructions. Confirm compatibility and follow the applicable installation requirements.
How to Tighten an Oil Pressure Sensor Correctly
Install the sensor using the vehicle-specific service procedure, the correct replacement part, and the specified torque. Work on a cool engine whenever possible, secure the vehicle if access from underneath is necessary, and prevent dirt from entering the oil passage or threaded opening.
Before starting, gather the replacement sensor, the specified seal or washer if required, the correct socket or sensor socket, a suitable torque wrench, and the service information. Some vehicles require removing intake components, an engine cover, or other parts to reach the sensor. Follow the prescribed access and disconnection procedure.
Source: storage.googleapis.com
Prerequisites
Confirm the vehicle and sensor specifications, prepare the correct tools, allow hot components to cool, and disconnect the battery only if the service procedure requires it.
Safety
Keep the ignition off during removal and installation. If working underneath the vehicle, use correctly rated jack stands on a stable surface; never rely on a jack alone.
Step 1: Locate and Remove the Old Sensor
Locate the oil pressure sensor using the service manual. Depending on the engine, it may be mounted near an oil filter housing, cylinder head, engine block, or another oil gallery. Do not confuse it with a coolant temperature sensor or another nearby electrical component.
Disconnect the electrical connector using its release tab rather than pulling on the wires. Position a suitable drain pan or absorbent material beneath the work area if oil may escape. Remove the old sensor with the correct tool, following the manufacturer’s procedure.
Inspect the opening
Check for damaged threads, debris, old sealant, and damage to the sealing surface. Prevent contaminants from entering the engine.
Inspect the connector
Look for broken locking tabs, oil contamination, corrosion, and damaged wiring that could cause a warning or inaccurate reading.
Step 2: Prepare the Threads and Seal
Compare the new sensor with the old one, checking the part number, thread type, connector, mounting dimensions, and sealing arrangement. Use a new washer or gasket if the design requires one and the service procedure calls for replacement.
Apply thread sealant only when specified for the exact sensor. Some sensors use a sealant-coated thread, while some designs rely on a sealing washer or a specified thread form. Excessive sealant can interfere with grounding on certain sensor designs or contaminate an oil passage.
Do not mix sealing methods
A tapered pipe thread, a straight thread with a washer, and a sensor supplied with pre-applied sealant may require different treatment.
Avoid cross-threading
Align the sensor squarely and begin threading it by hand where the design allows. It should engage smoothly rather than bind immediately.
Step 3: Tighten to the Specified Torque
Once the sensor is correctly aligned and threaded, tighten it using the method specified by the manufacturer. If a numerical torque is provided, use a suitable calibrated torque wrench and the correct socket or adapter. Apply force smoothly and stop when the specified value is reached.
Make sure the torque wrench is appropriate for the required measurement range. If an extension or crowfoot adapter changes the effective lever length, follow the tool manufacturer’s guidance for compensating for that change. A straight extension that does not alter the effective lever arm generally does not require the same adjustment as an angled crowfoot arrangement.
Do not add extra force after reaching the specification, and do not use an impact wrench to install the sensor. If the manual specifies a particular seating method instead of a torque value, follow that documented method.
Correct technique
Keep the torque wrench aligned as instructed, pull smoothly at its designated handle, and stop at the specified value.
Incorrect technique
Do not tighten until the sensor feels extremely snug, add an arbitrary extra turn, or use a long breaker bar to force the sensor into position.
Step 4: Reconnect and Check the Installation
Reconnect the electrical connector and reinstall any removed components according to the service procedure. Check the engine oil level and correct it if necessary before starting the engine.
Start the engine only when the installation is complete and it is safe to do so. Observe the oil pressure warning or gauge and inspect the sensor area for leaks. Some oil may remain on the engine from removal, so distinguish residual oil from fresh leakage without touching hot or moving components.
If the oil pressure warning remains on, the gauge shows an abnormal reading, or oil begins leaking, shut the engine off immediately. Do not keep running the engine to see whether the sensor settles into place.
Signs of success
The sensor remains secure, the electrical connector is seated, no fresh oil leakage is present, and the oil pressure indication behaves as expected for the vehicle.
If the check fails
Stop the engine, verify oil level and installation details, and diagnose the sensor circuit or actual oil pressure before further operation.
Does the Thread Type Change How Tight the Sensor Should Be?
Yes. Thread type and sealing design affect how a sensor must be installed, which is why the correct procedure matters as much as the torque value. Two sensors with similar thread diameters may use different sealing methods and therefore require different installation instructions.
Tapered pipe threads create a seal through their geometry and engagement, sometimes with an approved sealant. Straight threads commonly use a washer, gasket, O-ring, or another designated sealing surface. The sensor’s design and the manufacturer’s instructions determine which approach applies.
Source: storage.googleapis.com
Tapered pipe threads
These threads become more tightly engaged as the fitting advances. Do not apply a straight-thread torque specification or add excessive force in an attempt to obtain a leak-free joint.
Straight threads with a sealing washer
The washer or specified sealing surface provides the seal. Confirm that the correct washer is present and positioned properly before tightening.
Pre-coated or specialized threads
Follow the instructions for the supplied coating or sealing feature. Adding another compound without authorization may interfere with sealing or electrical operation.
Should You Use Teflon Tape on an Oil Pressure Sensor?
Only use thread tape if the sensor or vehicle manufacturer explicitly approves it for that application. Some pressure sensors use their metal threads or a designated electrical connection path as part of the grounding arrangement. Tape can interfere with that path, and excess material can enter the oil passage.
If a leak occurs, inspect the thread type, seating surface, approved sealant, and component condition rather than automatically adding tape. A damaged or incompatible sensor may need replacement, and damaged engine threads may require professional repair.
Use approved sealant
Choose only the specified material and apply it in the amount and location described by the service instructions.
Protect the oil passage
Keep sealant fragments and other contaminants out of the engine’s lubrication system.
Common Oil Pressure Sensor Tightening Mistakes
Most installation problems arise from using the wrong specification, applying the wrong sealing method, or continuing to tighten after something feels incorrect. A sensor should not require forceful installation to engage properly.
A leak after replacement deserves a diagnosis rather than repeated tightening. Excessive torque can worsen damaged threads or a distorted sealing surface, while a faulty electrical connection can leave the oil pressure warning on even when the sensor is mechanically secure.
Source: hitchesguide.com
Using a generic torque value
Torque values vary by application. Verify the exact engine and sensor before choosing a specification.
Tightening with an ordinary ratchet by feel
Hand feel is not a reliable substitute for a documented torque specification, particularly in cramped spaces.
Adding extra force to stop a leak
The cause may be a damaged washer, incorrect sensor, incompatible threads, or damaged mounting surface. Additional torque can make the damage worse.
Applying unapproved thread tape
Tape may interfere with sealing or electrical grounding and can introduce debris into the oil passage.
Ignoring a persistent oil warning
An oil pressure warning can indicate genuinely low pressure caused by low oil level, a lubrication problem, or another mechanical fault. Do not assume the replacement sensor is the only possible cause.
What to Do If the Sensor Leaks After Installation
Turn the engine off and allow hot components to cool before inspecting the installation. Check the oil level and look for the leak’s origin. Oil from a nearby filter housing, valve cover, or another component can run along the engine and appear to come from the sensor.
If the sensor itself is leaking, review the correct part number, thread type, sealing washer, sealant instructions, and specified torque. Remove and reinstall the sensor only as directed by the service procedure, replacing damaged seals where required. If the threads are stripped or the mounting boss is cracked, stop and arrange a proper repair.
Do not continue driving with an active oil leak or a low oil pressure warning. If actual oil pressure is uncertain, have it checked using the manufacturer’s diagnostic procedure, which may include a suitable mechanical pressure gauge.
Minor residual oil
Clean the surrounding area after the engine is off and cool, then inspect for fresh leakage only when it is safe to run the engine for the required check.
Active leak or warning light
Shut the engine off and address the leak or pressure concern before further operation.
Can You Tighten an Oil Pressure Sensor Without a Torque Wrench?
A torque wrench is the preferred tool when the manufacturer specifies a numerical torque value. Without one, you cannot reliably verify that the sensor has reached the required torque merely by judging resistance through a ratchet or open-end wrench.
If the service information gives a documented installation procedure without a numerical torque, follow that procedure exactly. If it provides a torque value, obtain a suitable torque wrench or have a qualified technician complete the installation rather than guessing.
Access can also affect tool choice. A deep sensor socket may help reach the component without damaging its housing or connector, but socket size and shape do not establish the correct torque. Confirm the tool fits the sensor and can be used without contacting nearby wiring or engine components.
Source: www.youtube.com > Course Solutions
Choose the correct tool
Use the specified socket or sensor socket, and ensure the torque wrench’s measurement range includes the required value.
Avoid makeshift extensions
Improvised leverage makes applied force difficult to judge and can increase the chance of thread or housing damage.
Get assistance when access is restricted
A technician may be needed if the sensor is difficult to reach, the connector is brittle, or surrounding components prevent correct tool alignment.
What Is the Difference Between a Torque Wrench and a Sensor Socket?
A torque wrench measures or controls the tightening torque, while a sensor socket provides a suitable shape and clearance for gripping the sensor. They serve different purposes and may be used together.
A sensor socket may have a slot or special profile to clear an electrical terminal. Verify the socket’s compatibility with the sensor before applying force, and follow the torque wrench manufacturer’s instructions if an adapter changes the effective lever length.
Torque wrench
Controls the applied torque when used correctly and within its specified measurement range.
Sensor socket
Helps engage the sensor securely while providing clearance for its electrical terminal or housing.
Frequently Asked Questions
Q
How tight should an oil pressure sensor be?
Tighten it to the torque specification for the exact vehicle, engine, and sensor. There is no universal torque value because thread type, sealing design, and component materials vary. Consult the factory service manual or a reliable vehicle-specific repair database.
Q
Can I hand-tighten an oil pressure sensor?
Hand-start the sensor where the design permits so the threads engage correctly, but do not assume that hand-tightening completes the installation. Follow the specified torque or documented installation procedure using the appropriate tools.
Q
Should an oil pressure sensor be tightened until it stops turning?
No. Do not force the sensor against an arbitrary stopping point. Tighten it according to the specified torque or installation procedure. Forcing it can damage threads, distort sealing surfaces, or crack the sensor or mounting component.
Q
Can an oil pressure sensor leak if it is too loose?
Yes. An improperly seated sensor can leak, depending on its sealing design. However, leaks can also result from damaged threads, an incorrect sensor, a faulty sealing washer, or improper sealant. Identify the cause before deciding whether removal, resealing, or replacement is necessary.
Q
Should I use thread sealant when installing an oil pressure sensor?
Use sealant only when the sensor or vehicle manufacturer’s instructions require or approve it. Some sensors have pre-applied sealant, while others rely on a washer, gasket, or specific thread design. Unapproved tape or sealant may interfere with electrical grounding or contaminate the oil passage.
Q
What happens if I over-tighten an oil pressure sensor?
Over-tightening can strip the engine’s threads, crack or deform the sensor, damage a mounting boss, or distort a sealing washer. Repairing damaged engine threads can cost substantially more than replacing the sensor, so stop if the sensor binds or requires unusual force.
Q
Can I drive with a loose oil pressure sensor?
Driving with a loose or leaking sensor is risky because escaping oil can reduce the engine’s oil supply and create a mess or other damage. If the oil pressure warning stays on while the engine is running, or an active leak is present, shut the engine off and investigate before driving.
Q
What should I do if the oil pressure light stays on after tightening the sensor?
Turn off the engine immediately if the warning remains on while it is running. Check the oil level when it is safe, inspect the connector and wiring, and follow the vehicle manufacturer’s diagnostic procedure. A mechanical oil pressure test may be necessary to distinguish a faulty sensor or circuit from genuinely low engine oil pressure.
✦ Wrapping Up
Conclusion
An oil pressure sensor should be tightened to the exact specification for the vehicle and engine, not to a generic setting or an arbitrary level of resistance. Correct torque, compatible threads, and the specified sealing method help prevent leaks, electrical problems, and expensive damage to the sensor or engine.
Before installation, confirm the replacement part, find the factory procedure, prepare the correct tools, and inspect the threaded opening. After tightening, reconnect the wiring, check the oil level, and verify that the installation is leak-free. A persistent oil pressure warning must be treated as a potential engine lubrication problem until proper diagnosis establishes the cause.
💡 Key Takeaway
Identify your vehicle’s year, make, model, engine, and exact oil pressure sensor, then look up its specified torque and sealing procedure before tightening. If the sensor leaks, the threads bind, or the oil pressure warning remains on, stop and diagnose the problem rather than applying additional force.
Ethan Brooks is an automotive writer at Auto News 7, covering car news, vehicle maintenance, new model updates, recalls, and practical buying guides. He focuses on clear, useful information that helps drivers understand their vehicles and make better ownership decisions.
Learn how to test an oil pressure sensor with a multimeter and mechanical gauge, identify wiring faults, and separate sensor problems from real low oil pressure.
Learn how to fix a knock sensor without replacing it by checking wiring, connectors, mounting issues, engine problems, and ECU codes. Follow this step-by-step troubleshooting guide.
Learn how to unplug an oil pressure sensor safely, identify the electrical connector, release its locking tab, inspect the wiring, and avoid common mistakes.
Are all oil pressure sensors the same? Learn how sensors differ by pressure range, thread size, connector, signal type, and vehicle compatibility before replacing one.
Learn how to fix a crankshaft position sensor with step-by-step diagnostics, testing, wiring checks, replacement tips, common symptoms, and troubleshooting advice for U.S. vehicle owners.
Learn how to clean oil pressure sensor screen deposits, remove the sensor safely, inspect the filter screen, and avoid damage or false oil pressure readings.