You can often fix a knock sensor without replacing it by repairing wiring, cleaning connections, correcting torque, and resolving engine knock causes.
In the United States, many drivers assume a knock sensor trouble code automatically means the sensor has failed. In reality, wiring damage, corrosion, loose mounting, poor fuel quality, and engine-related issues can trigger the same warning signs.
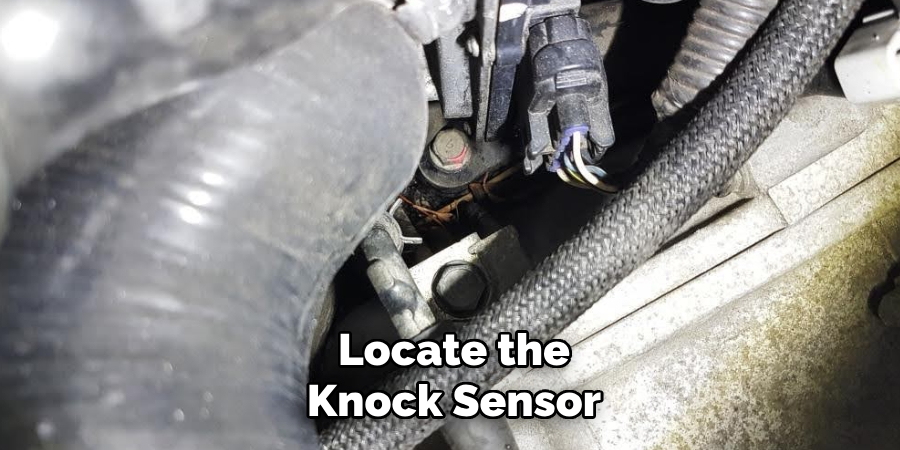
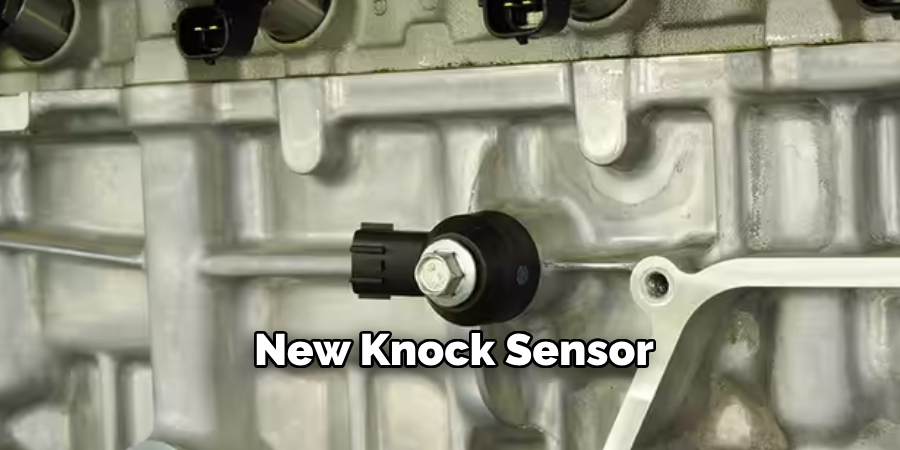
Understanding how to fix knock sensor without replacing it can save time and money. Before installing a new sensor, it is important to inspect the entire knock sensor circuit, verify the engine is not experiencing abnormal combustion, and confirm the sensor is mounted correctly.
Source: safetyfic.com
What a Knock Sensor Does and Why It Matters
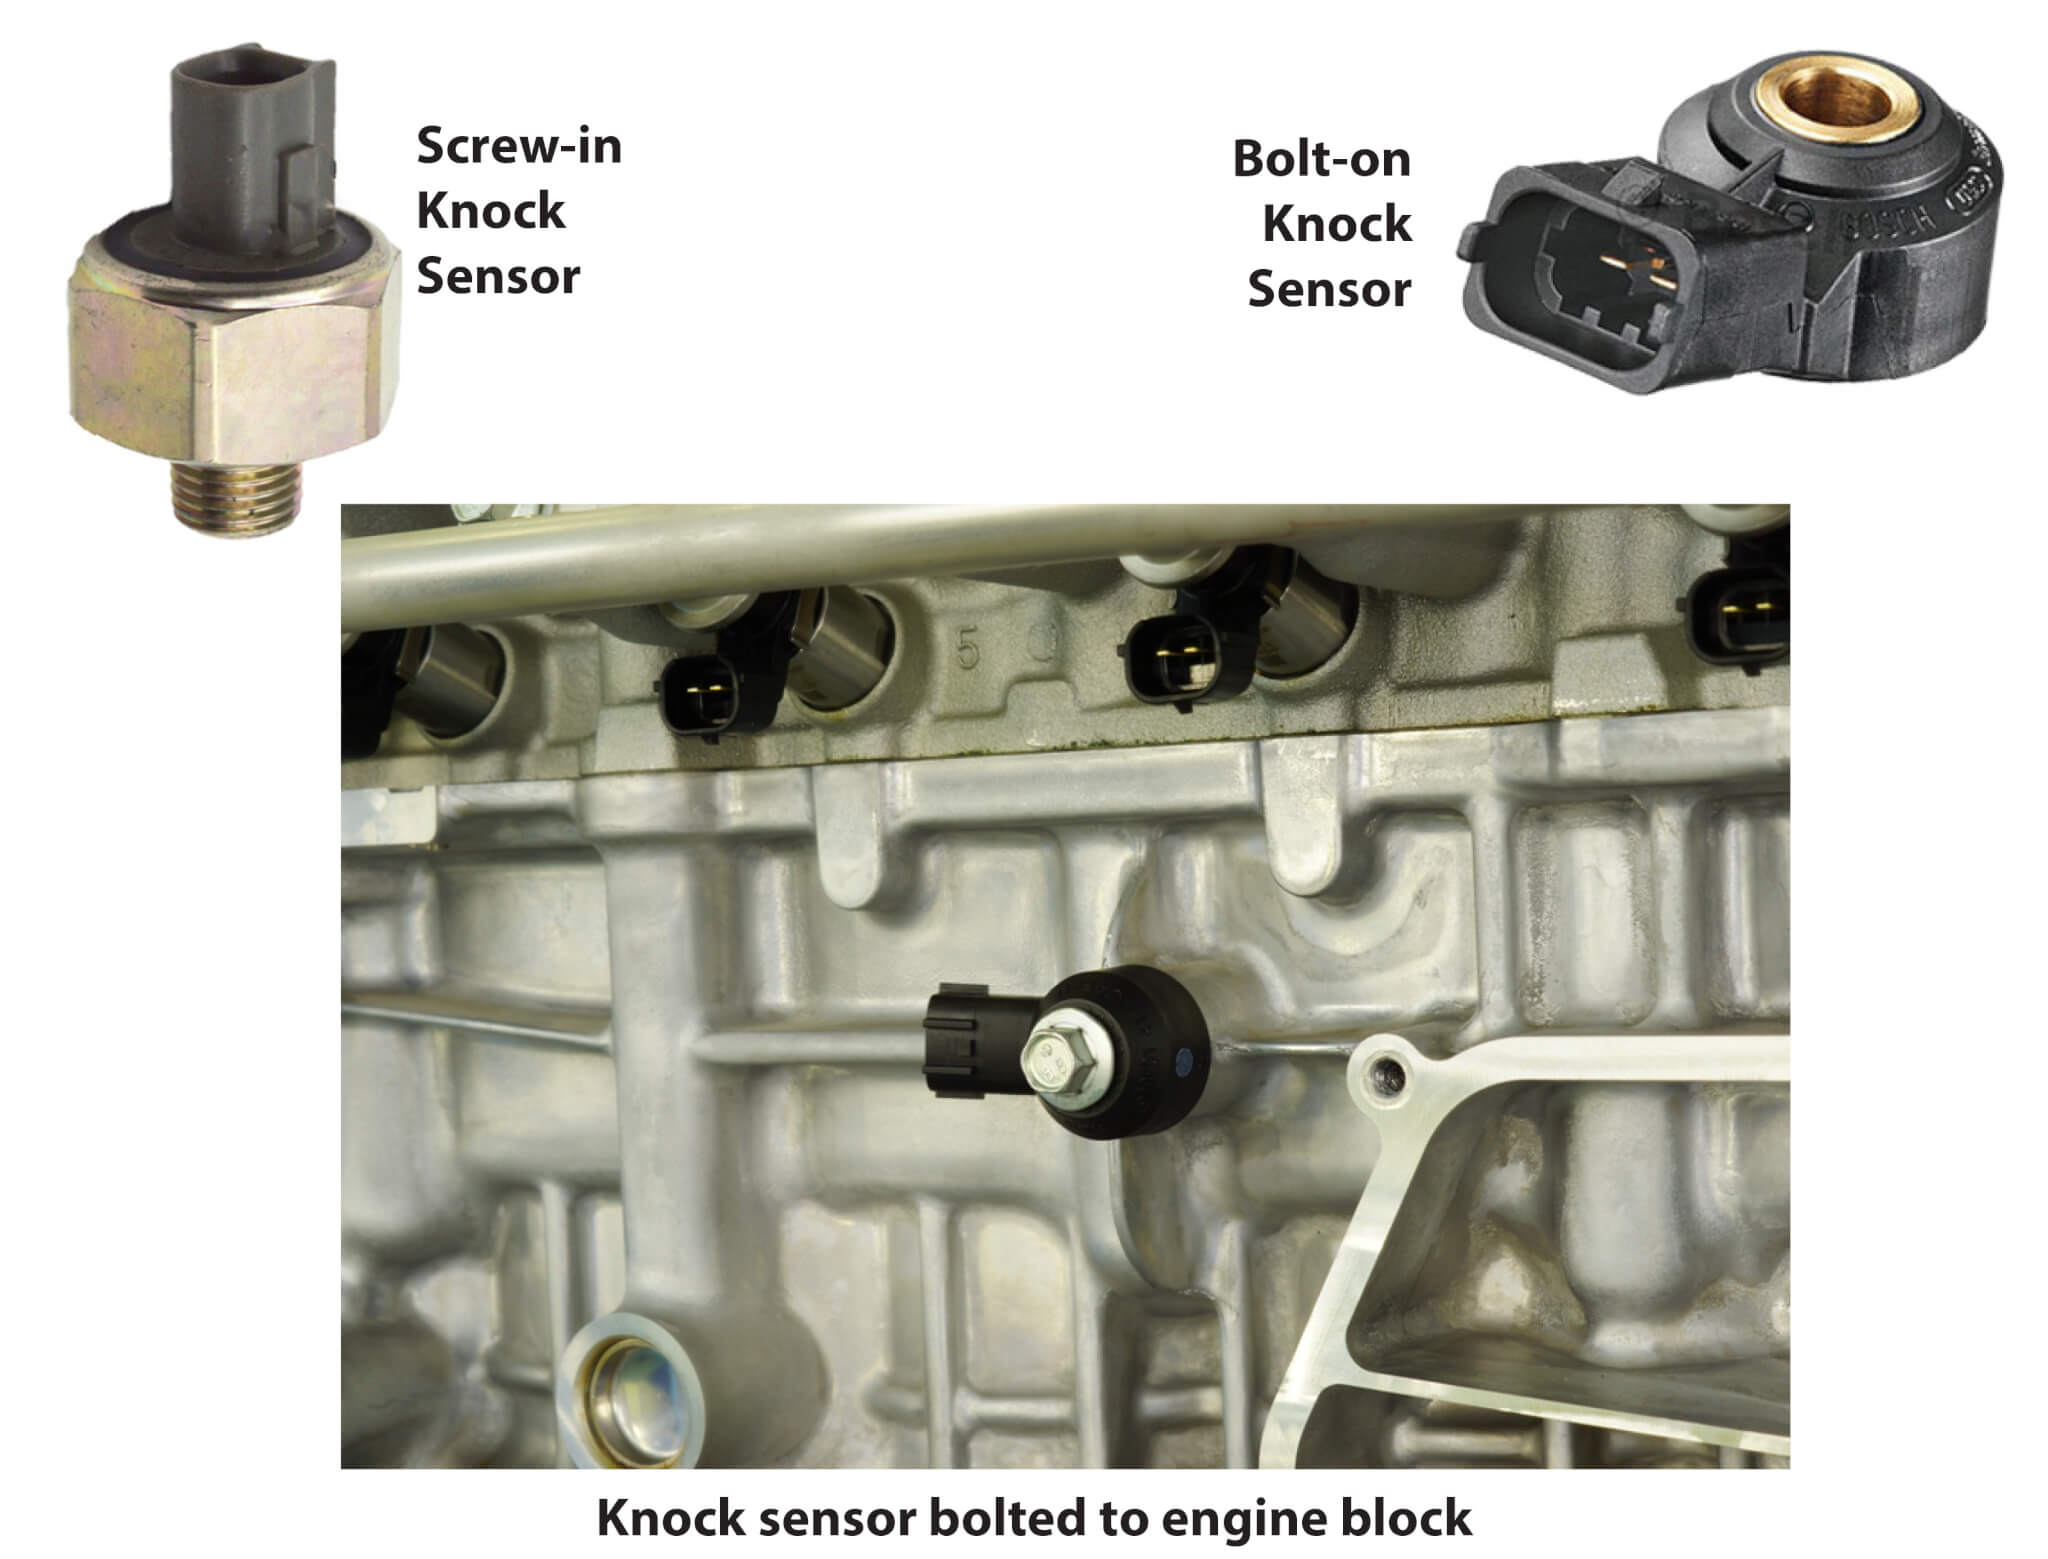
A knock sensor detects abnormal engine vibrations caused by detonation or pre-ignition. It sends signals to the engine control module so ignition timing can be adjusted and engine damage can be prevented.
When the sensor or its circuit reports inaccurate information, the engine may lose power, experience poor fuel economy, or illuminate the check engine light. Understanding the sensor’s role is the first step when learning how to fix knock sensor without replacing it.
Source: autovehicleparts.com
Primary Function
Detects engine knock and sends vibration data to the engine computer.
Engine Protection
Helps prevent piston, bearing, and cylinder damage caused by detonation.
Common Symptoms of a Knock Sensor Problem
Drivers may notice reduced acceleration, poor fuel economy, engine hesitation, or an illuminated check engine light. These symptoms can result from sensor faults or related circuit problems.
Warning Signs
Check engine light, sluggish performance, and reduced fuel efficiency.
How to Fix Knock Sensor Without Replacing It
Most successful repairs involve correcting issues around the sensor rather than replacing the sensor itself. Begin with the easiest and safest inspections before considering parts replacement.
The goal is to identify electrical, mechanical, or combustion-related problems that cause false knock sensor readings.
Source: safetyfic.com
Start With Diagnostics
Use an OBD-II scanner to retrieve and record all fault codes.
Inspect Before Replacing
Check wiring, connectors, and mounting conditions first.
Step 1: Scan for Diagnostic Trouble Codes
Read all stored and pending codes. Related engine or ignition codes may point to the true source of the problem rather than the sensor itself.
Record Codes
Write down codes before clearing them.
Step 2: Inspect the Wiring Harness
Look for cracked insulation, exposed wires, rodent damage, melted sections, or loose connections. Repair damaged wiring with proper automotive-grade connectors and insulation.
Common Fault
Broken or corroded wiring can mimic a failed knock sensor.
Step 3: Clean Electrical Connections
Disconnect the battery, unplug the connector, and inspect for moisture, dirt, or corrosion. Clean contacts with electrical contact cleaner and reconnect securely.
Connection Quality
Clean contacts improve signal reliability.
Step 4: Verify Proper Sensor Torque
Many knock sensors require a specific torque value. An over-tightened or loose sensor may produce inaccurate readings. Consult the vehicle service manual and retorque the sensor if necessary.
Important Check
Improper installation can trigger false sensor readings.
Fixing Engine Conditions That Trigger Knock Sensor Codes
Sometimes the sensor is working correctly and reporting a genuine engine problem. Eliminating the root cause can clear the issue without replacing the sensor.
Fuel quality, ignition timing, carbon buildup, and overheating are common contributors to engine knock.
Source: i.ytimg.com
Fuel Quality
Use the octane rating recommended by the manufacturer.
Cooling System
Address overheating issues that increase combustion temperatures.
Check for Carbon Deposits
Heavy carbon buildup can create hot spots inside the combustion chamber and increase detonation. Professional cleaning may help reduce knock activity.
Potential Benefit
Reducing deposits may eliminate abnormal combustion.
When the Repair Works and How to Verify Success
After completing repairs, clear the diagnostic codes and drive the vehicle through normal operating conditions. Monitor live data if your scan tool supports it.
A successful repair should prevent the code from returning and restore normal engine performance.
Source: i.ytimg.com
Successful Outcome
No recurring codes after a complete drive cycle.
Performance Check
Engine acceleration and fuel economy return to normal.
What to Do If the Code Returns
If the code returns after wiring, connector, and engine inspections, test the sensor according to manufacturer procedures. Replacement may eventually be necessary if the sensor fails specification tests.
Next Step
Perform electrical resistance and signal testing.
Common Mistakes to Avoid
Many vehicle owners replace the knock sensor immediately without verifying the actual cause of the fault. This can lead to unnecessary expense and recurring problems.
A systematic diagnostic process is usually more effective than replacing parts based solely on a fault code.
Source: ricksfreeautorepairadvice.com
Ignoring Wiring
Damaged harnesses are often overlooked during diagnosis.
Using Wrong Fuel
Incorrect octane fuel can contribute to engine knock.
Skipping Torque Verification
Incorrect sensor installation may affect operation.
Safety Considerations
Disconnect the battery before handling electrical connectors. If sensor access requires major engine disassembly, consider professional assistance to avoid accidental damage.
Professional Help
Seek expert service when extensive engine work is required.
Frequently Asked Questions
Q
Can I drive with a knock sensor code?
You may be able to drive temporarily, but prolonged operation can reduce performance and potentially increase engine damage risk if real detonation is occurring.
Q
Can a bad connector cause a knock sensor code?
Yes. Corrosion, loose terminals, moisture, and damaged wiring can interrupt sensor signals and trigger fault codes.
Q
Will clearing the code fix the problem?
Clearing the code only removes the stored fault temporarily. The underlying issue must be corrected to prevent the code from returning.
Q
Can low-quality fuel trigger knock sensor warnings?
Yes. Fuel with insufficient octane can increase engine knock, causing the sensor to detect abnormal combustion activity.
Q
When should I replace the knock sensor?
Replacement is appropriate when testing confirms the sensor itself is defective and wiring, connectors, mounting, and engine conditions have already been ruled out.
✦ Wrapping Up
Conclusion
Learning how to fix knock sensor without replacing it starts with accurate diagnosis. Wiring faults, connector corrosion, mounting issues, and engine-related problems are often responsible for knock sensor warnings.
By following a structured troubleshooting process, many drivers can restore proper operation without immediately purchasing a new sensor. Careful testing helps ensure the real problem is addressed.
💡 Key Takeaway
Inspect wiring, clean connectors, verify sensor torque, and address engine knock causes before deciding that knock sensor replacement is necessary.
Ethan Brooks is an automotive writer at Auto News 7, covering car news, vehicle maintenance, new model updates, recalls, and practical buying guides. He focuses on clear, useful information that helps drivers understand their vehicles and make better ownership decisions.
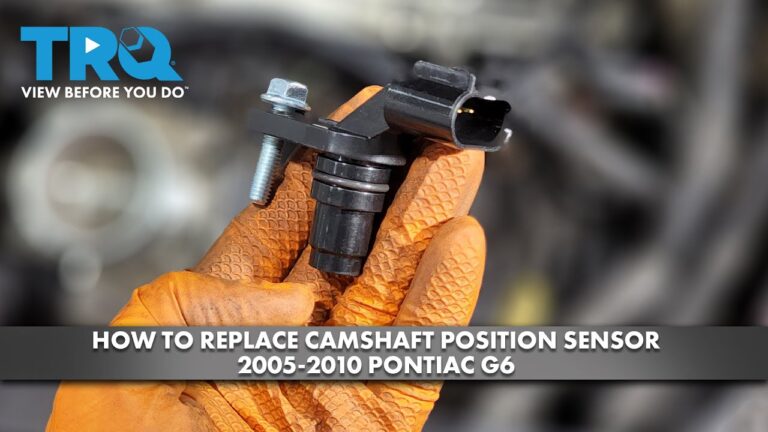
Learn how to replace camshaft position sensor Pontiac G6 models with this detailed step-by-step guide. Discover tools, symptoms, sensor location, installation tips, and troubleshooting advice.
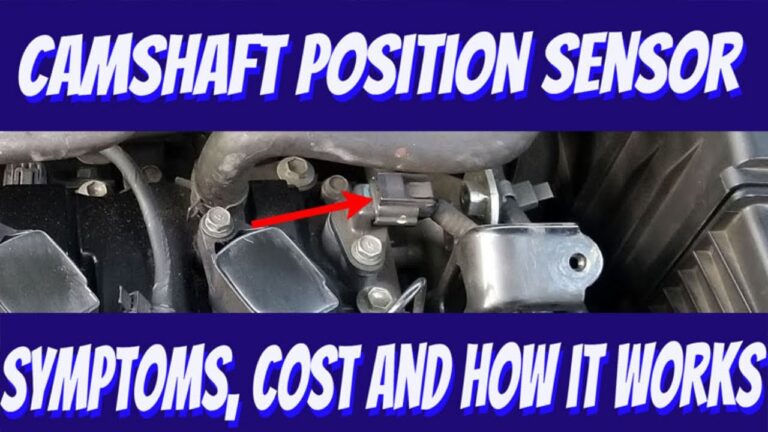
Learn how much to replace a camshaft position sensor in the United States, including parts, labor, DIY costs, symptoms, and factors that affect repair pricing.
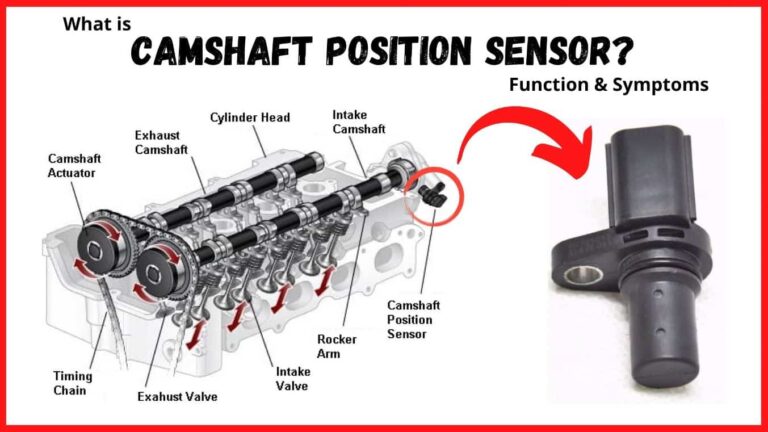
Learn whether a camshaft sensor needs to be programmed after replacement, when relearn procedures are required, common symptoms, troubleshooting steps, and what to expect during installation.
Learn how to test camshaft position sensor wiring with a multimeter. Follow a safe step-by-step process to check power, ground, signal circuits, and common wiring faults.