To test an oil pressure sensor, first verify actual engine oil pressure, then test the sensor circuit using the vehicle service specifications.
If your oil pressure warning light stays on, flickers, or the dashboard gauge suddenly reads unusually low, do not assume the sensor is bad. In a U.S. vehicle, the same symptom can result from low engine oil, a wiring problem, a failed oil pressure switch or sensor, or genuinely low engine oil pressure.
The safest way to diagnose the problem is to separate the mechanical pressure test from the electrical sensor test. A mechanical oil pressure gauge can confirm what is actually happening inside the lubrication system. A multimeter or scan tool can then help determine whether the oil pressure sensor, switch, wiring, or engine computer is reporting that pressure correctly.
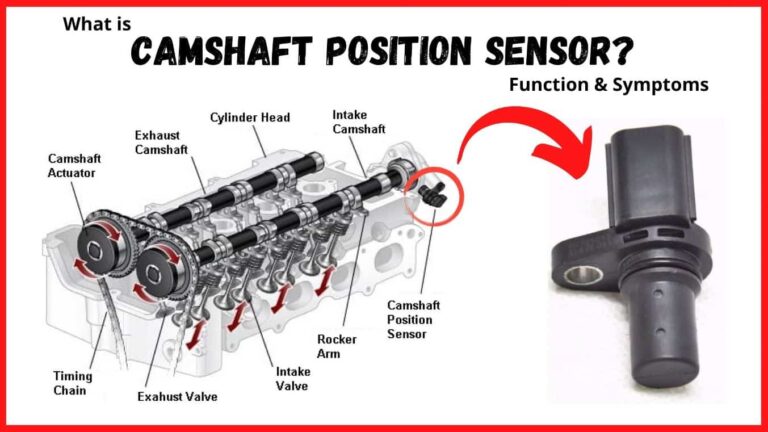
Source: i.ytimg.com
What Does an Oil Pressure Sensor Do?
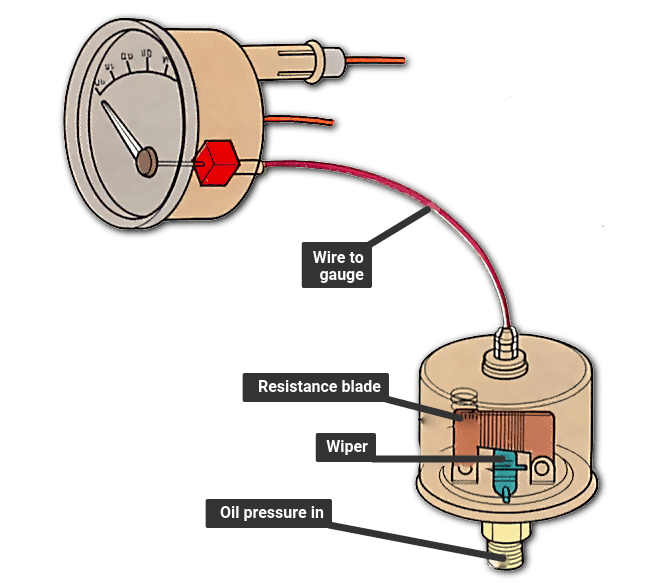
An oil pressure sensor measures engine oil pressure and sends information to the vehicle’s gauge, warning system, or engine control module. Some vehicles use a simple oil pressure switch that mainly turns a warning light on or off. Others use a variable pressure sensor that produces an electrical signal related to oil pressure.
This difference matters when you learn how to test oil pressure sensor operation. A switch may be checked for continuity or resistance at different pressure conditions. A three-wire electronic sensor commonly has a reference voltage, a sensor ground, and a signal circuit. The exact circuit design varies by vehicle.
The sensor itself does not create oil pressure. It only reports pressure. If a mechanical gauge shows low pressure, replacing the sensor will not repair the underlying lubrication problem.
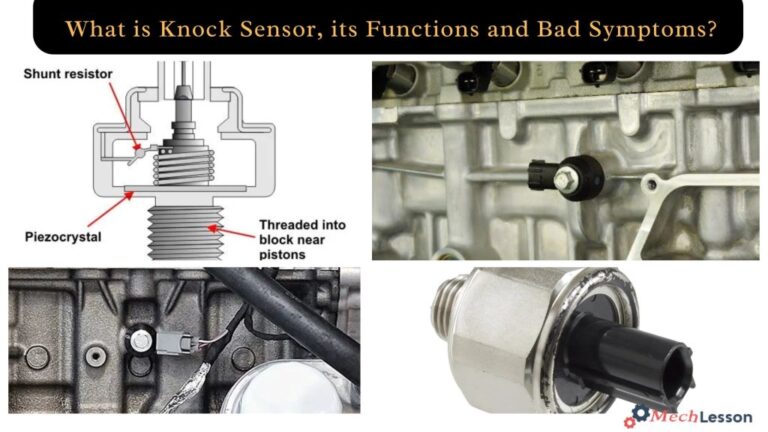
Source: mechlesson.com
Oil pressure switch
A basic switch changes between an open and closed electrical state when oil pressure crosses its designed switching point.
Variable oil pressure sensor
An electronic sensor changes its output signal as oil pressure changes, allowing the vehicle computer or gauge system to interpret pressure.
Mechanical oil pressure gauge
A mechanical gauge measures pressure directly through the engine’s oil passage and is useful for confirming whether low pressure is real.
Before You Test the Oil Pressure Sensor
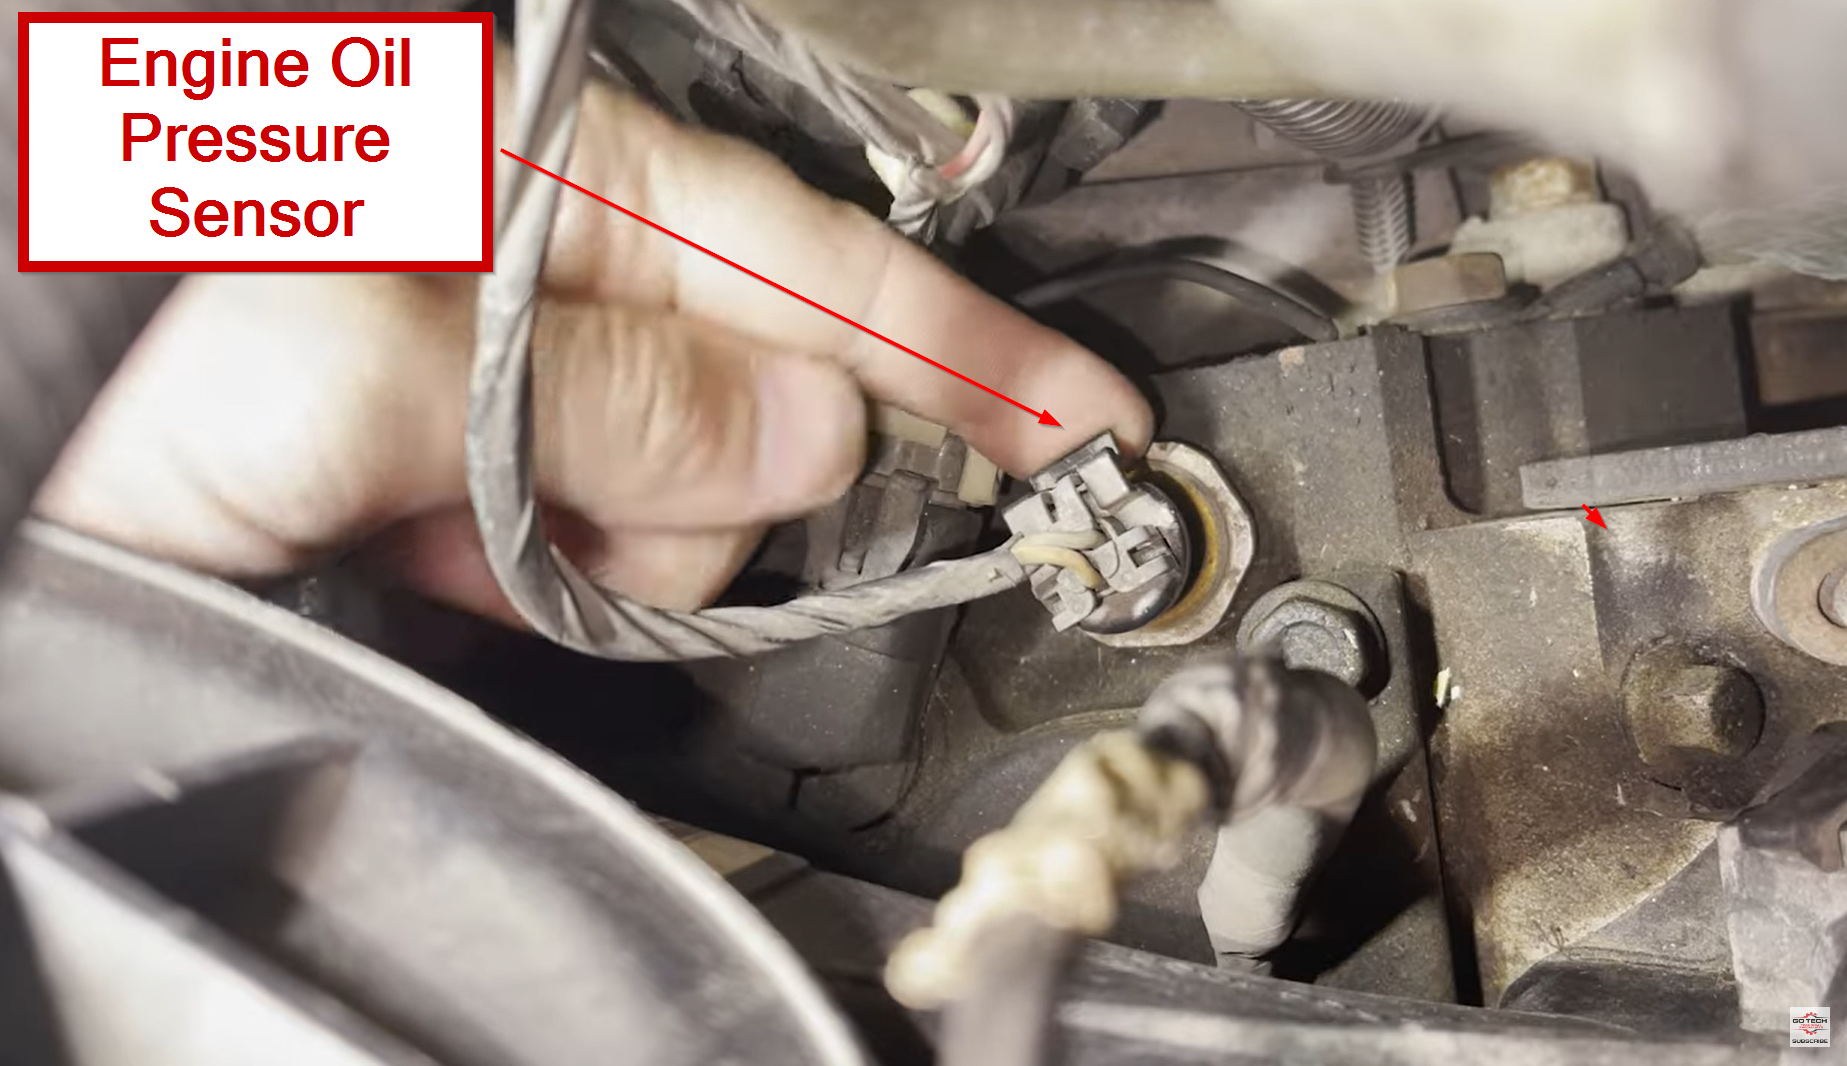
Start with basic checks before connecting test equipment. Park the vehicle on a level surface and verify the engine oil level using the procedure in the owner’s manual. Check for obvious oil leaks and inspect the electrical connector at the oil pressure sensor for loose terminals, corrosion, damaged insulation, or oil contamination.
You also need the correct service information for your vehicle. The location, connector pinout, resistance range, reference voltage, switching pressure, and acceptable oil pressure can differ substantially between engines. Do not use a specification from another vehicle simply because the sensor looks similar.
Gather a digital multimeter for electrical testing and, when possible, a mechanical oil pressure test gauge with the correct adapter for the sensor port. Basic hand tools, shop towels, safety glasses, and a suitable drain pan may also be needed.
Source: gotech.com
Digital multimeter
Use it for voltage, resistance, continuity, and circuit checks when the vehicle’s diagnostic procedure calls for them.
Mechanical oil pressure gauge
Use a gauge with the correct fitting to verify actual engine oil pressure rather than relying only on the dashboard reading.
Vehicle service information
Confirm the sensor type, terminal identification, test conditions, pressure specifications, and required safety procedures for the exact vehicle.
How to Test Oil Pressure Sensor Operation With a Mechanical Gauge
The most important diagnostic step is to determine whether the engine actually has the correct oil pressure. A mechanical gauge bypasses the electrical sensor and gives you a direct pressure reading at the test location. This helps distinguish a faulty sensor from a genuine lubrication problem.
Do not use a generic pressure number as a pass or fail limit. Oil pressure varies by engine design, oil temperature, engine speed, oil viscosity, and manufacturer specification. Use the pressure values and test conditions listed for your specific engine.
Source: howacarworks.com
Step 1: Locate the oil pressure sensor
Find the oil pressure sensor or switch using the vehicle service information. It is commonly threaded into an oil passage on the engine, but the exact location varies. Turn the engine off and allow hot components to cool before removing the sensor unless the manufacturer’s test procedure specifically requires another sequence.
Step 2: Install the mechanical gauge
Disconnect the electrical connector and remove the sensor only after following the vehicle-specific procedure. Install the mechanical gauge using the correct adapter and sealing method. The connection must be secure and compatible with the engine’s oil pressure port.
Step 3: Check pressure under the specified conditions
Start the engine only after confirming that the gauge and fittings are secure. Record pressure at the operating conditions specified by the manufacturer, which may include a warm idle and one or more specified engine speeds. Compare each reading with the service specification rather than a general internet rule of thumb.
Step 4: Interpret the result
If mechanical oil pressure is within specification but the vehicle reports a low-pressure condition, focus on the sensor, switch, wiring, connector, gauge, or control system. If mechanical pressure is below specification, investigate the lubrication system instead of replacing the sensor first.
Mechanical pressure normal
The engine is producing the expected pressure at the test location, so an electrical or reporting problem becomes more likely.
Mechanical pressure low
Possible causes include low oil level, incorrect oil viscosity, a restricted pickup, oil pump problems, excessive bearing clearance, or another lubrication-system fault.
How to Test an Oil Pressure Switch With a Multimeter
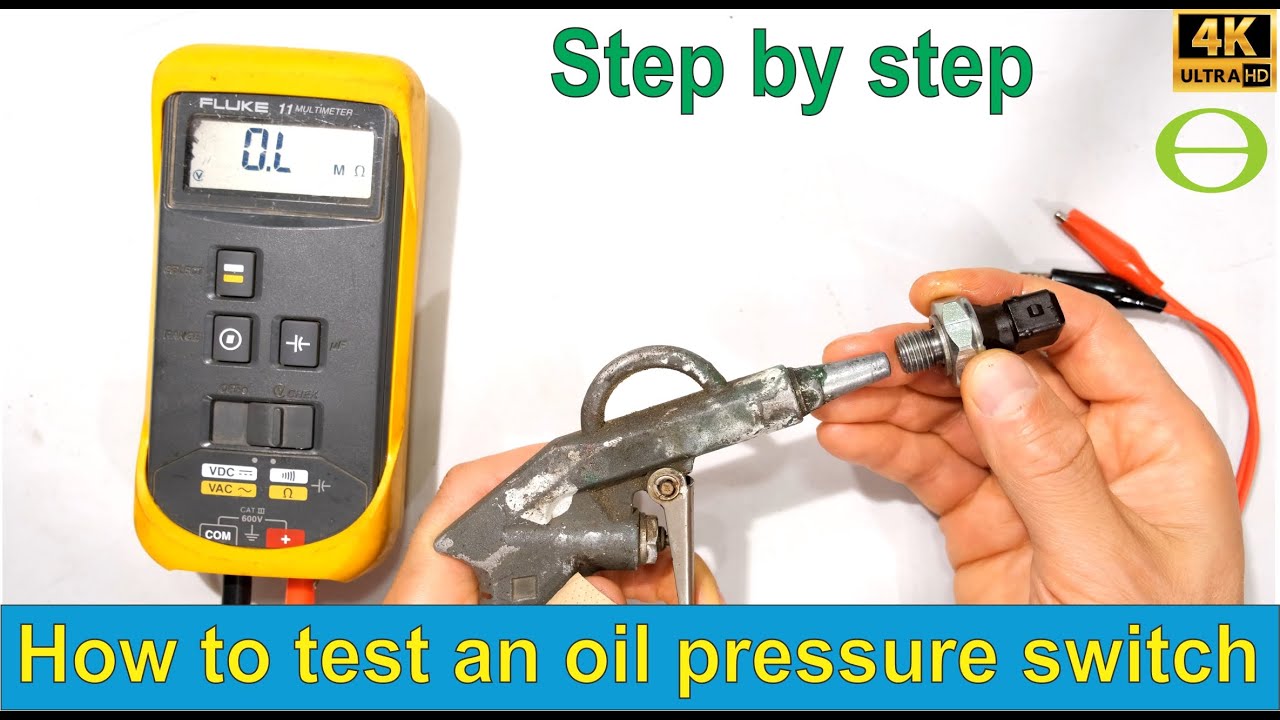
A simple oil pressure switch can often be tested with a multimeter, but the correct switching behavior depends on the vehicle. Many basic warning-light switches are normally closed when oil pressure is absent and open after pressure rises above the switch’s operating threshold.
Turn the ignition off and disconnect the electrical connector before checking resistance. Set the multimeter to ohms or continuity and test the switch terminal against the specified ground point or sensor body, depending on the design. The result should match the vehicle’s service specification.
Some manufacturer procedures specify continuity or very low resistance with the engine stopped and high resistance after the engine starts and pressure rises. Other systems use different switching logic. Do not condemn a switch based only on a generic zero-ohm or open-circuit expectation.
Source: live.staticflickr.com
Engine off
Measure the switch in the condition specified by the service manual. A simple normally closed switch commonly shows continuity when there is no pressure.
Engine running
If the service procedure calls for a running-engine check, the switch should change state after oil pressure reaches its switching threshold.
Wrong result
If the switch does not change state as specified, the switch may be faulty, but verify the actual oil pressure before replacing it.
How to Test a Three-Wire Oil Pressure Sensor
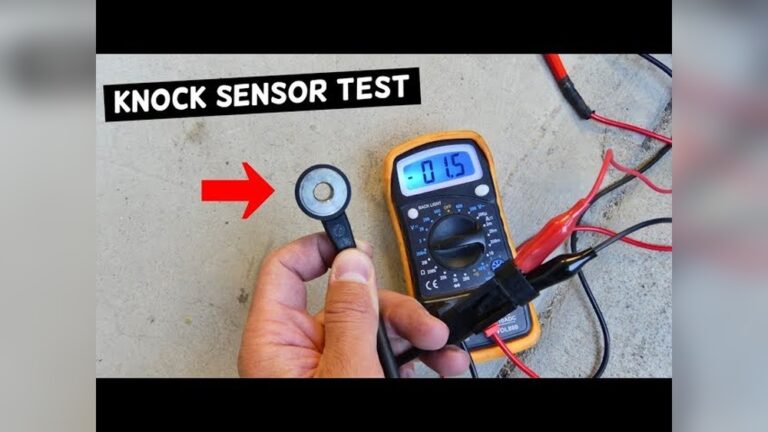
A three-wire oil pressure sensor usually requires a different diagnostic approach from a simple pressure switch. The three circuits commonly include a reference-voltage supply, a sensor ground, and a signal wire. Many systems use approximately 5 volts for the reference circuit, but the exact specification belongs to the vehicle manufacturer.
With the sensor disconnected and the ignition on, the service procedure may call for checking the reference voltage at the connector. A typical manufacturer specification can be close to 5 volts, with some systems allowing a narrow range around that value. Check the specified terminals rather than guessing from wire color.
Next, verify the sensor ground circuit and inspect the signal circuit for shorts, opens, or excessive resistance. Some vehicles allow a scan tool to display sensor voltage or calculated oil pressure. If the reference voltage, ground, wiring, and mechanical oil pressure are all correct but the sensor signal remains implausible, the sensor becomes a stronger suspect.
Source: i.ytimg.com
Reference voltage
Confirm that the sensor receives the specified supply voltage with the ignition in the test condition required by the manufacturer.
Sensor ground
Verify that the ground circuit has the required continuity or voltage-drop performance. A poor ground can imitate a failed sensor.
Signal circuit
Check the signal for shorts, opens, excessive resistance, and an implausible voltage or scan-tool value.
Scan-tool comparison
Where supported, compare the electronic oil-pressure data with the mechanical gauge reading under the same engine conditions.
How to Tell if the Sensor Is Bad or the Engine Has Low Oil Pressure
The key diagnostic question is whether the engine has adequate mechanical oil pressure. A sensor can report low pressure when actual pressure is normal, but an electrical test alone cannot prove that the engine’s lubrication system is healthy.
If the mechanical gauge shows normal pressure while the dashboard warning or scan data is incorrect, investigate the sensor, switch, connector, wiring, instrument cluster, or engine control system. If the mechanical gauge confirms low pressure, the sensor is not the primary problem even if a warning code is also present.
Low oil pressure can have several causes. Start with basic conditions such as oil level and the specified oil type. If those are correct, further diagnosis may involve the oil pickup, filter, pressure relief system, oil pump, internal leakage, or engine bearing clearances.
Source: carsensorhub.com
Warning light on but mechanical pressure normal
Focus on the oil pressure switch or sensor and its electrical circuit after confirming the test setup.
Gauge reading abnormal but mechanical pressure normal
Investigate the sensor signal, wiring, instrument cluster, and related control electronics.
Mechanical pressure genuinely low
Stop treating the problem as a sensor-only issue and diagnose the engine lubrication system.
Low oil level
Correct the oil level using the manufacturer’s specified procedure, then determine why the level became low and recheck the condition.
Common Mistakes When Testing an Oil Pressure Sensor
The most common mistake is replacing the sensor before confirming actual oil pressure. That can waste money and delay diagnosis of a serious engine lubrication problem. A warning light that remains on should always be treated as a possible real low-pressure condition until testing proves otherwise.
Another mistake is applying a resistance specification from a different vehicle. Oil pressure switches can have different switching points, and electronic sensors can use different signal strategies. Always identify the exact engine and sensor circuit before measuring or applying test voltage.
Avoid probing electronic control module connectors in ways that can spread or damage terminals. Manufacturer service procedures may specify special test adapters or back-probing methods. Follow those instructions when diagnosing a computer-controlled sensor circuit.
Source: i.ytimg.com
Testing only the sensor
A sensor test cannot replace a mechanical pressure test when the vehicle shows a low-pressure warning.
Using a generic specification
Resistance, voltage, switching pressure, and oil pressure limits vary by vehicle and engine.
Running an engine with suspected low pressure
Continuing to run an engine with genuinely low oil pressure can cause severe internal damage.
Ignoring the connector
Loose terminals, corrosion, damaged wiring, or oil contamination can create sensor symptoms even when the sensor itself works.
When You Should Stop Testing and Get Professional Help
Stop the test if the oil pressure warning remains on after the engine starts, especially if the mechanical gauge confirms pressure below the manufacturer’s minimum. Do not keep revving the engine to see whether the pressure improves. Continued operation with inadequate lubrication can cause expensive engine damage.
Professional diagnosis is also appropriate when the sensor is difficult to access, the oil pressure port requires specialized adapters, the wiring enters the engine control system, or the manufacturer’s diagnostic procedure requires specialized equipment. The same applies when mechanical pressure is low and the cause is not obvious.
A qualified technician can compare mechanical pressure with scan data, perform voltage-drop and circuit tests, and continue into oil pump or internal engine diagnosis when necessary. The goal is to identify the cause rather than simply replace the part associated with the warning.
Source: i.ytimg.com
Stop driving
Avoid driving when a mechanical test confirms dangerously low oil pressure or the engine develops serious lubrication-related noise.
Use professional equipment
Seek professional help when the vehicle requires specialized adapters, scan tools, or manufacturer-specific diagnostic procedures.
Verify the repair
After a sensor, wiring, or lubrication-system repair, repeat the appropriate tests and confirm that the warning condition has been resolved.
Frequently Asked Questions
Q
Can I test an oil pressure sensor with a multimeter?
Yes, but the method depends on whether the vehicle uses a simple pressure switch or a variable electronic sensor. A multimeter can check continuity, resistance, reference voltage, ground, and signal circuits when the manufacturer’s procedure supports those tests.
A multimeter cannot by itself prove that the engine has adequate mechanical oil pressure. A mechanical oil pressure gauge is needed when you must verify the actual pressure.
Q
How do I know if my oil pressure sensor is bad?
A sensor becomes more likely to be faulty when actual oil pressure is within the manufacturer’s specification but the dashboard or scan-tool reading is incorrect. Electrical tests can then identify missing reference voltage, poor ground, wiring faults, or an implausible sensor signal.
Do not diagnose the sensor from the warning light alone because genuine low oil pressure can produce the same symptom.
Q
What resistance should an oil pressure sensor have?
There is no single resistance value that applies to every oil pressure sensor. Some simple switches are tested for continuity or a change from low resistance to high resistance as pressure rises, while variable sensors use a pressure-dependent electrical signal.
Use the exact resistance or voltage specification for your vehicle, engine, and sensor. Applying a generic value can lead to an incorrect diagnosis.
Q
Can a bad oil pressure sensor cause the oil light to come on?
Yes. A faulty sensor or switch, damaged wiring, or a poor electrical connection can cause an incorrect oil pressure warning. However, the same warning can indicate genuinely low engine oil pressure.
If the oil warning remains on with the engine running, verify actual oil pressure before assuming the sensor is responsible.
Q
Should I replace the oil pressure sensor if the oil pressure is low?
Not automatically. If a mechanical gauge confirms that engine oil pressure is below the manufacturer’s specification, investigate the lubrication system before replacing the sensor.
Possible causes include an incorrect oil level or viscosity, a restricted oil pickup, an oil pump problem, a pressure-control issue, or excessive internal engine clearance.
Q
Can I drive with an oil pressure sensor problem?
You should not assume it is safe to drive until actual oil pressure has been verified when an oil pressure warning is present. A faulty sensor may cause a false warning, but real low oil pressure can damage an engine quickly.
If mechanical testing confirms low pressure, stop operating the vehicle and arrange appropriate diagnosis and repair.
✦ Wrapping Up
Conclusion
Learning how to test oil pressure sensor operation starts with separating the electrical signal from the engine’s actual oil pressure. Check the oil level and wiring first, then use a mechanical gauge to determine whether the engine is producing the required pressure. Once mechanical pressure is confirmed, use the correct multimeter or scan-tool procedure for the specific sensor design.
The most important rule is to use vehicle-specific specifications. A simple oil pressure switch, a variable electronic sensor, and their control circuits can behave differently. If actual oil pressure is low, treat the condition as an engine lubrication problem rather than simply replacing the sensor.
💡 Key Takeaway
Verify actual oil pressure with the correct mechanical gauge before replacing an oil pressure sensor, then diagnose the sensor and wiring using the exact factory specifications for your vehicle.
Ethan Brooks is an automotive writer at Auto News 7, covering car news, vehicle maintenance, new model updates, recalls, and practical buying guides. He focuses on clear, useful information that helps drivers understand their vehicles and make better ownership decisions.
Learn whether a camshaft sensor needs to be programmed after replacement, when relearn procedures are required, common symptoms, troubleshooting steps, and what to expect during installation.
Learn what a knock sensor is, how it works, where it is located, common symptoms of failure, and why it is essential for engine performance and protection.
Learn how to clean camshaft position sensor components safely with a simple step-by-step process, tools list, troubleshooting tips, and common mistakes to avoid.
Learn how many ohms a camshaft sensor should have, why resistance varies by sensor type, and how to test a camshaft position sensor accurately with a multimeter.