A knock sensor can be cleaned externally, but cleaning usually cannot repair a sensor with an internal electrical or piezoelectric failure.
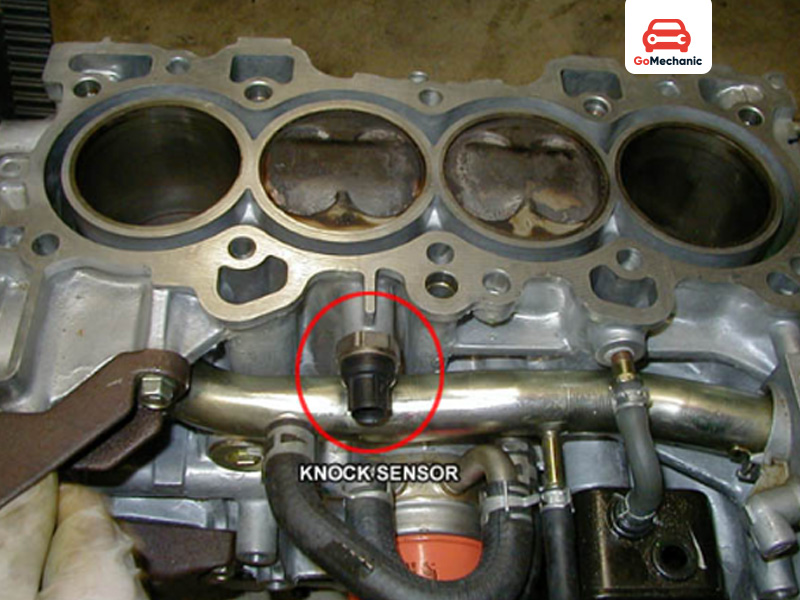
For drivers in the United States, a knock sensor is part of the engine management system that detects vibrations associated with abnormal combustion. The engine control module can use that signal to adjust ignition timing when knock occurs. If a scan tool shows a knock sensor fault, cleaning the sensor is not automatically the right repair.
You can clean dirt, oil, corrosion, or debris from accessible external surfaces when the vehicle manufacturer’s service procedure allows it. The sensor’s mounting surface and electrical connector may also need attention. However, a sealed sensor with an internal fault normally needs replacement rather than cleaning.
The safest approach is to diagnose the fault before removing or cleaning the sensor. A knock sensor code can result from the sensor itself, damaged wiring, connector corrosion, incorrect mounting, or another engine problem. Cleaning should be treated as an inspection or maintenance step, not as a guaranteed repair.
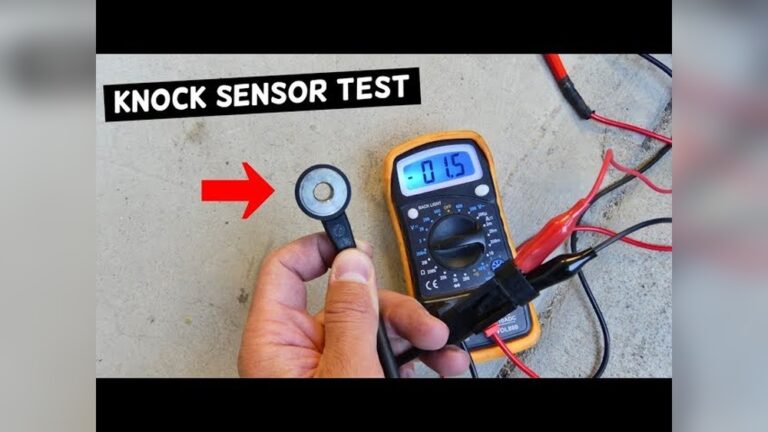
Source: gomechanic.in
Can a Knock Sensor Be Cleaned?
Yes, but only in a limited sense. You can clean contamination from the outside of a knock sensor and clean an appropriate mounting surface or connector when the vehicle’s service procedure permits it. That does not mean the sensor itself can be restored after an internal failure.
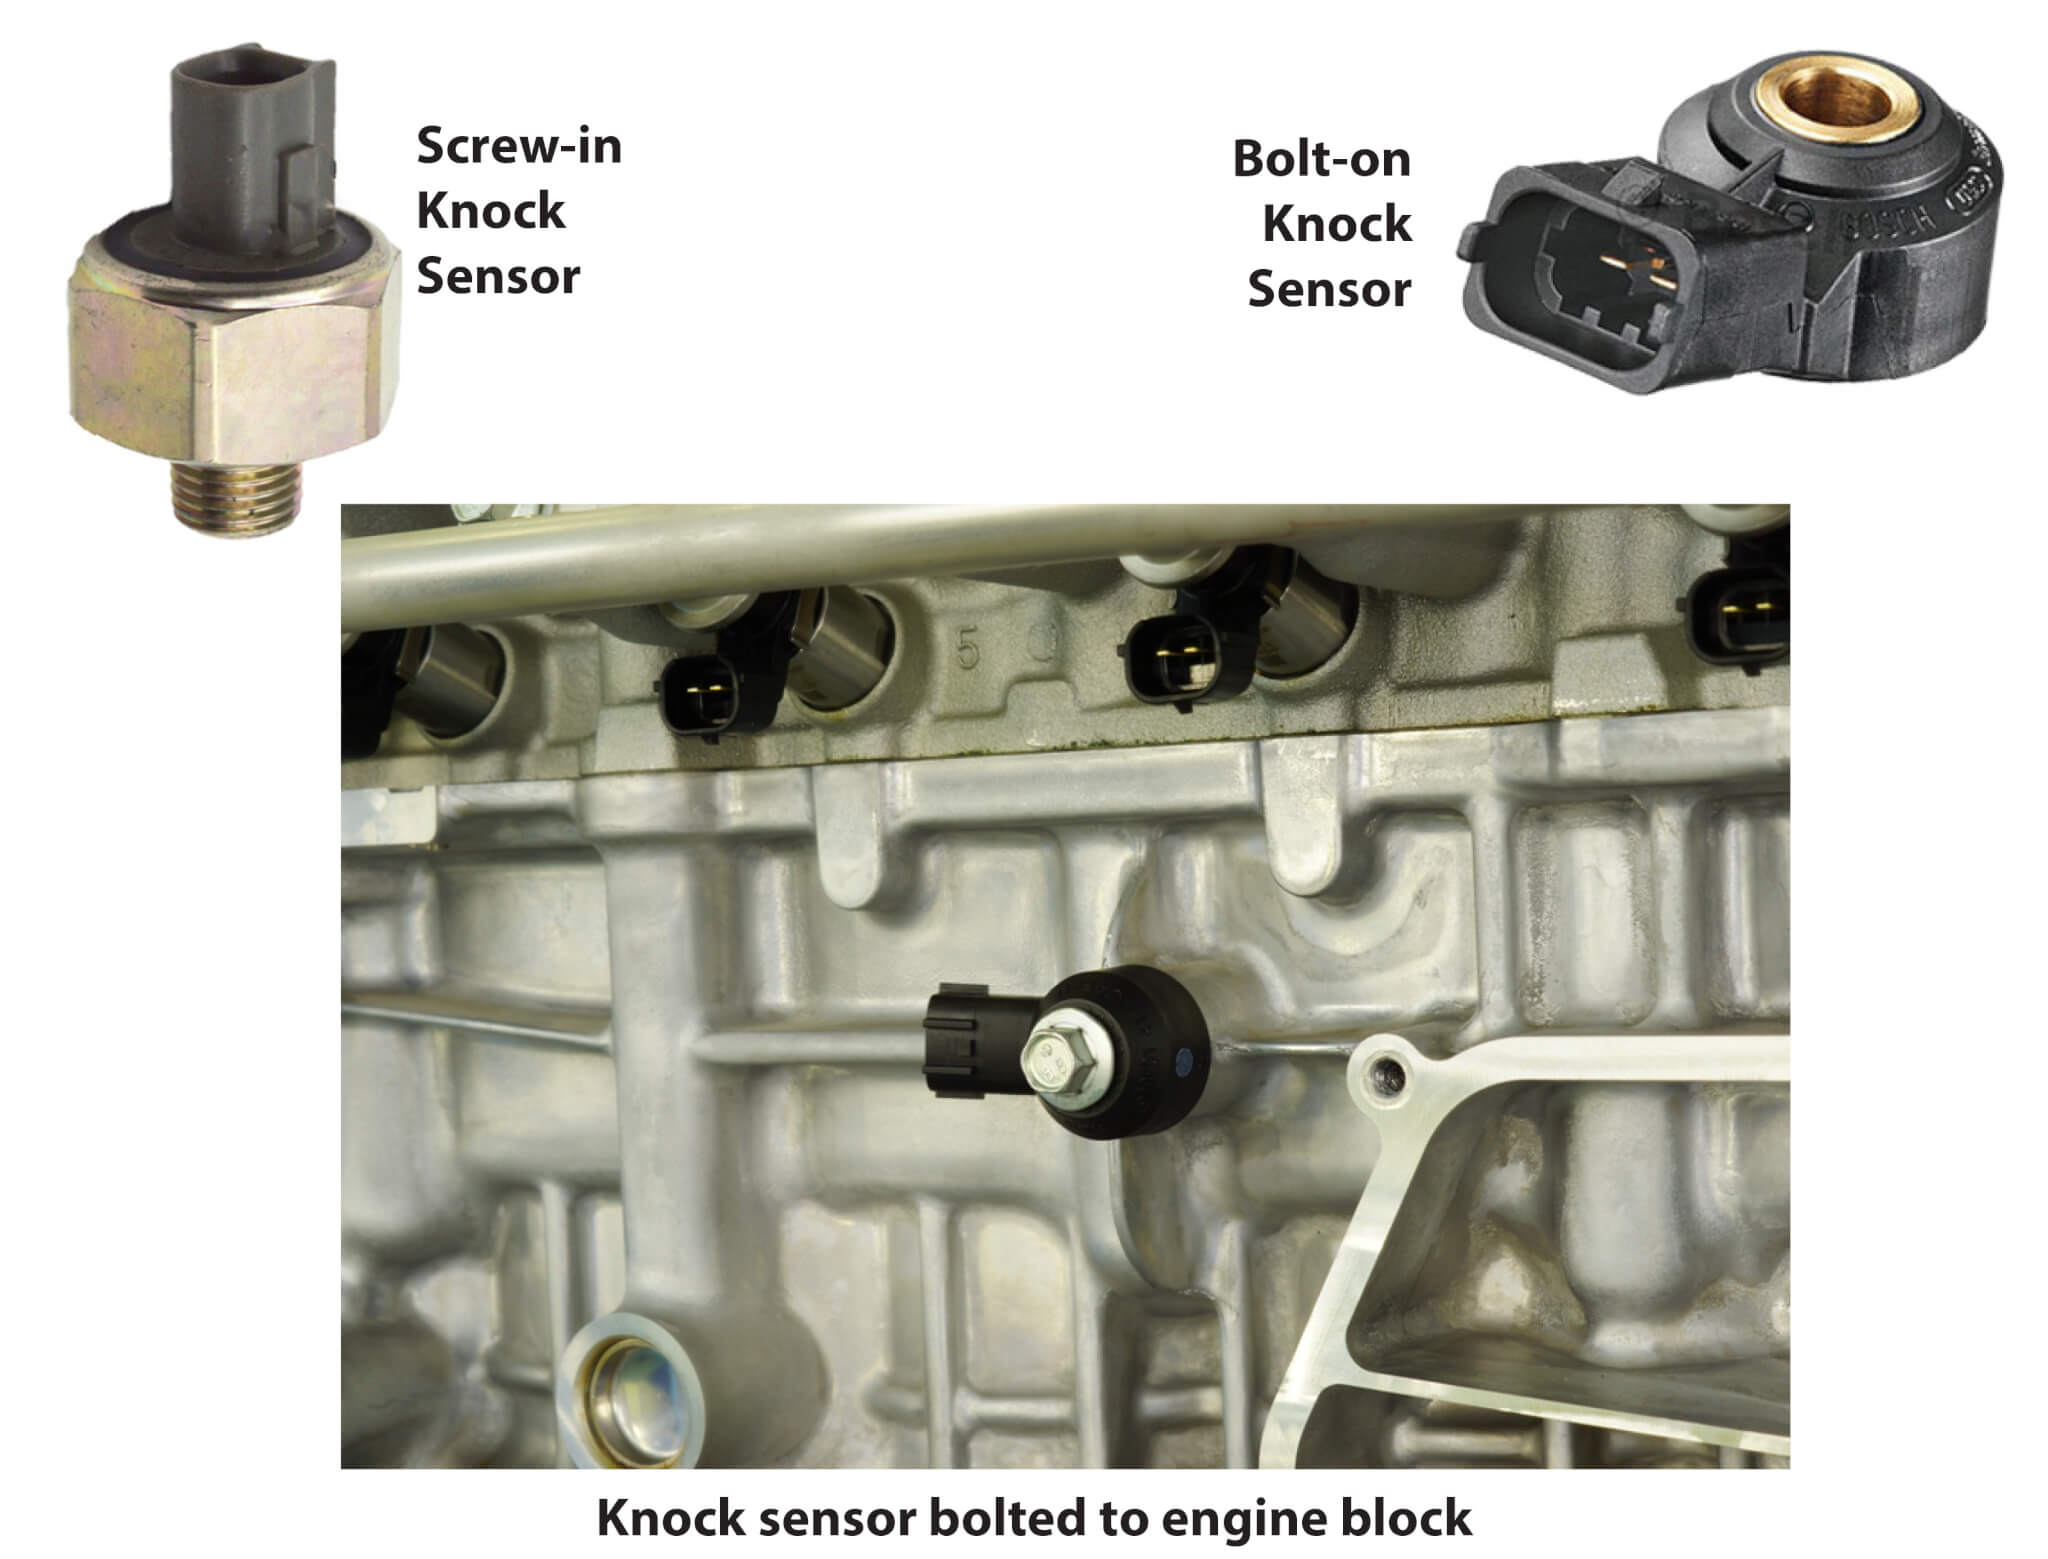
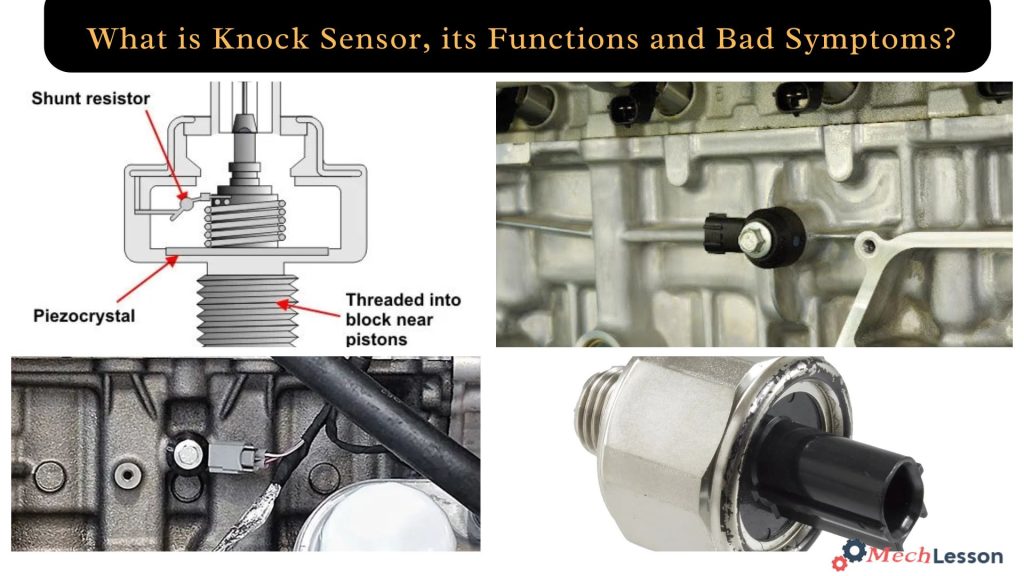
Most knock sensors contain an internal sensing element inside a sealed housing. The sensor detects engine vibration and converts that mechanical input into an electrical signal for the engine control system. Dirt on the outside may be removable, but cleaning cannot normally repair a damaged sensing element, broken internal connection, or other electrical failure.
This distinction matters because replacing a sensor unnecessarily can waste money, while assuming that cleaning will fix a failed sensor can delay the correct repair. Diagnosis should come before the decision to clean or replace.
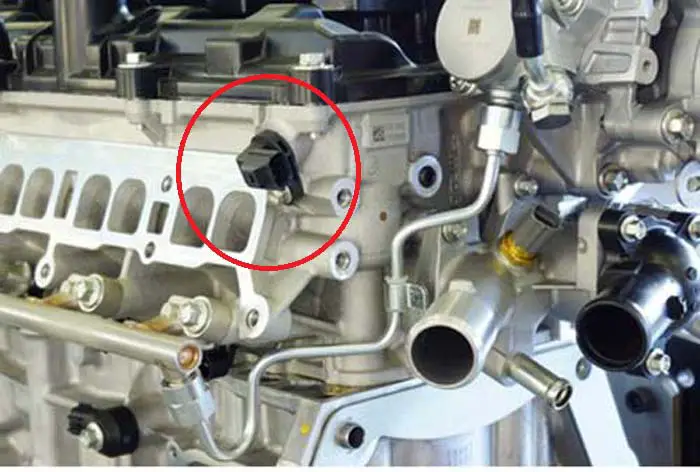
Source: autovehicleparts.com
External contamination
Oil, dirt, and debris on accessible external surfaces may be removed if the manufacturer’s procedure permits cleaning.
Connector contamination
Corrosion or contamination at an electrical connector may interfere with the signal and should be inspected and serviced using the appropriate procedure.
Internal failure
An internal electrical or sensing-element failure is not normally repaired by cleaning the outside of the sensor.
What Does a Knock Sensor Do?
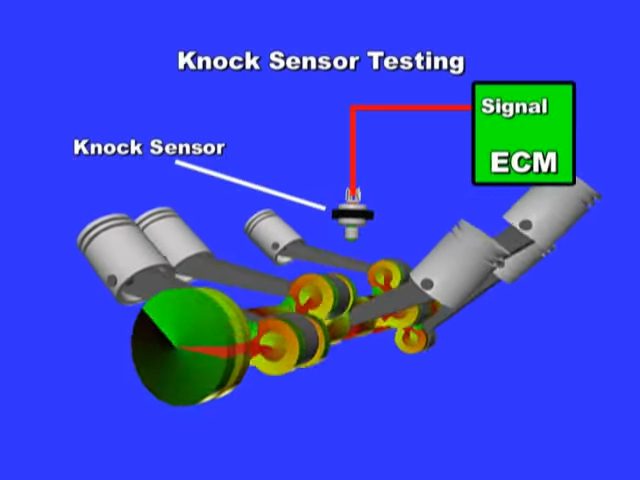
A knock sensor monitors vibrations in the engine that can indicate abnormal combustion, often called knock or detonation. The engine control module evaluates the sensor signal and can alter ignition timing to reduce harmful combustion conditions.
Because the sensor depends on vibration and correct mounting, its contact with the engine matters. Dirt, corrosion, incorrect installation, or an improperly tightened fastener can affect how the sensor responds. The exact requirements vary by vehicle.
Sensing
The sensor detects vibration associated with combustion events and produces an electrical signal.
Engine control
The engine control module evaluates the signal and can adjust engine operation when knock is detected.
What Parts of a Knock Sensor System Can Be Cleaned?
Cleaning is most useful when contamination is on an accessible external part of the system. The sensor body, mounting area, and electrical connector should be treated as separate components because each has different cleaning requirements.
A clean mounting surface can matter because the sensor must transfer engine vibration correctly. Some vehicle service procedures specifically require the contact surface between the sensor and engine to be free of dirt, grease, or corrosion. The correct tightening torque also matters and must come from the vehicle-specific service information.
The electrical connector should be inspected for moisture, oil, damaged terminals, and corrosion. If a connector is damaged, cleaning alone will not restore a reliable electrical connection.
Source: hitchesguide.com
Sensor exterior
Remove loose external contamination carefully without damaging the housing or sensing area.
Mounting surface
Clean the required contact area according to the vehicle manufacturer’s service instructions.
Electrical connector
Inspect for corrosion, moisture, oil, bent terminals, or other damage before deciding whether cleaning is appropriate.
Wiring
Look for damaged insulation, broken conductors, heat damage, or poor connections rather than assuming contamination is the cause.
Can You Clean the Knock Sensor Connector?
A contaminated connector may sometimes be cleaned with a suitable electrical contact cleaner, but the correct procedure depends on the connector and vehicle. The connector should not be flooded with an inappropriate chemical or aggressively scraped.
If terminals are loose, heavily corroded, damaged, or missing their protective plating, cleaning may not be enough. Connector or wiring repair may be necessary instead.
Inspect first
Check the connector and terminals before applying cleaner.
Use the correct product
Use a cleaner intended for electrical contacts when the vehicle service information permits it.
Repair damage
Replace or repair damaged terminals and wiring instead of relying on cleaning.
How to Clean a Knock Sensor Safely
If inspection shows external contamination and the vehicle’s service information permits cleaning, work carefully and avoid damaging the sensor. The exact removal procedure differs by vehicle, and some knock sensors are difficult to reach without removing other engine components.
Before starting, let the engine cool and make sure the vehicle is secure. Disconnecting the battery may be appropriate for some repairs, but follow the vehicle-specific service procedure because battery disconnection can affect stored settings or systems on some vehicles.
Do not treat the following as a universal manufacturer procedure. It is a general inspection sequence. Your vehicle’s repair manual takes priority for connector handling, sensor removal, cleaning products, torque, and post-repair checks.
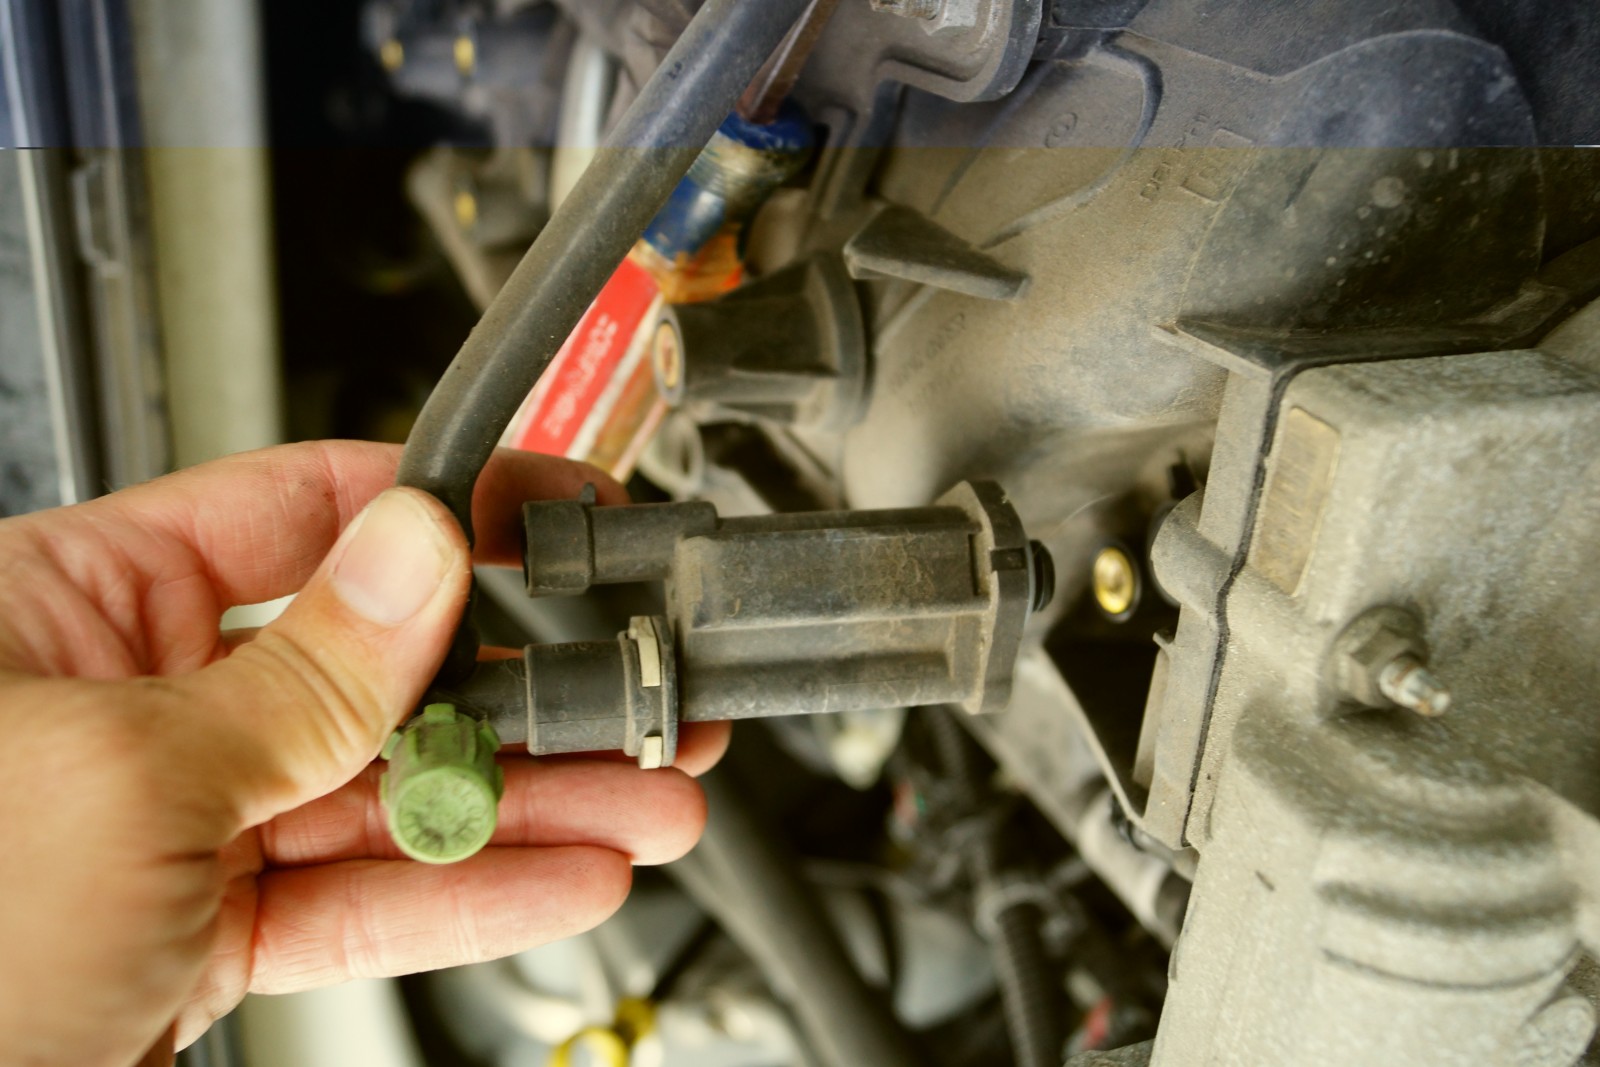
Source: www.youtube.com > Adam Mechanic
1. Identify the sensor
Confirm the correct sensor and obtain the vehicle-specific removal and installation instructions before disconnecting anything.
2. Inspect before cleaning
Look for oil, dirt, corrosion, damaged wiring, cracked housing, or a loose mounting fastener.
3. Disconnect the connector
Release the electrical connector using the correct method without pulling on the wires.
4. Clean permitted surfaces
Remove external contamination carefully using only a cleaning method approved for the component and vehicle.
5. Clean the mounting area
If the sensor is removed, prepare the contact surface as specified by the service procedure and keep it free of grease or debris when required.
6. Reinstall correctly
Install the sensor in its specified position and tighten the fastener to the manufacturer’s specified torque.
7. Check the result
Reconnect the wiring, clear codes only when appropriate, and verify the system with the recommended diagnostic procedure.
What Not to Use on a Knock Sensor
Avoid harsh solvents, abrasive tools, excessive scraping, or methods that can damage the sensor housing or connector. A knock sensor is a precision engine-management component, not a part that should be aggressively scrubbed.
Do not immerse the sensor unless the manufacturer specifically says that procedure is safe. Do not attempt to open a sealed sensor to clean its internal components. Opening the housing can destroy the component and create another failure.
No aggressive abrasion
Do not grind, sand, or heavily scrape the sensing component.
No internal disassembly
Do not open a sealed sensor to reach the internal sensing element.
No guesswork with chemicals
Use only cleaning products and procedures compatible with the component and vehicle.
No incorrect torque
Do not estimate the mounting torque because sensor operation can depend on correct installation.
When Cleaning Will Not Fix a Knock Sensor
Cleaning will not normally repair a knock sensor with an internal electrical or sensing-element failure. If the sensor has been correctly installed, the wiring and connector are sound, and vehicle-specific testing identifies the sensor as defective, replacement is usually the appropriate solution.
A diagnostic trouble code alone does not prove that the sensor itself has failed. The same warning can result from damaged wiring, connector problems, incorrect mounting, corrosion, or other faults in the knock-control system. Diagnose the complete circuit before buying a replacement sensor.
If the engine is actually knocking, do not assume that the knock sensor is the cause. Abnormal combustion can have other causes, including fuel quality, ignition problems, excessive engine temperature, or other engine-management issues. A knock sensor reports vibration; it does not create the underlying combustion problem.
Source: mechlesson.com
Persistent fault code
If the code returns after the wiring, connector, mounting, and sensor have been properly checked, further testing is needed.
Visible damage
A cracked, physically damaged, or otherwise compromised sensor generally should not be treated as a cleaning candidate.
Electrical failure
A sensor that fails the vehicle-specific electrical or functional test normally requires replacement.
Repeated contamination
If oil or another contaminant keeps reaching the sensor or connector, the source of the contamination should be corrected.
Should You Replace or Clean a Knock Sensor?
Choose cleaning when the problem is limited to removable external contamination and the sensor otherwise passes the required inspection or test. Choose replacement when the sensor itself is confirmed defective or physically damaged.
If the fault is at the connector or wiring, repair that problem instead of replacing a sensor that may still work. This diagnostic approach reduces unnecessary parts replacement and gives the engine control system a better chance of operating correctly.
Clean
Use cleaning for permitted external contamination when the sensor and circuit remain serviceable.
Repair
Repair wiring, terminals, or mounting problems when testing identifies them as the cause.
Replace
Replace the sensor when vehicle-specific testing confirms an internal or functional sensor failure.
How to Diagnose a Knock Sensor Before Cleaning or Replacing It
Start with the diagnostic trouble code and vehicle-specific service information, then inspect the sensor circuit before removing the part. This sequence helps distinguish a dirty component from a wiring, mounting, or internal sensor problem.
A professional diagnosis may include a scan tool, visual inspection, wiring checks, and a sensor-specific test. Electrical specifications vary by vehicle, so resistance or voltage values from another model should not be used as a substitute for the correct service information.
Pay particular attention to the sensor’s mounting condition. Knock sensors rely on vibration reaching the sensing element, so incorrect positioning, a dirty contact surface, or incorrect tightening can affect operation even when the sensor itself is functional.
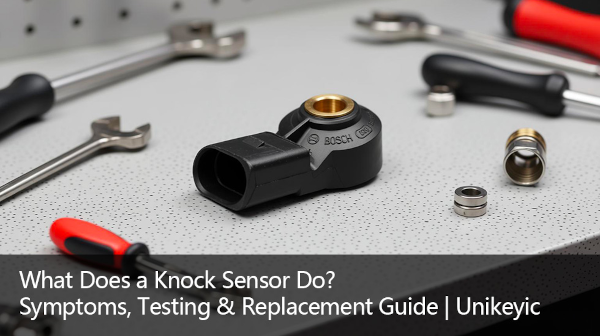
Source: storage.googleapis.com
Read the codes
Record the exact diagnostic trouble code and related freeze-frame information before clearing anything.
Inspect the circuit
Check the connector, wiring, terminals, and sensor for visible problems.
Check mounting
Confirm that the sensor is positioned correctly and that its contact surface and fastener meet the vehicle manufacturer’s requirements.
Test according to specification
Use the diagnostic procedure and electrical specifications for the exact engine and model year.
Confirm the repair
After cleaning, wiring repair, or replacement, verify that the fault no longer returns and that the engine operates normally.
Why a Knock Sensor Code Does Not Always Mean a Bad Sensor
A knock sensor trouble code identifies a problem in a monitored system, not necessarily a failed sensor. Wiring breaks, connector corrosion, poor mounting, and other circuit faults can produce similar diagnostic results.
That is why replacing a sensor solely because a code is stored can be premature. Testing the circuit and checking the installation can identify problems that cleaning or replacement would not solve.
Sensor fault
The sensor’s internal sensing or electrical function may have failed.
Wiring fault
A damaged or shorted wire can interrupt or distort the sensor signal.
Connector fault
Corrosion, loose terminals, or contamination can interfere with the electrical connection.
Mounting fault
Incorrect installation or contact conditions can affect vibration transfer and sensor performance.
Common Mistakes When Cleaning a Knock Sensor
The most common mistake is treating a knock sensor like a conventional dirt-covered mechanical component. The important issue is not simply whether the outside looks clean. The sensor must also remain electrically sound, correctly mounted, and connected to the engine control system as specified.
Another mistake is using a generic resistance value or testing technique from a different vehicle. Knock sensor designs and diagnostic strategies vary, so a test that applies to one engine may not apply to another.
Finally, do not keep cleaning a sensor when the evidence points to a failed component. If the sensor fails the manufacturer’s diagnostic procedure, replacement is more appropriate than repeated cleaning.
Source: storage.googleapis.com
Cleaning without diagnosis
Cleaning a sensor before identifying the cause of the fault can delay the correct repair.
Using the wrong specifications
Generic electrical readings or torque values can be wrong for the specific vehicle.
Damaging the connector
Pulling wires, bending terminals, or using unsuitable chemicals can create a new electrical fault.
Ignoring the cause of contamination
Repeated oil or debris contamination may indicate another problem that needs attention.
Overlooking actual engine knock
A knock sensor fault should not distract from diagnosing genuine abnormal combustion when knocking is present.
When to Get Professional Help
Professional help is appropriate when the sensor is difficult to access, the intake manifold or other major components must be removed, or the diagnostic procedure requires equipment or specifications you do not have. Some engines place knock sensors in locations that make replacement substantially more involved than the cleaning itself.
You should also seek qualified assistance when the check engine light is accompanied by persistent engine pinging, severe loss of power, overheating, or other signs of an engine-management problem. The knock sensor may be only one part of the underlying issue.
A technician with the correct service information can test the circuit, verify mounting conditions, and determine whether the sensor, wiring, connector, or engine condition is responsible for the fault.
Limited access
Get assistance when reaching the sensor requires substantial disassembly or specialized tools.
Unclear diagnosis
Professional testing can help when the code does not clearly identify the failed component.
Persistent engine knock
Actual knocking or pinging under load deserves prompt diagnosis rather than repeated sensor cleaning.
Repeated fault codes
If the code returns after a repair, further circuit and engine diagnosis may be necessary.
Frequently Asked Questions
Q
Can a knock sensor be cleaned without removing it?
Sometimes you can remove loose external dirt or oil from an accessible sensor without removing it, but the benefit depends on where the contamination is located. Do not spray or scrub the sensor indiscriminately because the correct cleaning method varies by vehicle.
If the problem involves the mounting surface or a hidden connector, the sensor may need to be removed for proper inspection.
Q
Can a dirty knock sensor cause a check engine light?
Contamination can contribute to a fault if it affects the connector, wiring, or required mounting conditions, but a check engine light does not prove that dirt is the cause. A diagnostic code should be followed by inspection and vehicle-specific testing.
A failed sensor, wiring problem, connector issue, or other engine-management fault can produce similar symptoms.
Q
Can I use brake cleaner on a knock sensor?
Do not assume brake cleaner is safe for a knock sensor. Solvent compatibility varies by component, and aggressive chemicals can damage certain materials or leave you with a new problem.
Use the vehicle manufacturer’s recommended cleaning method or a cleaner specifically confirmed as compatible with the affected component.
Q
Will cleaning a knock sensor fix a P0325 code?
It might help only if contamination is actually causing the underlying fault and the sensor remains functional. P0325 and related knock sensor codes do not automatically prove that the sensor itself is defective.
Check the wiring, connector, mounting, and sensor according to the vehicle-specific diagnostic procedure before deciding that cleaning or replacement is the answer.
Q
Should I replace a knock sensor instead of cleaning it?
Replace the sensor when testing confirms an internal or functional failure. Cleaning is more appropriate when the sensor is serviceable and the problem is limited to permitted external contamination or the surrounding mounting and connector areas.
Replacing a sensor without diagnosing the circuit can waste money if the actual problem is wiring, connector damage, incorrect mounting, or another engine fault.
Q
Can a bad knock sensor damage an engine?
A failed knock sensor does not usually damage an engine simply by failing. The concern is that a malfunctioning knock-control system may not respond correctly if genuine abnormal combustion occurs.
Persistent engine knock can be harmful, so a knock sensor fault combined with pinging or other engine symptoms should be diagnosed promptly.
✦ Wrapping Up
Conclusion
A knock sensor can be cleaned externally when contamination is present and the vehicle’s service procedure allows it, but cleaning is not a general cure for a failed sensor. Internal sensing or electrical faults normally require replacement.
The better approach is to diagnose the entire knock sensor circuit before deciding what to clean or replace. Inspect the sensor, mounting surface, connector, and wiring, then follow the exact testing and torque specifications for the vehicle.
If the fault remains after appropriate cleaning and inspection, do not keep treating the sensor as a cleaning problem. Use the vehicle-specific diagnostic procedure or have a qualified technician determine whether the sensor or another part of the system needs repair.
💡 Key Takeaway
Clean only permitted external surfaces, inspect the connector and mounting area, follow vehicle-specific diagnostic specifications, and replace the knock sensor when testing confirms an internal failure.
Ethan Brooks is an automotive writer at Auto News 7, covering car news, vehicle maintenance, new model updates, recalls, and practical buying guides. He focuses on clear, useful information that helps drivers understand their vehicles and make better ownership decisions.
Learn what to do after replacing camshaft position sensor, including resetting codes, testing engine performance, checking wiring, and troubleshooting persistent problems.
Learn whether a knock sensor affects acceleration, how a faulty knock sensor impacts engine performance, common symptoms, diagnostic steps, and when replacement is necessary.
Learn what a knock sensor detects, how it works, why engine knock matters, common symptoms of failure, and how the sensor helps protect engine performance.
Learn how to test a BMW camshaft position sensor using a scan tool, multimeter, and practical troubleshooting steps. Diagnose faults, symptoms, and sensor failures accurately.