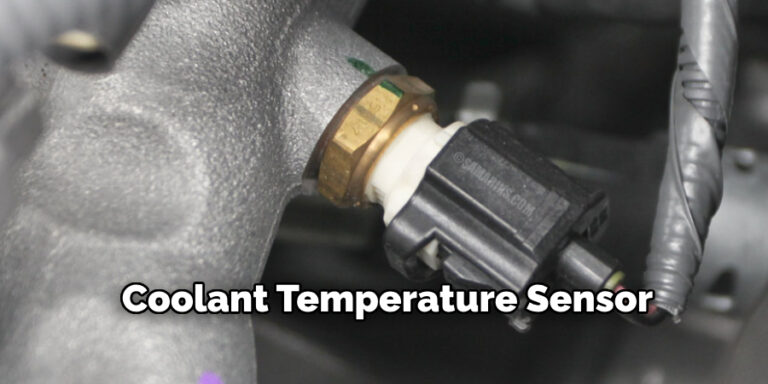
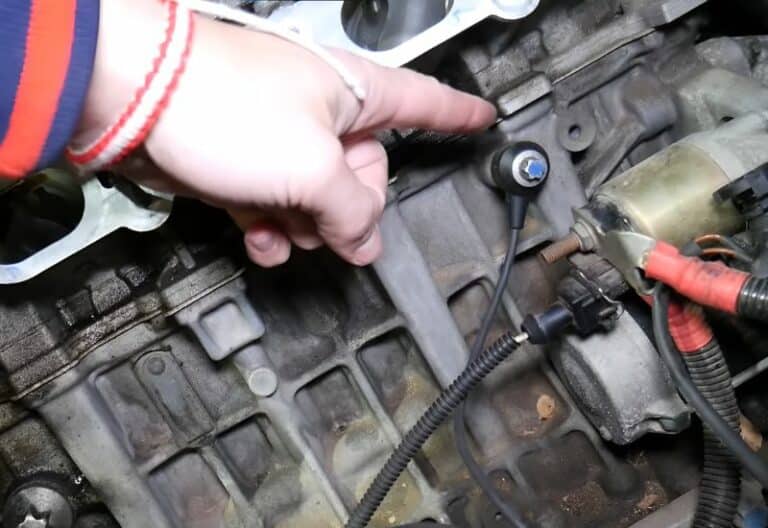
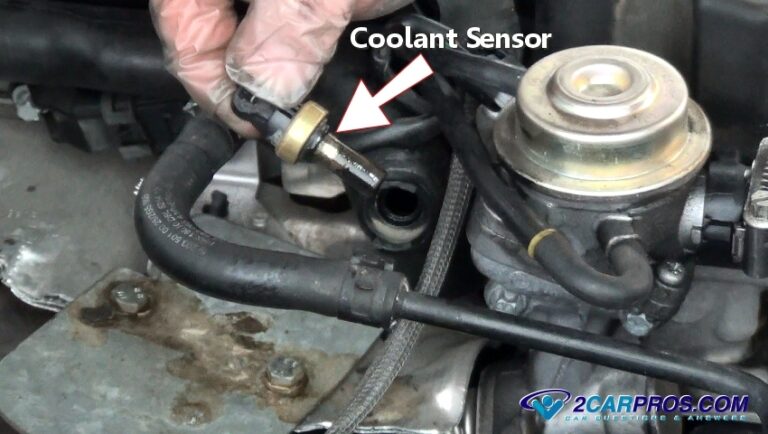
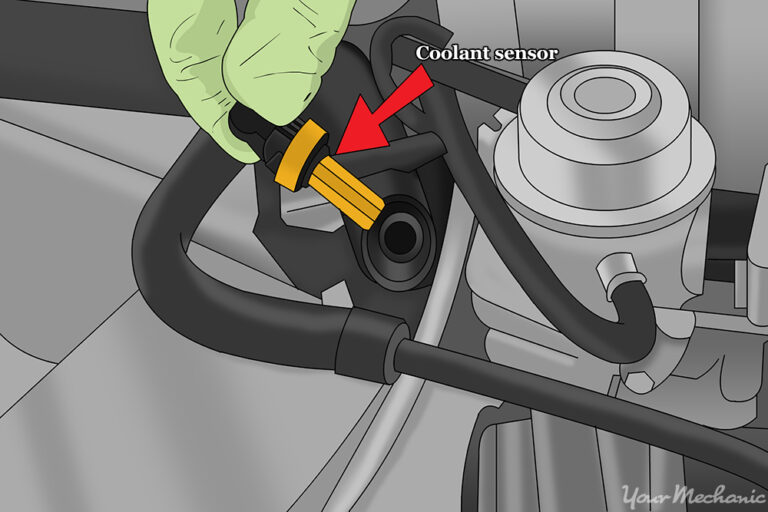
Yes, a coolant temperature sensor is often one of the easier engine repairs for a DIYer, but the difficulty depends on the vehicle, sensor location, access, coolant loss, and manufacturer-specific installation requirements.
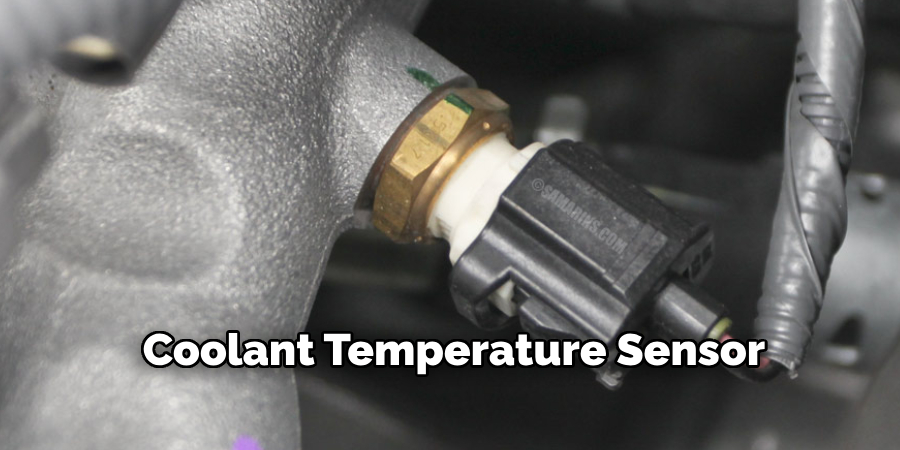
For many cars and trucks sold in the United States, replacing an engine coolant temperature sensor is a relatively straightforward repair. The sensor is commonly threaded into a coolant passage near the thermostat housing, cylinder head, engine block, or water outlet. If it is accessible from above and uses a simple threaded connection, the physical replacement can be much easier than repairs involving the thermostat, radiator, or other cooling-system components.
The job is not automatically simple on every vehicle. Some sensors are difficult to reach, require removal of other components, use clips or seals instead of conventional threads, or require a specific torque procedure. Coolant can also escape when the old sensor is removed, and the engine must be completely cool before opening or disturbing a pressurized cooling system. For that reason, check the repair information for your exact year, make, model, and engine before starting.
Source: safetyfic.com
How Difficult Is It to Replace a Coolant Temperature Sensor?
For a vehicle with an easily accessible threaded sensor, the replacement is usually a relatively simple mechanical and electrical repair. The basic process is to let the engine cool, disconnect the sensor’s electrical connector, remove the old sensor, install the replacement with the required seal or thread treatment, reconnect the wiring, restore any lost coolant, and check the system.
The actual difficulty varies considerably between vehicles. A sensor positioned high on the engine can lose only a small amount of coolant when removed and may be reachable with one socket. A sensor positioned behind an intake component, underneath the engine, or in a crowded area can turn the same repair into a much more involved job.
A useful way to judge the job is to separate sensor replacement from sensor diagnosis. Physically changing the part may be easy, but proving that the sensor is the cause of the problem can require scan-tool data, electrical testing, resistance measurements, wiring inspection, or comparison with the manufacturer’s specifications.
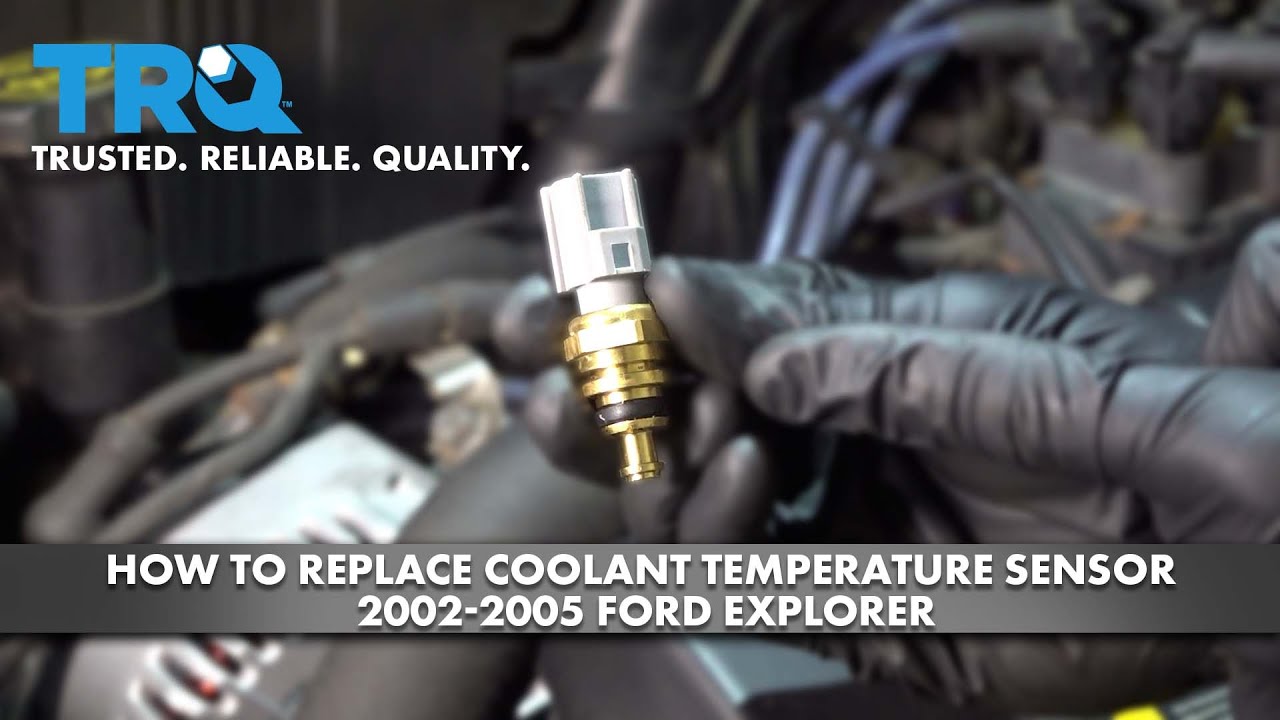
Source: i.ytimg.com
Usually easy
The sensor is clearly visible, accessible from above, threaded into a coolant passage, and secured with a conventional connector.
Moderate difficulty
Access requires removing an engine cover, air intake component, bracket, or other minor obstruction, or the cooling system needs additional attention after the repair.
Potentially difficult
The sensor is buried behind other components, seized in the engine, mounted in an integrated housing, or requires extensive coolant-system disassembly.
What Makes the Repair Easy?
The easiest installations have a clearly accessible sensor, a removable electrical connector, and a threaded sensor that can be removed with a correctly sized socket or wrench. Some vehicles also position the sensor high enough that only a small amount of coolant escapes when it is removed.
A replacement can be particularly manageable for a DIYer who already knows how to use hand tools, identify electrical connectors, safely handle automotive coolant, and follow torque specifications.
Good access
There is enough room to reach the sensor and turn the required tool without removing major components.
Simple mounting
The sensor uses a conventional threaded fitting or another clearly documented mounting method.
Known specifications
The correct sensor, sealing method, torque value, and coolant procedure are available for the vehicle.
What Makes the Repair More Difficult?
Restricted access is one of the biggest variables. A sensor can be inexpensive and mechanically simple while still taking much longer to replace if other components block the connector or wrench. A sensor that is stuck can also create additional risk because excessive force can damage the sensor, its mounting location, or surrounding components.
Some vehicles use different sensor arrangements for the engine computer and dashboard gauge, while others combine functions. Do not assume that every temperature-related sensor in the engine compartment is interchangeable.
Restricted access
Other engine components may need to be removed before the sensor can be reached.
Seized sensor
Corrosion or age can make removal difficult and increase the risk of damaging the mounting threads.
Different sealing systems
Some sensors use sealing washers, O-rings, thread sealant, or other manufacturer-specified methods rather than a universal approach.
What Does a Coolant Temperature Sensor Do?
The engine coolant temperature sensor measures coolant temperature and provides that information to the vehicle’s engine control system. The engine computer can use the temperature signal when managing functions such as fuel delivery, ignition-related strategies, emissions controls, and cooling-fan operation, depending on the vehicle’s design.
A common coolant temperature sensor uses a thermistor whose electrical resistance changes as temperature changes. The vehicle’s control module interprets the electrical signal as a temperature value. If the sensor or its circuit produces an implausible signal, the engine computer may respond incorrectly.
Because the sensor is part of a larger control system, a temperature-related symptom does not automatically prove that the sensor itself has failed. A wiring fault, poor connector connection, low coolant level, thermostat problem, cooling-fan fault, or another engine-management issue can create similar symptoms.
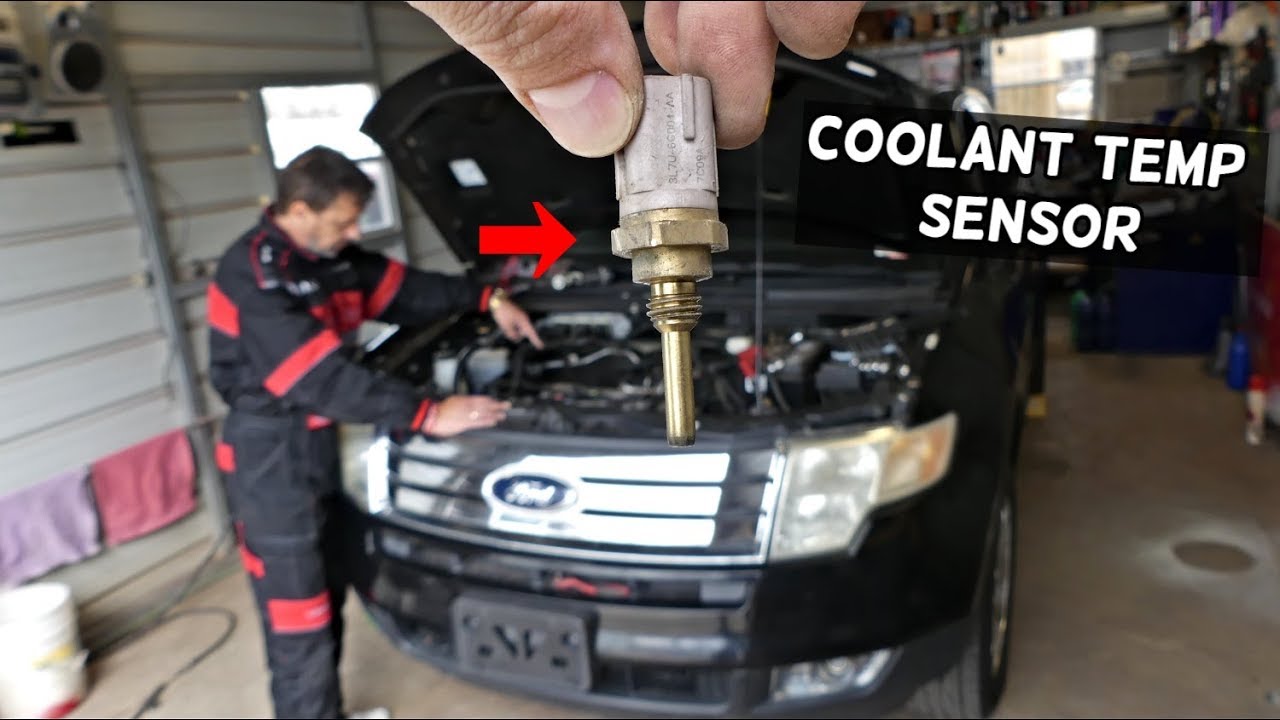
Source: i.ytimg.com
Temperature monitoring
The sensor provides the control system with information about engine coolant temperature.
Engine management
The temperature signal can influence how the engine control system manages operating conditions.
Cooling system control
On vehicles designed to use the sensor for fan control, inaccurate temperature information can affect when cooling fans operate.
Is a Coolant Temperature Sensor the Same as a Temperature Gauge Sensor?
Not necessarily. Vehicle designs vary. Some vehicles use a sensor or sensor assembly that provides information to multiple systems, while others use separate components for the engine computer and dashboard gauge. Always identify the correct component for the specific vehicle rather than relying only on its general location.
Check the application
Use the exact vehicle year, make, model, engine, and equipment information when identifying the replacement sensor.
Do not assume location
Two visually similar sensors in the same area can have different electrical functions or connectors.
Signs That May Point to a Faulty Coolant Temperature Sensor
Common warning signs include an inaccurate or unstable temperature reading, difficult starting, abnormal fuel economy, poor engine operation, a Check Engine light, or cooling-fan behavior that does not match engine temperature. However, these symptoms are not unique to the coolant temperature sensor.
A diagnostic trouble code can help narrow the problem, but the code should be interpreted with the vehicle’s service information and supporting tests. Replacing a sensor solely because a temperature-related code appears can result in replacing a good part when the underlying problem is wiring, a connector, coolant level, thermostat operation, or another component.
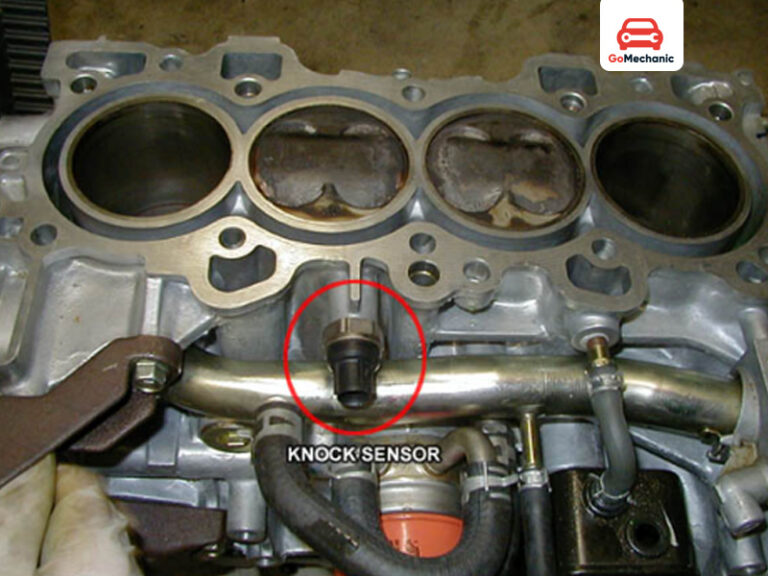
Source: d10lvax23vl53t.cloudfront.net
Erratic temperature reading
A gauge or scan-tool temperature value may behave inconsistently or appear implausible compared with the actual engine condition.
Starting or running problems
An incorrect coolant temperature signal can affect engine-control decisions, particularly during cold starts.
Check Engine light
A fault in the sensor or its circuit can trigger diagnostic trouble codes, although the exact code and diagnostic procedure vary by vehicle.
Cooling-fan concerns
On vehicles where the sensor signal participates in fan control, an incorrect temperature signal can contribute to abnormal fan operation.
Check the Sensor Before Replacing It
Before buying a replacement, inspect the electrical connector and wiring for corrosion, broken wires, damaged insulation, loose terminals, or contamination. Also check coolant level and look for evidence of leaks, but only after the engine and cooling system have cooled sufficiently for safe inspection.
If diagnostic equipment is available, compare the reported coolant temperature with the engine’s known condition and the manufacturer’s specifications. Some sensors can also be evaluated with resistance testing, but the correct resistance-temperature specifications depend on the particular sensor.
Inspect wiring
A damaged circuit can mimic a failed sensor and will not be fixed by installing another sensor.
Check coolant level
Low coolant can create temperature-management problems and should be addressed before assuming the sensor is the cause.
Use vehicle-specific specifications
Resistance values, connector pin assignments, and diagnostic procedures vary by application.
What Tools Do You Need to Replace a Coolant Temperature Sensor?
The exact tool list depends on the vehicle, but many accessible sensor replacements require only basic hand tools. The most important requirement is having the correct socket or wrench for the sensor and enough clearance to use it without damaging the connector or surrounding components.
You may also need a drain pan or suitable container for coolant, shop towels, protective gloves, eye protection, replacement coolant, and a torque wrench if the manufacturer specifies a sensor torque value. Some vehicles require a specialized deep socket or thin-walled socket because of the sensor’s shape and connector.
Source: i.ytimg.com
Basic hand tools
A ratchet and appropriately sized socket or wrench are common requirements.
Coolant collection equipment
Use a suitable container to catch coolant that escapes when the sensor is removed.
Safety equipment
Wear suitable gloves and eye protection, and never open a hot pressurized cooling system.
Torque wrench
Use one when the manufacturer’s service information provides a specified tightening torque.
Do You Need to Drain All the Coolant?
Not always. If the sensor is mounted high in the engine, coolant loss may be limited, while a sensor positioned lower in a coolant passage may require more coolant to be drained. The correct procedure depends on the sensor location and the vehicle’s service instructions.
Do not decide how much coolant to drain based only on a generic guide. Follow the vehicle-specific procedure, collect any escaping coolant, and restore the system to the correct level using the specified coolant.
High-mounted sensor
Often allows limited coolant loss, although the exact amount depends on the engine and sensor location.
Low-mounted sensor
May require draining more coolant before removal to prevent excessive spillage.
After coolant loss
The cooling system may need to be refilled and, on some vehicles, properly bled to remove trapped air.
How to Replace a Coolant Temperature Sensor
The following is a general procedure for a common threaded coolant temperature sensor. Your vehicle’s service manual takes priority if it specifies a different procedure, torque value, sealing method, coolant requirement, or component-removal sequence.
Do not start until the engine and cooling system are completely cool. A cooling system can remain pressurized after the engine is shut off, and hot coolant can cause serious burns.
Source: i.ytimg.com
Step 1: Park and cool the vehicle
Park on a stable, level surface where appropriate, switch the engine off, secure the vehicle, and allow the engine to cool completely.
Step 2: Locate the sensor
Use vehicle-specific repair information to identify the correct coolant temperature sensor and determine whether any components block access.
Step 3: Inspect the connector
Check for corrosion, broken locks, damaged wiring, or contamination before disconnecting the electrical connector.
Step 4: Manage coolant loss
Position an appropriate drain pan and follow the vehicle-specific procedure for draining coolant if necessary.
Step 5: Remove the old sensor
Disconnect the electrical connector and use the correct socket or wrench to remove the sensor without damaging the mounting threads.
Step 6: Prepare the replacement
Compare the new sensor with the old one and install any required O-ring, sealing washer, or manufacturer-specified thread treatment.
Step 7: Install the new sensor
Start the sensor carefully by hand to avoid cross-threading, then tighten it to the manufacturer’s specified torque.
Step 8: Reconnect the wiring
Securely reconnect the electrical connector and make sure the locking mechanism is properly engaged.
Step 9: Restore coolant
Replace any lost coolant using the correct type and follow the vehicle’s required filling and air-bleeding procedure.
Step 10: Check the repair
Start the engine, monitor the temperature, inspect the sensor area for leaks, and confirm that the vehicle behaves normally.
Signs the Replacement Was Successful
A successful repair should leave the sensor securely installed without coolant leakage, with the electrical connector fully seated. The temperature information should become plausible and stable as the engine warms, and any symptoms caused by the failed sensor should improve.
If a Check Engine light remains, do not assume that the new sensor is defective. The diagnostic code may require further diagnosis or clearing according to the vehicle’s service procedure, and the original problem may involve another part of the circuit.
No coolant leak
The sensor and its seal should remain dry after the engine reaches operating temperature.
Plausible temperature data
The gauge or scan-tool reading should respond appropriately as the engine warms.
Normal engine operation
Starting, idling, drivability, and other symptoms associated with the original fault should be evaluated after the repair.
What If the Sensor Will Not Come Out?
Stop rather than applying uncontrolled force. A seized sensor can damage the threads or mounting boss if excessive torque is used. If the sensor begins to deform, the surrounding material appears damaged, or the mounting area is difficult to access, professional assistance may prevent a small sensor repair from becoming a larger engine repair.
Do not use an improvised tool that can damage the sensor or nearby components. Use the correct tool and follow the manufacturer’s removal instructions.
Do not force it blindly
Excessive force can damage the sensor mounting area or create a more expensive repair.
Recheck access
Confirm that all retaining features and electrical connections have been properly addressed before applying removal force.
Know when to stop
If the sensor is badly seized or access is unsafe, have a qualified technician complete the removal.
Common Mistakes to Avoid When Replacing a Coolant Temperature Sensor
Most problems with this repair come from incorrect identification, unsafe cooling-system work, improper sealing, overtightening, or incomplete coolant-system service. A sensor may be inexpensive, but damage to an aluminum cylinder head, intake manifold, housing, connector, or cooling system can make the repair substantially more expensive.
The safest approach is to treat the sensor replacement as a vehicle-specific repair rather than assuming that every coolant temperature sensor installs in the same way.
Source: i.ytimg.com
Working on a hot engine
Never remove a coolant sensor from a hot pressurized cooling system. Allow sufficient cooling time first.
Replacing the wrong sensor
Verify the exact application because vehicles can have multiple temperature-related sensors.
Skipping diagnosis
A sensor code or temperature symptom can originate from wiring, connectors, coolant level, thermostat operation, or other faults.
Overtightening
Too much torque can damage sensor threads or the component into which the sensor is installed.
Using the wrong sealant
Some sensors require a specific sealing method, while inappropriate sealant can interfere with the sensor or cooling system.
Ignoring trapped air
If the repair requires significant coolant removal, follow the vehicle’s prescribed filling and bleeding procedure.
Disposing of coolant improperly
Collect spilled or drained coolant and dispose of it according to applicable local requirements rather than releasing it onto the ground or into drains.
When Should You Let a Mechanic Replace It?
Professional help is appropriate when the sensor cannot be safely accessed, the mounting threads are damaged or seized, substantial engine components must be removed, the vehicle continues to overheat, or the cause of the temperature problem is uncertain.
An overheating engine deserves particular caution. A faulty temperature sensor can produce misleading temperature information, but actual overheating can also result from low coolant, a thermostat problem, a cooling-fan fault, restricted coolant flow, a water-pump issue, or other cooling-system failures. Replacing the sensor without addressing genuine overheating can allow serious engine damage to occur.
Persistent overheating
Do not assume a sensor replacement has solved an overheating condition if the engine still runs excessively hot.
Damaged mounting area
Thread or housing damage may require repairs beyond the sensor itself.
Uncertain diagnosis
A technician can perform circuit testing and system diagnosis when symptoms do not clearly identify the sensor.
Frequently Asked Questions
Q
Is a coolant temperature sensor easy to replace yourself?
Often, yes. If the sensor is accessible and threaded into the engine, an experienced DIYer can usually handle the replacement with basic hand tools. Difficulty increases when access is restricted, coolant-system components must be removed, or the sensor is seized.
Q
How long does it take to replace a coolant temperature sensor?
The time varies substantially by vehicle. An accessible sensor may be a relatively short repair, while a sensor hidden behind other components can take much longer. The correct labor procedure for the exact vehicle is a better guide than a universal time estimate.
Q
Do you have to drain coolant to replace the temperature sensor?
Not always. A sensor mounted high in the engine may allow only limited coolant loss, while a lower sensor may require draining more coolant. Follow the procedure for the specific vehicle and restore the coolant level afterward.
Q
Can I replace a coolant temperature sensor without replacing the coolant?
Sometimes. If only a small amount of coolant is lost and the existing coolant remains suitable, the required procedure may involve restoring the level rather than performing a complete coolant change. If substantial coolant is drained or the coolant is due for service, follow the manufacturer’s coolant replacement and filling recommendations.
Q
What happens if I install a coolant temperature sensor incorrectly?
Possible problems include coolant leaks, inaccurate temperature readings, damaged threads, connector problems, or continued engine-management faults. Cross-threading and overtightening are especially important to avoid because the sensor may be installed in an aluminum housing or engine component.
Q
Should I replace the coolant temperature sensor if the Check Engine light is on?
Not automatically. A diagnostic code can point toward the sensor or its circuit, but the underlying cause should be confirmed. Wiring, connector faults, coolant level, thermostat operation, and other issues can produce similar symptoms or related diagnostic codes.
✦ Wrapping Up
Conclusion
A coolant temperature sensor is often relatively easy to replace, especially when it is located in an accessible position and uses a conventional threaded fitting. The basic repair can involve little more than disconnecting the electrical connector, removing the old sensor, installing the correct replacement, restoring lost coolant, and checking for leaks and proper operation.
The important qualification is that coolant temperature sensor replacement is not identical across all U.S.-market vehicles. Location, mounting method, sealing requirements, torque specifications, coolant procedures, and access can differ substantially by year, make, model, and engine. Diagnose the fault before replacing the part, keep the engine completely cold during the repair, and use vehicle-specific service information for installation details.
If the sensor is difficult to access, seized, installed in a fragile housing, or associated with continued overheating, having a qualified technician perform the repair is often the safer option.
💡 Key Takeaway
Before replacing a coolant temperature sensor, identify the exact sensor for your vehicle, verify that the sensor or its circuit is actually faulty, review the vehicle-specific removal and installation procedure, and confirm the engine is completely cold before starting.
Ethan Brooks is an automotive writer at Auto News 7, covering car news, vehicle maintenance, new model updates, recalls, and practical buying guides. He focuses on clear, useful information that helps drivers understand their vehicles and make better ownership decisions.
Learn how to fix a knock sensor without replacing it by checking wiring, connectors, mounting issues, engine problems, and ECU codes. Follow this step-by-step troubleshooting guide.
Learn how the engine coolant temperature sensor can affect car AC operation, compressor control, cooling fans, symptoms of failure, and practical diagnostic steps.
Learn how to test a knock sensor Chevy vehicle using a scan tool, multimeter, and physical inspection. Follow this step-by-step guide to diagnose knock sensor problems accurately.
Learn how to check an engine coolant temperature sensor with a multimeter or OBD-II scanner. Follow safe testing steps, resistance checks, symptoms, and troubleshooting tips.
Learn how to change a coolant temperature sensor harness safely, diagnose wiring faults, splice a replacement pigtail, and verify the ECT circuit after repair.