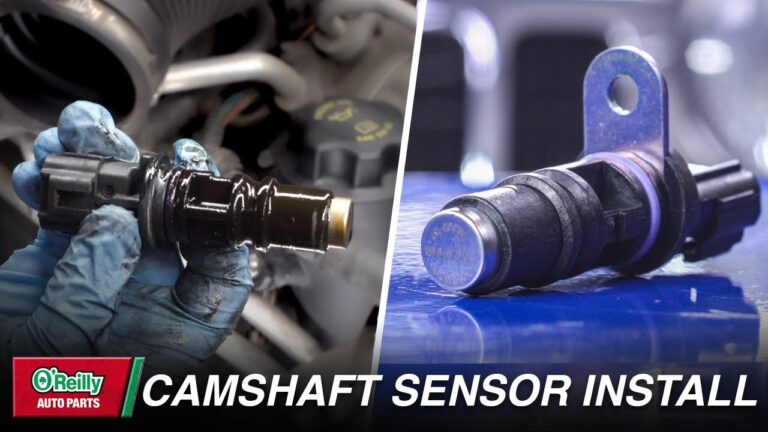
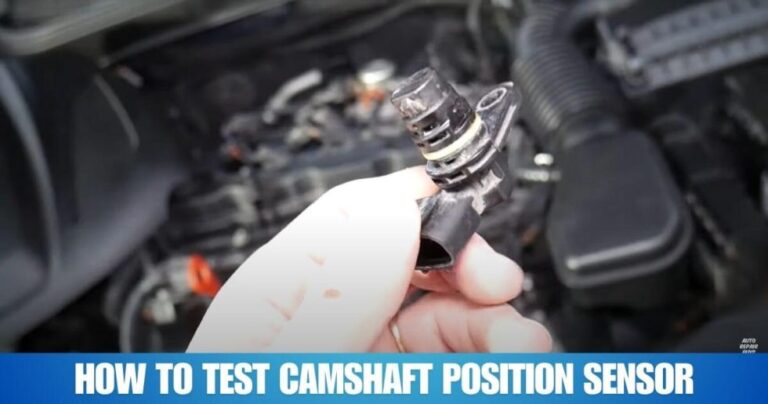
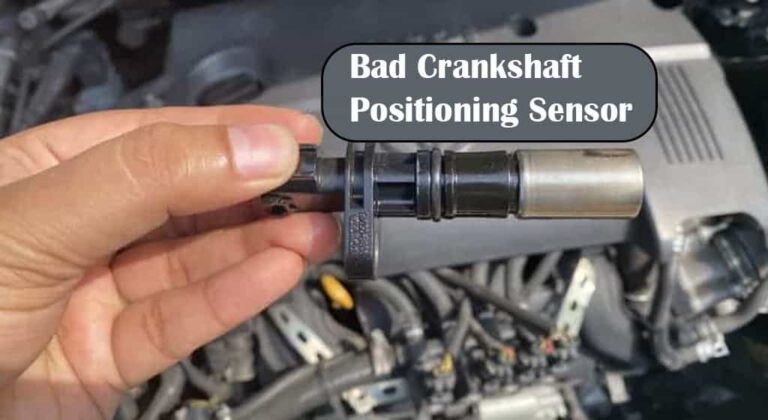
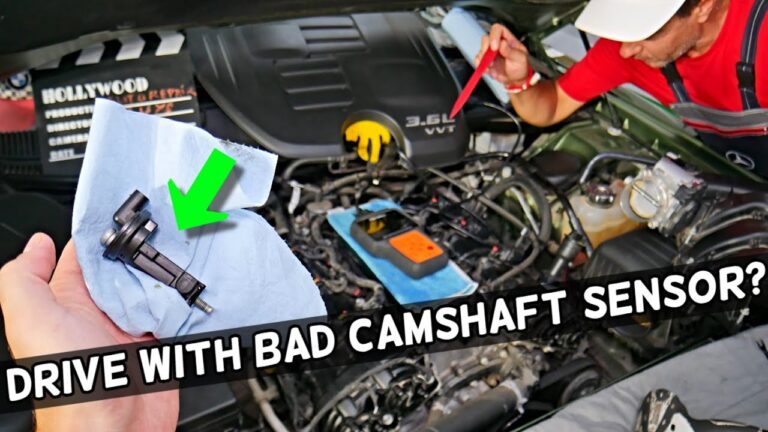
To fix a knock sensor, diagnose the circuit first, repair wiring or connectors when needed, and replace the sensor only after testing confirms it has failed.
For drivers in the United States, a failed knock sensor can trigger the check engine light and affect how the engine control module manages ignition timing. The sensor detects vibrations associated with engine knock and sends a signal to the engine computer. Because the exact sensor location, wiring, resistance, mounting torque, and testing procedure vary by vehicle, the repair should follow the service information for the specific year, make, model, and engine.
A knock sensor trouble code does not automatically mean the sensor itself is bad. A damaged wire, loose connector, poor connection, incorrect sensor installation, or another circuit problem can produce similar symptoms. A reliable repair therefore starts with diagnosis rather than immediately installing a new sensor.
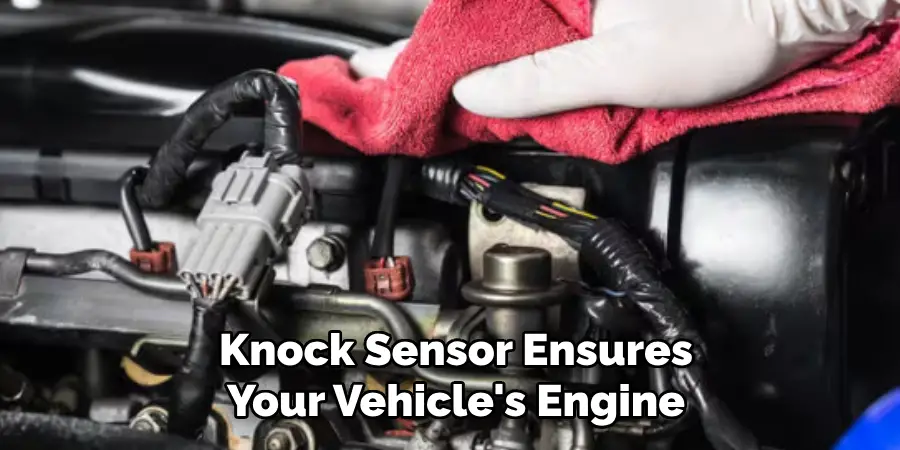
Source: safetywish.com
What Does a Knock Sensor Do?
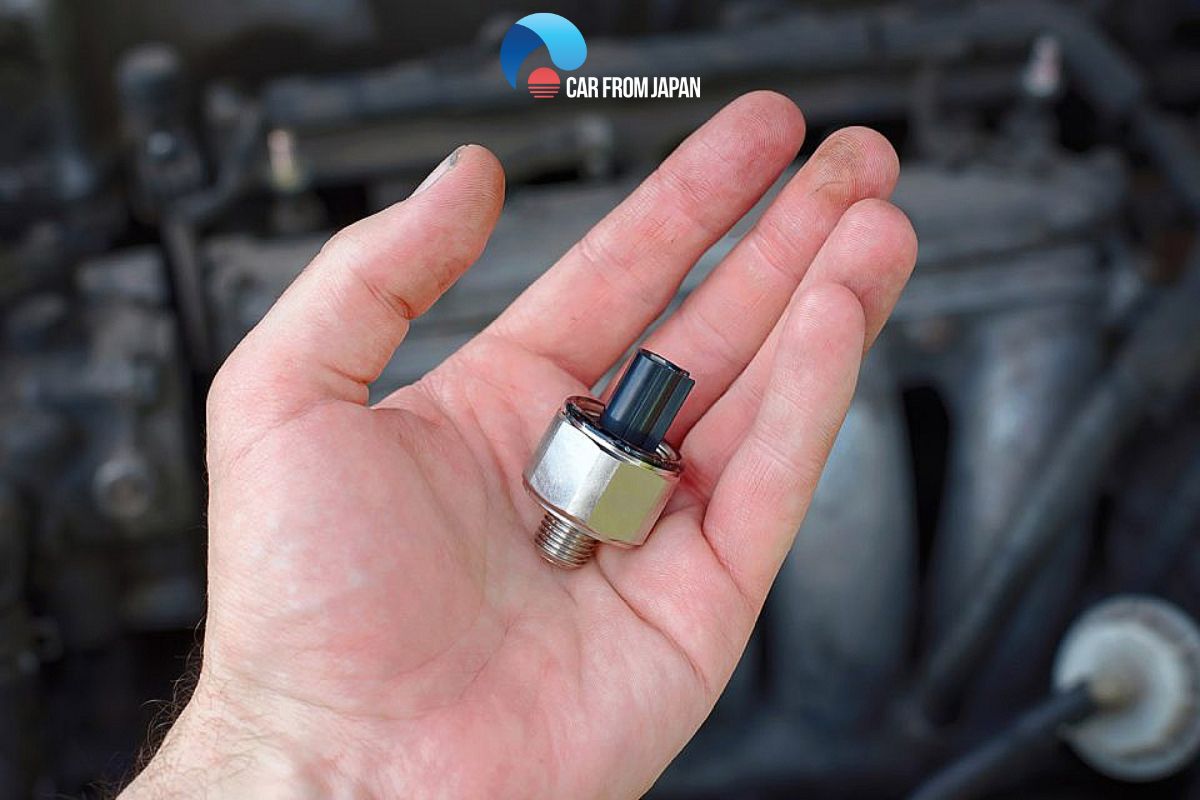
A knock sensor is an engine vibration sensor that helps the engine control module detect abnormal combustion. The module can use the sensor signal to adjust ignition timing and other engine-control strategies when conditions indicate knock.
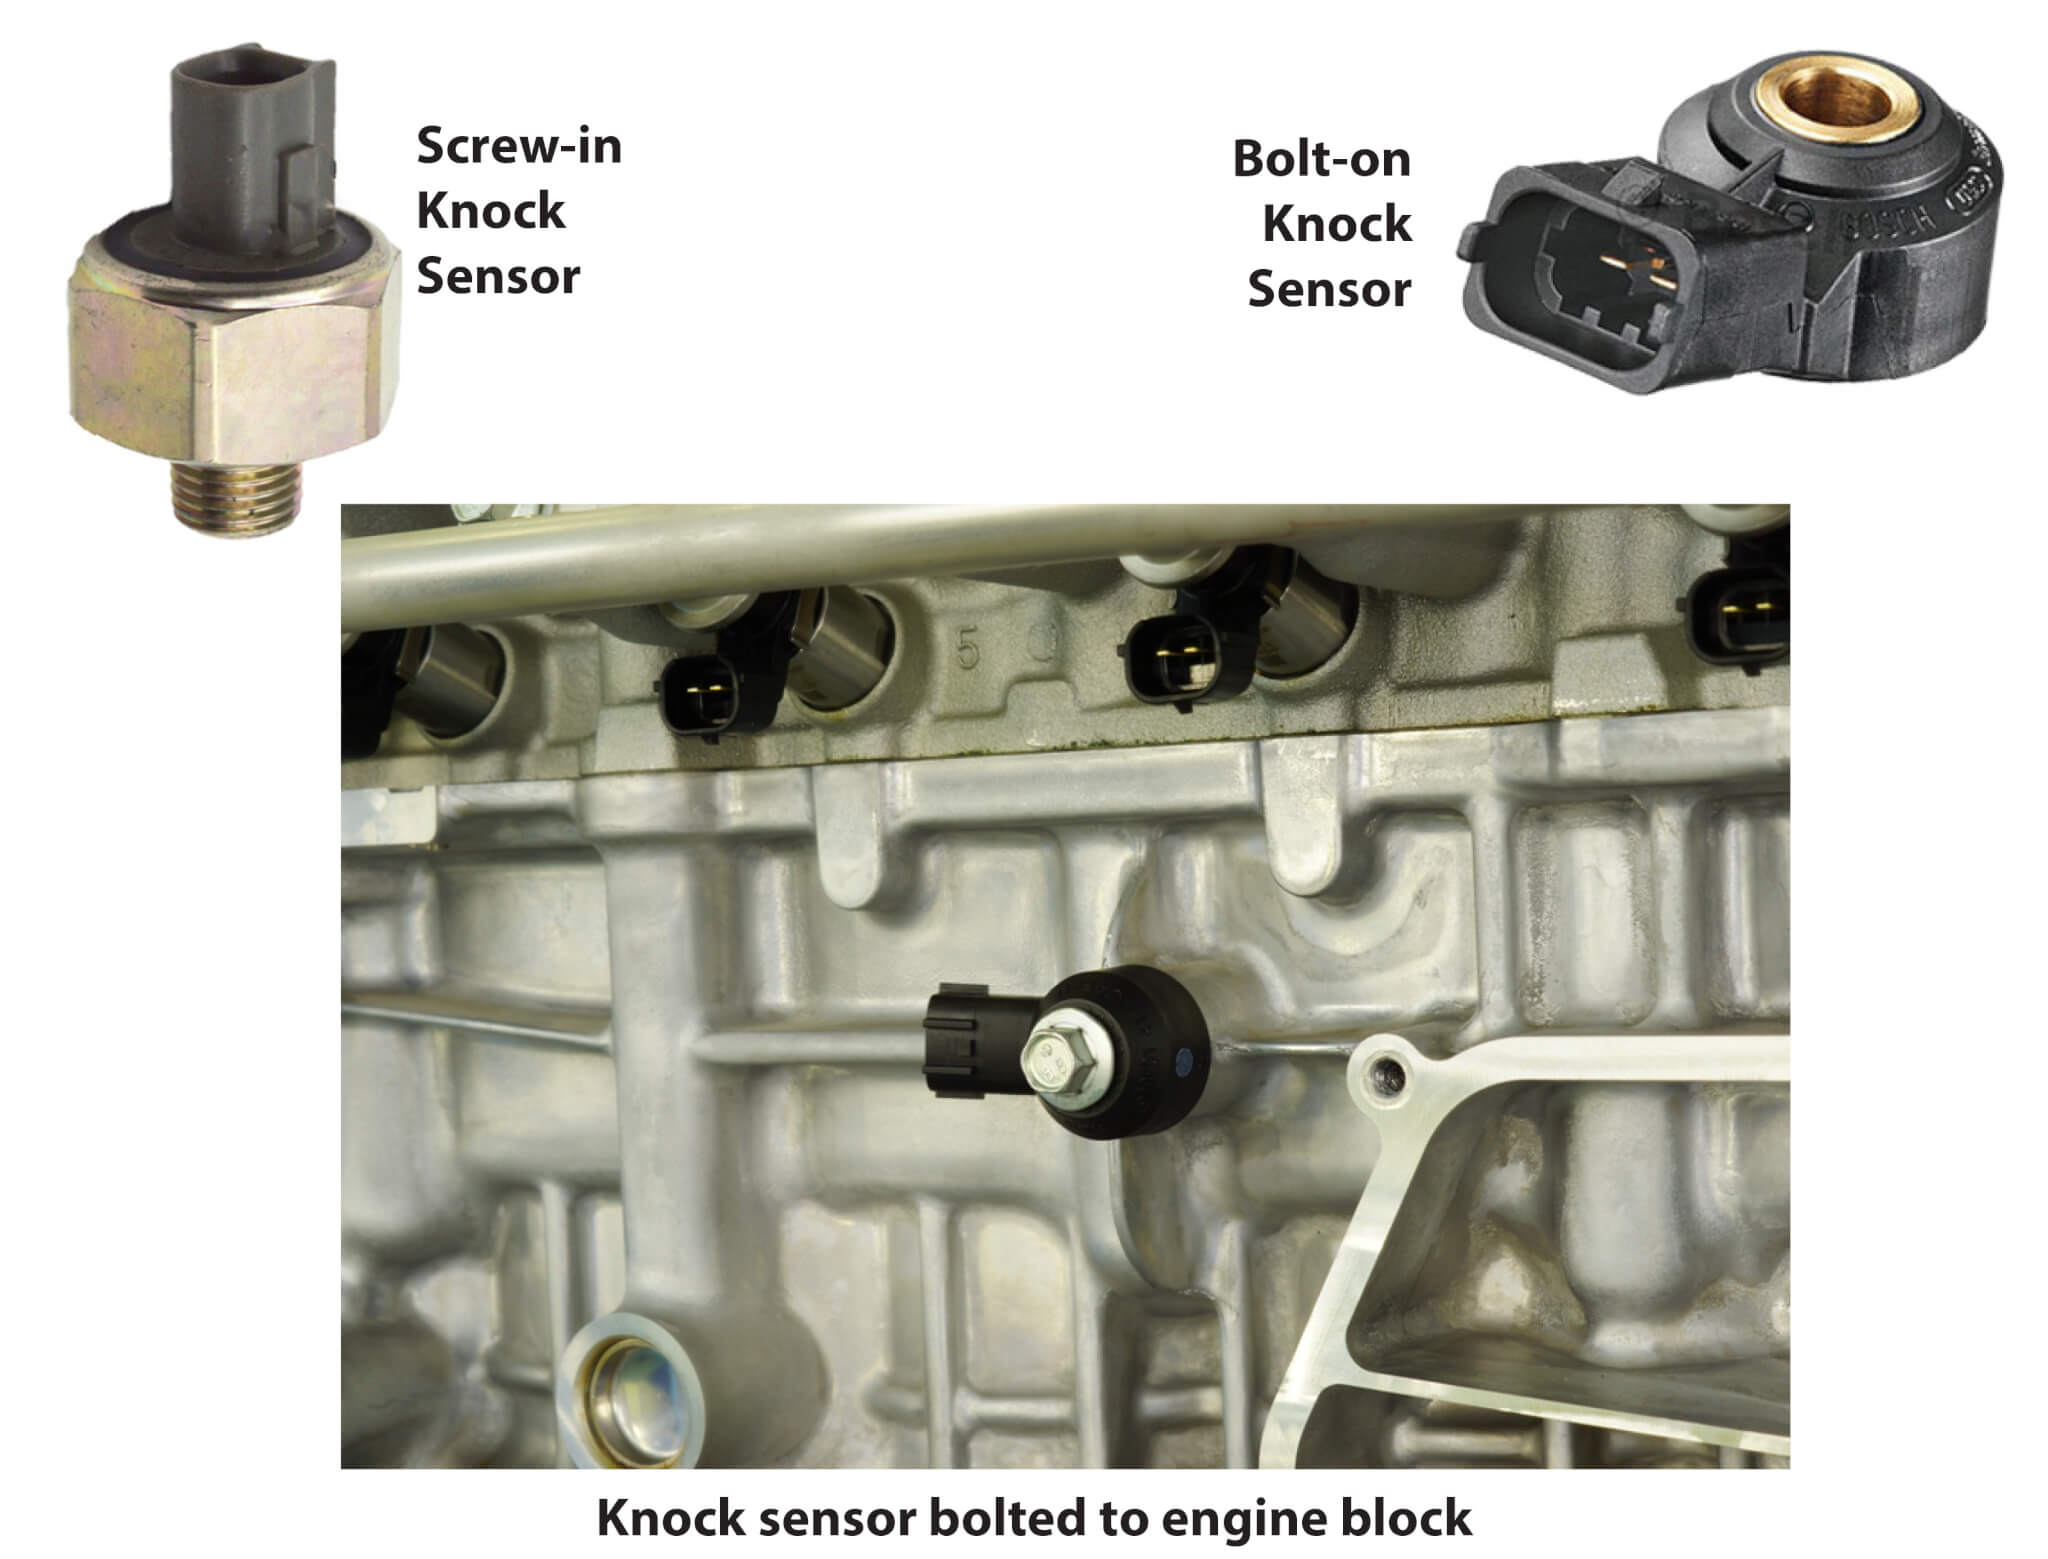
Most knock sensors are mounted directly to the engine block or another specified engine location. Their construction and electrical characteristics vary between vehicles. Some systems use one sensor, while others use multiple sensors identified by bank or sensor number.
Source: ricksfreeautorepairadvice.com
Knock sensor
Detects vibration associated with combustion knock and produces an electrical signal for the engine control system.
Engine control module
Receives the sensor signal and uses it as part of the strategy for controlling engine operation.
Sensor circuit
Includes the sensor, connector, wiring, shielding or ground arrangements where applicable, and the related engine-control-module terminals.
Why a Knock Sensor Matters
Engine knock is unwanted combustion that can occur under certain operating conditions. The engine management system is designed to detect and respond to it. A malfunctioning sensor or circuit can interfere with that process and may cause a warning light, reduced performance, or other drivability concerns.
Symptoms of a Bad Knock Sensor
The most common starting point is a check engine light accompanied by a knock sensor-related diagnostic trouble code. Depending on the vehicle, a fault can also be associated with poor acceleration, reduced engine performance, unusual combustion noise, or other drivability changes.
Symptoms alone cannot prove that the sensor has failed. Similar symptoms can result from wiring faults, connector problems, incorrect installation, engine issues, or other sensor and control-system faults.
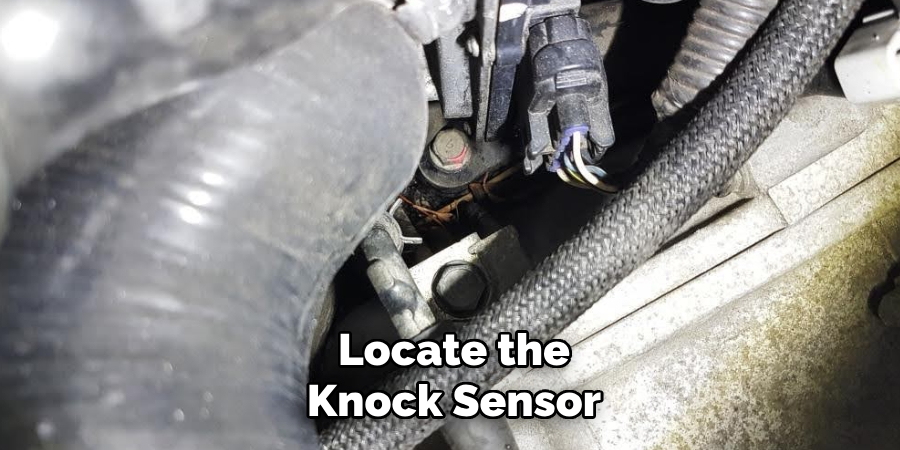
Source: youtube.com
Check engine light
A knock sensor circuit fault can illuminate the malfunction indicator lamp.
Reduced performance
Some vehicles may alter engine-control strategies when the system detects a knock sensor fault.
Poor acceleration
Changes in engine control can sometimes be noticed during acceleration, although this symptom has many possible causes.
Knocking or pinging
Actual combustion knock is not proof of a failed sensor and should be diagnosed separately.
Do Not Diagnose the Sensor From Symptoms Alone
A knock sensor code should be treated as a starting point for diagnosis. Factory diagnostic procedures commonly check the sensor circuit, connector, wiring, sensor condition, and installation before condemning the sensor. This prevents replacing an expensive or difficult-to-reach component when the actual fault is in the circuit.
Check the Diagnostic Trouble Code First
Use an OBD-II scan tool to identify the stored diagnostic trouble code before removing anything. In many vehicles, P0327 and P0328 are associated with low and high knock sensor circuit signals, while P0326 can indicate a knock sensor range or performance problem. The exact meaning and diagnostic procedure can vary by manufacturer.
Record every stored and pending code before clearing anything. Other codes may point to a related wiring, engine, ignition, fuel, or sensor problem. A complete code scan gives you more useful information than replacing the knock sensor based on the warning light alone.
Source: youtube.com
P0326
Often identifies a knock sensor range or performance problem, but the manufacturer’s definition and diagnostic conditions should be checked.
P0327
Commonly associated with a low knock sensor circuit input.
P0328
Commonly associated with a high knock sensor circuit input.
Why the Code Number Is Not Enough
A circuit code can result from an open circuit, short circuit, poor connector contact, damaged wiring, or a sensor that is electrically out of specification. The diagnostic flow for the vehicle determines which possibility is most likely.
Inspect the Knock Sensor Wiring and Connector
Inspect the wiring and connector before testing or replacing the sensor. Look for broken insulation, corrosion, loose terminals, pulled wires, oil contamination, water intrusion, or wiring that has rubbed against the engine or another component.
Pay special attention to the wiring between the knock sensor and engine control module. Manufacturer diagnostic procedures may require checking continuity and checking for shorts to ground or power. Some knock sensor circuits use shielded wiring, so repairs must preserve the wiring arrangement specified by the manufacturer.
Source: safetyfic.com
Connector condition
Make sure the connector is fully seated and its terminals are clean, secure, and undamaged.
Harness condition
Inspect the complete accessible harness for opens, shorts, abrasion, melted insulation, or previous repair damage.
Ground and shielding
Check any sensor ground or shielding circuit required by the vehicle’s wiring diagram.
Terminal tension
A terminal that does not maintain proper contact can create an intermittent fault even when the wiring looks normal.
Repair Wiring Before Replacing the Sensor
If testing identifies an open circuit, short circuit, or poor connection, repair that problem first. Replacing the sensor will not correct a damaged harness. After the repair, repeat the required circuit checks and confirm that the original fault condition has been corrected.
Test the Knock Sensor Correctly
If the wiring and connector appear sound, test the sensor using the procedure and specifications for the exact vehicle. A digital multimeter may be used for resistance, continuity, voltage, or other checks when the service procedure calls for them.
Do not use a generic resistance value as a universal pass-or-fail standard. Knock sensors differ by design, and manufacturers can specify different testing methods and acceptable values. Some diagnostic procedures test the sensor against engine ground, while others measure between sensor terminals or evaluate the signal at the engine control module.
Source: hitchesguide.com
Use the factory specification
Find the correct service procedure for the vehicle’s year, model, engine, and sensor circuit.
Disconnect power when required
Follow the service procedure for ignition position and connector disconnection before performing resistance or continuity tests.
Check the entire circuit
A sensor can test correctly while the wiring between the sensor and engine control module remains faulty.
Avoid damaging the sensor
Do not strike, drop, modify, or test the sensor in a way that is not approved by the manufacturer.
When the Sensor Fails the Specified Test
If the sensor fails the manufacturer’s component test and the circuit has been verified, replacement is generally the appropriate repair. Use the correct sensor for the vehicle and engine rather than choosing a part based only on appearance.
When the Sensor Passes the Test
If the sensor passes, continue diagnosing the circuit instead of replacing it automatically. Check connector contact, wiring continuity, shorts, grounds, shielding where applicable, and the engine control module connections according to the vehicle-specific diagnostic flow.
Check Knock Sensor Mounting and Installation
A knock sensor must be installed correctly because its mounting affects how it detects engine vibration. A loose fastener, incorrect mounting surface, contamination between the sensor and mounting surface, or incorrect tightening can interfere with the sensor signal.
Use the manufacturer’s specified tightening procedure and torque. Do not substitute a generic torque value. Some sensors are sensitive to installation torque, and over-tightening can be just as inappropriate as leaving the sensor loose.
Source: pinterest.com
Mounting surface
Make sure the sensor mounting area is clean and matches the manufacturer’s installation requirements.
Fastener
Inspect the specified bolt, stud, nut, or mounting hardware for damage.
Torque
Use the exact vehicle-specific torque specification and tightening sequence when provided.
Sensor orientation
Install the sensor in the position and orientation specified by the manufacturer.
Why Torque Matters
The knock sensor is designed to respond to engine vibration through its mounting. Because the mounting condition affects that vibration path, installation should follow the manufacturer’s procedure rather than relying on feel.
How to Replace a Knock Sensor
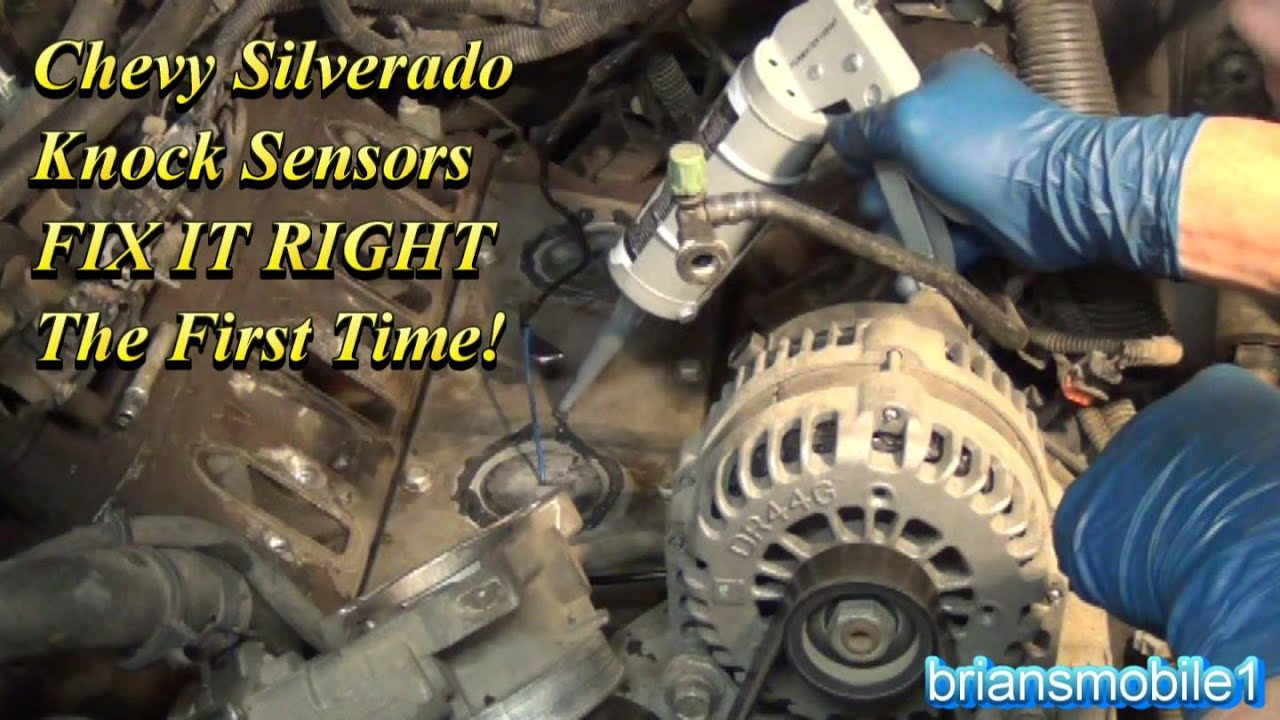
Replace the knock sensor only after diagnosis indicates that the sensor itself is faulty or the vehicle’s service procedure directs replacement. The physical replacement process varies widely. Some sensors are easy to access from above, while others are located beneath intake components or in other restricted areas.
Before beginning, obtain the correct replacement sensor, the vehicle-specific service instructions, required hand tools, and any replacement seals or fasteners specified by the manufacturer. Allow the engine to cool when required and disconnect the battery only when the service procedure calls for it.
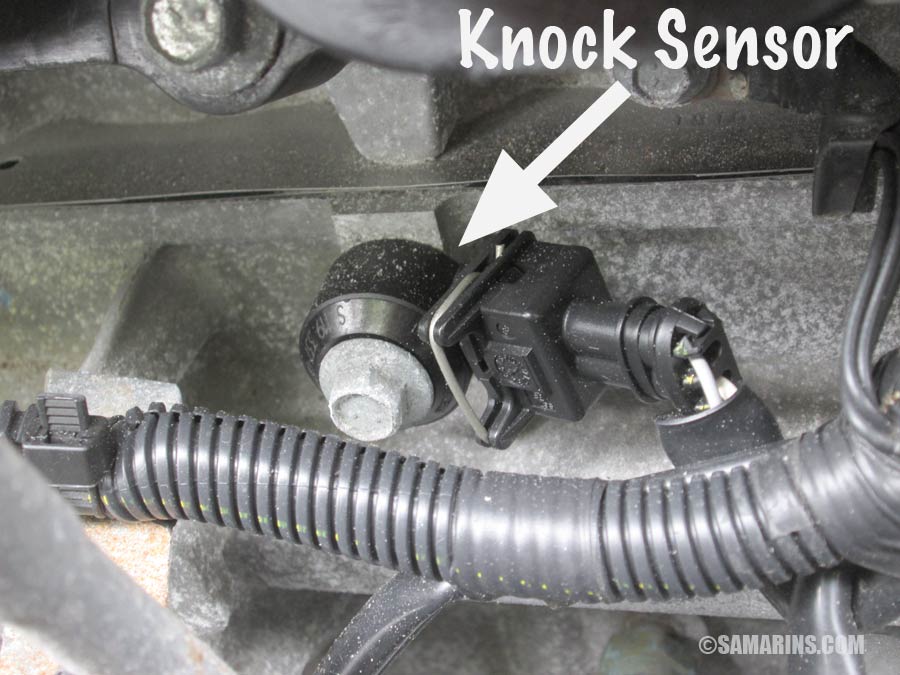
Source: youtube.com
1. Confirm the replacement part
Match the sensor to the vehicle identification, engine, and applicable parts information.
2. Locate the sensor
Use the vehicle’s service information to identify the sensor and the components that must be removed for access.
3. Disconnect the connector
Release the electrical connector carefully without pulling on the wires.
4. Remove the old sensor
Remove the specified fastener and sensor using the correct tools and access procedure.
5. Prepare the mounting area
Clean the mounting surface only as directed and avoid damaging the engine or sensor mounting area.
6. Install the replacement
Position the new sensor correctly and tighten it to the manufacturer’s specified torque.
7. Reconnect the harness
Reconnect the electrical connector and make sure the harness is routed and secured correctly.
8. Reinstall removed components
Replace intake parts, covers, brackets, or other components using the required procedures.
9. Clear the fault when appropriate
Use a scan tool to clear the diagnostic trouble code after the repair if the service procedure permits it.
10. Verify the repair
Run the required checks or drive cycle and confirm that the knock sensor fault does not return.
When Professional Repair Is the Safer Choice
Consider professional diagnosis when the sensor is difficult to access, the wiring is buried inside a harness, the intake or other major components must be removed, or you do not have the vehicle-specific wiring diagram and testing specifications. Stop if the repair requires procedures you cannot safely perform.
Clear the Code and Verify the Repair
After repairing the sensor or its circuit, clear the diagnostic trouble code if appropriate and perform the manufacturer’s verification procedure. Some systems require a specific drive cycle or inspection mode before the repair can be confirmed.
A successful repair means more than turning off the check engine light. Scan the vehicle again for current and pending codes and monitor whether the original fault returns. If the code comes back, continue diagnosis instead of repeatedly replacing parts.
Source: carfromjapan.com
Scan again
Confirm that the original code is no longer active and check for related or newly stored codes.
Check for pending codes
A pending code can indicate that the fault has occurred again even before the warning light returns.
Complete the required drive cycle
Follow the manufacturer’s verification conditions rather than assuming a short idle test proves the repair.
Recheck recurring faults
If the same code returns, revisit wiring, connectors, installation, sensor specifications, and the remaining diagnostic steps.
Common Mistakes When Fixing a Knock Sensor
The most common mistake is replacing the sensor before diagnosing the circuit. A knock sensor code can be caused by wiring or connector problems, and a new sensor will not fix an open or shorted circuit.
Another mistake is using a generic resistance specification or torque value. Knock sensor designs and installation requirements differ, so the vehicle-specific service information should control the repair.
Source: youtube.com
Replacing the sensor immediately
Diagnose the circuit first so you do not replace a working component.
Using the wrong sensor
Verify the correct application for the exact engine and vehicle.
Guessing the torque
Use the specified tightening procedure rather than estimating how tight the sensor should be.
Ignoring wiring
Inspect and electrically test the harness and connector when the diagnostic code points to a circuit problem.
Assuming the light staying off proves success
A proper verification should include scanning for codes and following the required drive cycle or inspection procedure.
Do Not Test by Creating Engine Knock
Do not deliberately create severe engine knock to see whether a sensor reacts. That approach can expose the engine to unnecessary stress and does not replace the manufacturer’s diagnostic procedure.
When You Should Stop Driving and Get Professional Help
A knock sensor fault is not always an emergency by itself, but a vehicle with severe engine knocking, major power loss, overheating, misfiring, flashing check engine light, or unusual mechanical noise should not be treated as a simple sensor replacement.
If the vehicle shows serious engine symptoms, stop driving when it is safe to do so and have the vehicle diagnosed. Continuing to operate an engine with an unresolved mechanical or combustion problem can cause damage that a sensor replacement will not correct.
Source: storage.googleapis.com
Flashing check engine light
A flashing malfunction indicator can indicate a condition that needs prompt attention, especially when accompanied by misfire or poor running.
Severe engine noise
Do not assume loud knocking is caused only by a sensor fault.
Use a qualified technician when safe access requires extensive disassembly or specialized procedures.
Frequently Asked Questions
Q
Can I fix a knock sensor without replacing it?
Yes, if the sensor itself is working and the fault is caused by wiring, a connector, grounding, shielding, or installation. Diagnose the complete circuit before deciding that the sensor needs replacement.
Q
How do I know if my knock sensor is bad?
A scan tool can identify a knock sensor-related trouble code, but the code alone does not prove that the sensor has failed. Follow the vehicle-specific testing procedure for the sensor and its circuit.
Q
Can a bad knock sensor cause poor acceleration?
It can be associated with reduced performance on some vehicles because the engine control system may change its operating strategy when a knock sensor fault is detected. Poor acceleration has many other possible causes, so it should not be used as the sole diagnosis.
Q
Can I drive with a bad knock sensor?
The risk depends on the vehicle and the underlying problem. A knock sensor fault should be diagnosed promptly, and driving should be avoided when the vehicle has severe knocking, major power loss, overheating, a flashing check engine light, or other serious symptoms.
Q
Will replacing the knock sensor clear the check engine light?
Replacing the sensor may correct the fault, but the warning light may remain until the code is cleared or the vehicle completes the required monitoring cycle. The proper verification procedure should be followed after the repair.
Q
What causes a knock sensor code besides a bad sensor?
Possible causes include damaged wiring, an open or shorted circuit, poor connector contact, grounding problems, damaged shielding, incorrect installation, or a sensor that is not properly mounted. The exact causes depend on the vehicle and the specific diagnostic code.
Q
Do all knock sensors use the same resistance value?
No. Knock sensor designs and electrical specifications vary. Always use the testing specification for the exact vehicle and engine rather than applying a generic resistance value.
✦ Wrapping Up
Conclusion
Learning how to fix a knock sensor starts with diagnosis, not parts replacement. Read the trouble codes, inspect the connector and wiring, verify the circuit, check sensor installation, and test the sensor using the specifications for the exact vehicle.
If the sensor fails the correct test, replace it according to the manufacturer’s procedure and specified torque. Afterward, clear the fault when appropriate, complete the required verification drive or inspection, and rescan the vehicle to confirm that the problem has been resolved.
💡 Key Takeaway
Start with the diagnostic trouble code and vehicle-specific service procedure, then repair the actual failed part of the knock sensor system rather than replacing the sensor by guesswork.
Ethan Brooks is an automotive writer at Auto News 7, covering car news, vehicle maintenance, new model updates, recalls, and practical buying guides. He focuses on clear, useful information that helps drivers understand their vehicles and make better ownership decisions.
Learn what code is camshaft position sensor, the most common OBD-II trouble codes, symptoms, causes, diagnosis steps, and repair options for U.S. drivers.
Learn how to replace camshaft position sensor components with a detailed step-by-step guide, tools list, troubleshooting tips, safety advice, and common mistakes to avoid.
Learn how to test a camshaft position sensor on Ford vehicles using a multimeter and scan tool. Follow a clear step-by-step process to diagnose sensor faults, wiring issues, and engine performance problems.