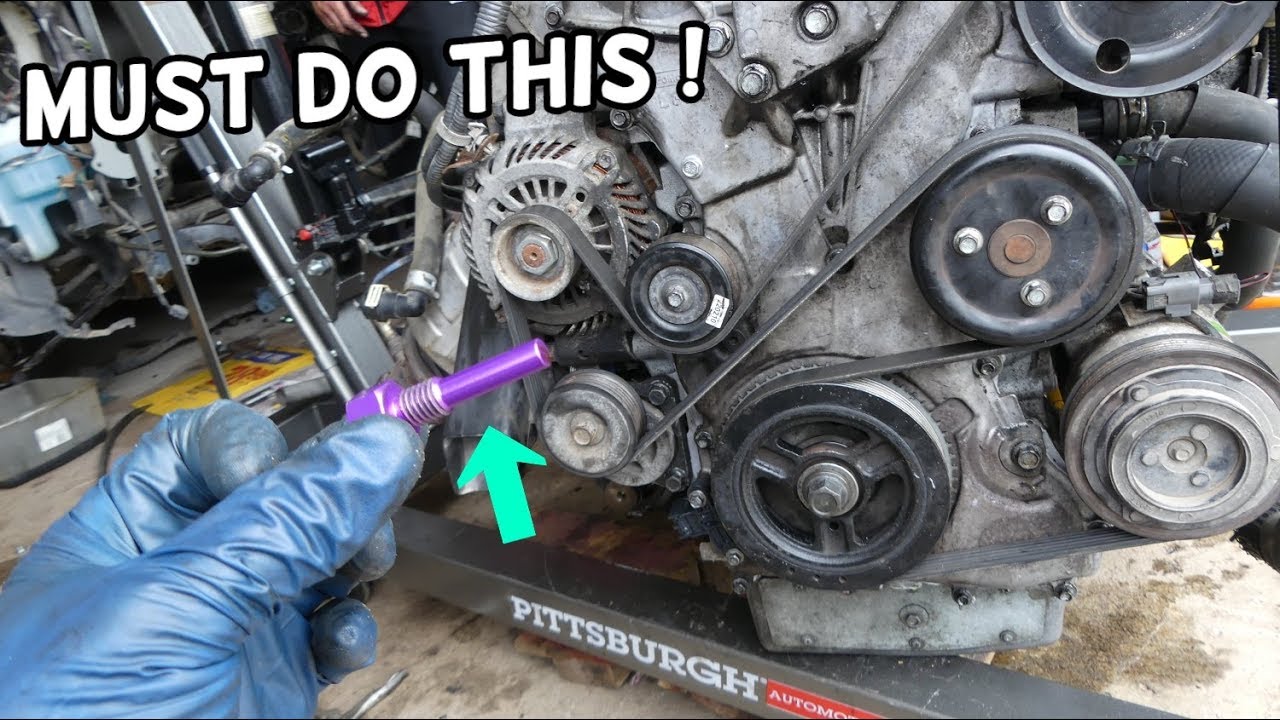
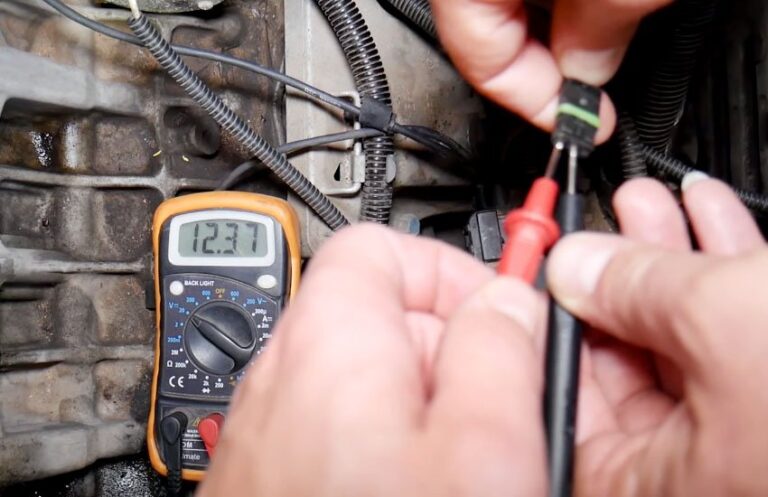
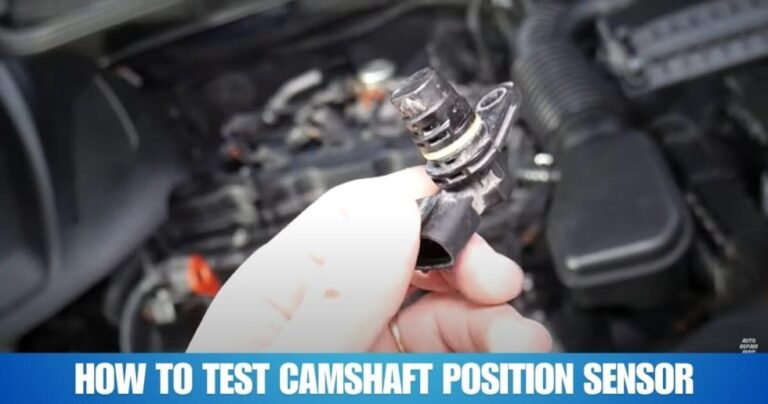
To replace a crankshaft position sensor, disconnect the battery, locate the sensor, remove its mounting hardware, install the new sensor, reconnect the wiring, and verify proper engine operation.
For many drivers in the United States, a failing crankshaft position sensor can cause hard starting, stalling, poor engine performance, or a check engine light. Replacing the sensor is often a manageable repair for vehicle owners with basic tools and a service manual for their specific make and model.
The exact sensor location varies by vehicle. Some sensors are easy to reach from the top of the engine, while others require access from underneath. Following the correct procedure helps prevent wiring damage and ensures accurate engine timing signals after installation.
Source: mechanictimes.com
What Does a Crankshaft Position Sensor Do?
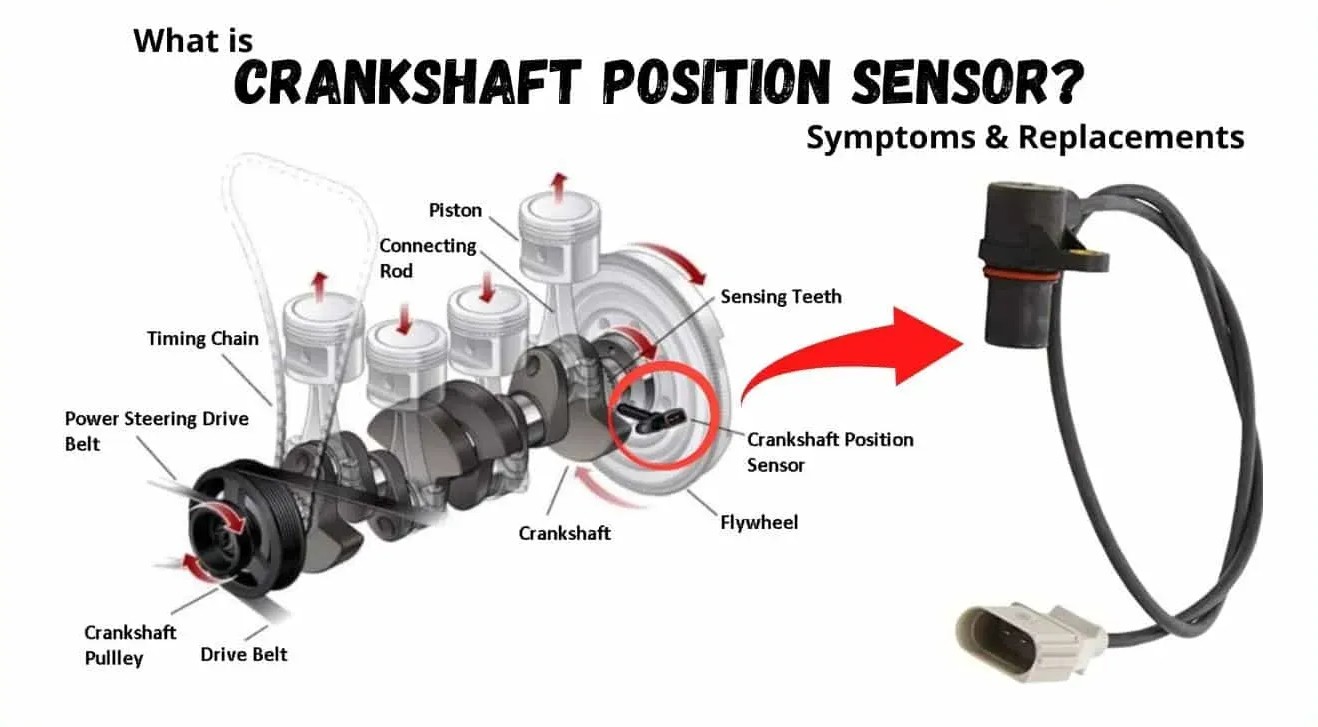
The crankshaft position sensor monitors the position and rotational speed of the crankshaft. The engine control module uses this information to manage ignition timing and fuel injection.
When the sensor fails, the engine may misfire, stall, crank without starting, or trigger a diagnostic trouble code. Replacing a faulty sensor restores accurate engine data and can resolve these symptoms.
Source: obdtech.co.nz
Primary function
Provides crankshaft speed and position information to the engine computer.
Common symptoms
Hard starting, stalling, rough running, and check engine light warnings.
Signs the Sensor May Need Replacement
Common warning signs include intermittent stalling, sudden loss of power, extended cranking time, and engine shutdown after warming up.
Diagnostic codes
Codes related to crankshaft position sensor circuits often indicate a fault.
Tools and Preparation Before Replacement
Gather the correct replacement sensor, socket set, ratchet, extensions, safety glasses, gloves, and a vehicle-specific repair manual. Some vehicles may require jack stands for safe access.
Park on a level surface, engage the parking brake, and disconnect the negative battery cable before beginning work.
Source: mechlesson.com
Safety equipment
Use eye protection and secure the vehicle properly before working underneath it.
Replacement part
Match the new sensor to the vehicle’s year, make, model, and engine.
Finding the Sensor Location
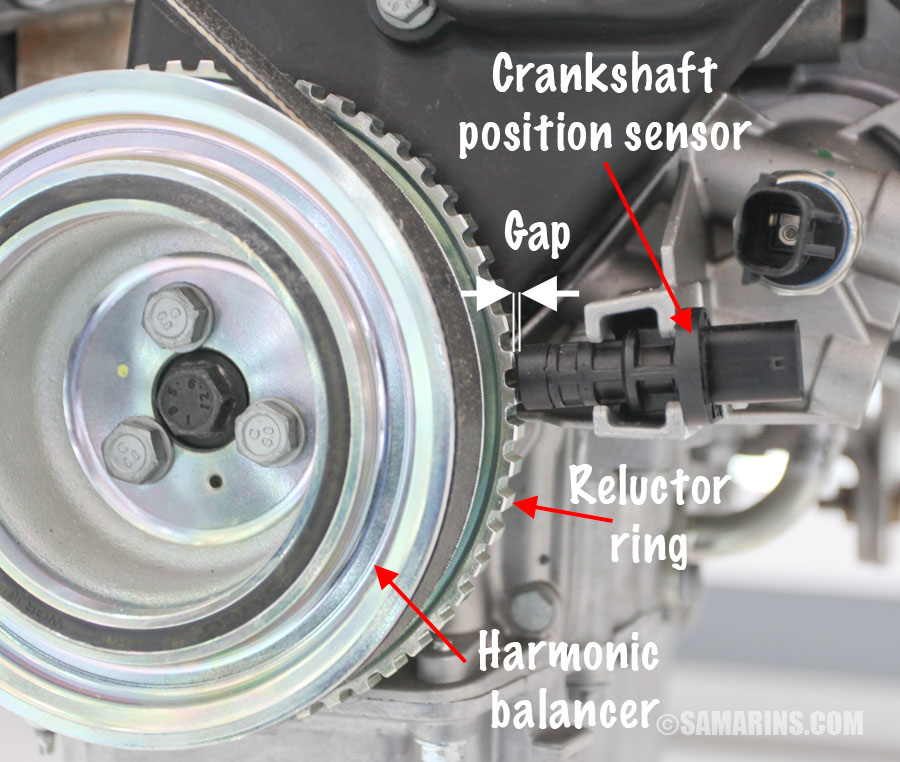
The sensor is commonly mounted near the crankshaft pulley, transmission bellhousing, timing cover, or engine block. Consult a repair manual if the location is unclear.
Vehicle differences
Access procedures vary significantly between engines and manufacturers.
How to Replace Crankshaft Position Sensor Step by Step
Start by locating the sensor and disconnecting its electrical connector. Remove any covers or components blocking access.
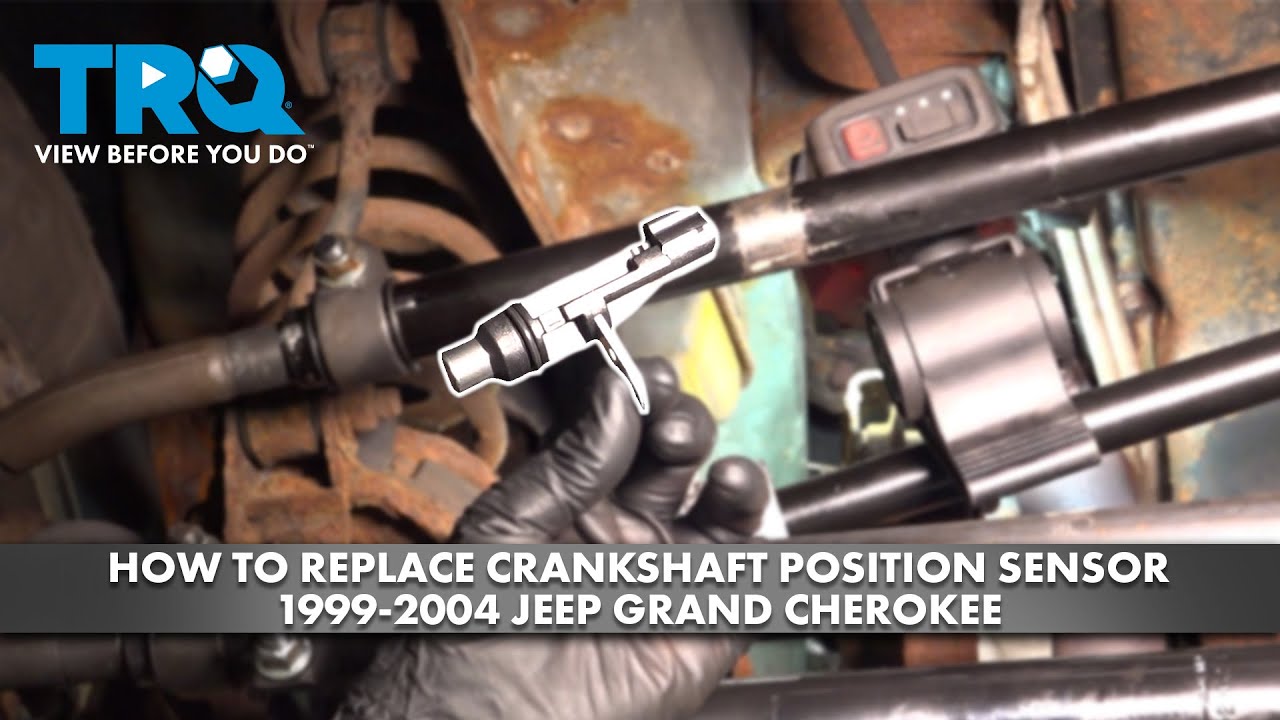
Remove the retaining bolt or bolts holding the sensor in place. Carefully pull the sensor out, avoiding damage to surrounding components.
Compare the old and new sensors to ensure they match. Install the new sensor, tighten the fasteners to the manufacturer’s specification, reconnect the electrical connector, and reinstall any removed parts.
Source: safetyfic.com
Step 1
Disconnect the battery and access the sensor.
Step 2
Unplug the electrical connector.
Step 3
Remove the mounting bolt and old sensor.
Step 4
Install the new sensor and reconnect wiring.
Signs of a Successful Installation
The engine starts normally, diagnostic codes do not return, and idle quality remains stable during operation.
Verification
Scan for fault codes after installation and complete a test drive.
Troubleshooting Problems After Replacement
If the engine still will not start, inspect the connector, wiring harness, and fuse circuits. A damaged wire can create the same symptoms as a failed sensor.
Some vehicles require a crankshaft position relearn procedure after sensor replacement. Check the service information for your specific vehicle.
Source: brrlt.org
Wiring issues
Look for corrosion, bent terminals, or broken wires.
Sensor compatibility
Verify the replacement sensor matches the original specifications.
When to Seek Professional Help
Professional diagnosis may be necessary if multiple fault codes remain or if engine timing-related problems continue after replacement.
Complex repairs
Some vehicles require specialized diagnostic equipment.
Common Mistakes to Avoid
Do not force the sensor into place or overtighten mounting bolts. Either mistake can damage the sensor housing or mounting surface.
Avoid replacing the sensor without confirming the fault. Diagnostic testing helps ensure the sensor is actually the cause of the problem.
Source: 1aauto.com
Skipping diagnosis
A different engine issue may cause similar symptoms.
Damaging connectors
Use care when releasing electrical connector locks.
Replacement Time Estimate
Depending on vehicle design, replacement can take anywhere from 30 minutes to several hours.
Access difficulty
Sensor location is the biggest factor affecting repair time.
Frequently Asked Questions
Q
Can I drive with a bad crankshaft position sensor?
Driving with a failing sensor is risky because the engine may stall unexpectedly or fail to start. Repairs should be completed as soon as possible.
Q
How long does it take to replace a crankshaft position sensor?
The repair may take 30 minutes to several hours depending on the sensor location and vehicle design.
Q
Do I need special tools to replace the sensor?
Most vehicles require basic hand tools. Some models may need specialty sockets or diagnostic equipment for relearn procedures.
Q
Will replacing the sensor turn off the check engine light?
The light may turn off after the repair and several drive cycles, or it may need to be cleared with a scan tool.
Q
Can a crankshaft position sensor fail intermittently?
Yes. Many failing sensors work intermittently, causing random stalling, hard starts, or inconsistent engine performance.
✦ Wrapping Up
Conclusion
Learning how to replace crankshaft position sensor components can save time and repair costs when the sensor is accessible and properly diagnosed.
Following safe repair practices, confirming the correct replacement part, and verifying operation after installation are the keys to a successful repair.
💡 Key Takeaway
Identify the sensor location for your vehicle, follow the replacement steps carefully, and verify the repair with a diagnostic scan and test drive.
Ethan Brooks is an automotive writer at Auto News 7, covering car news, vehicle maintenance, new model updates, recalls, and practical buying guides. He focuses on clear, useful information that helps drivers understand their vehicles and make better ownership decisions.
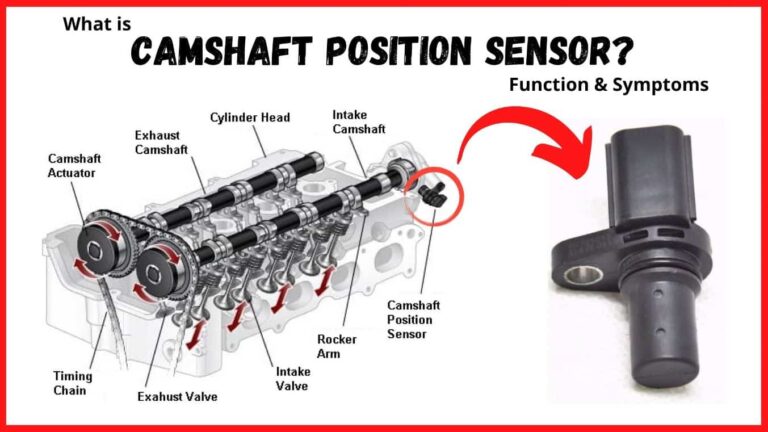
Learn whether both camshaft position sensors are the same, how intake and exhaust sensors differ, when they can be swapped, and how to identify the correct replacement.
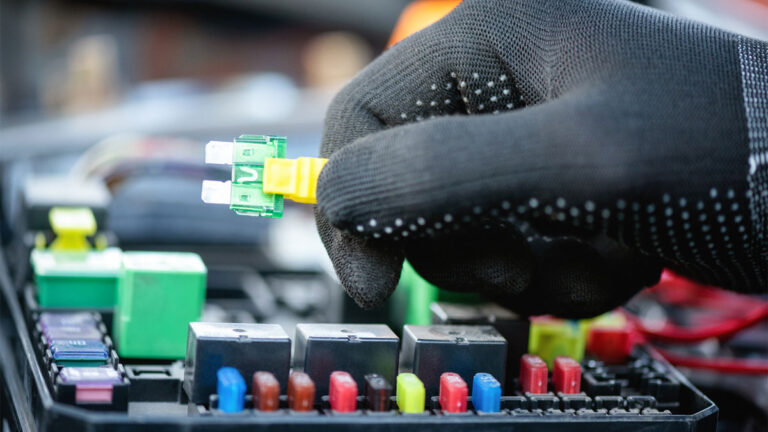
Learn whether there is a fuse for a camshaft position sensor, where to find it, how to diagnose related electrical problems, and what to check before replacing the sensor.
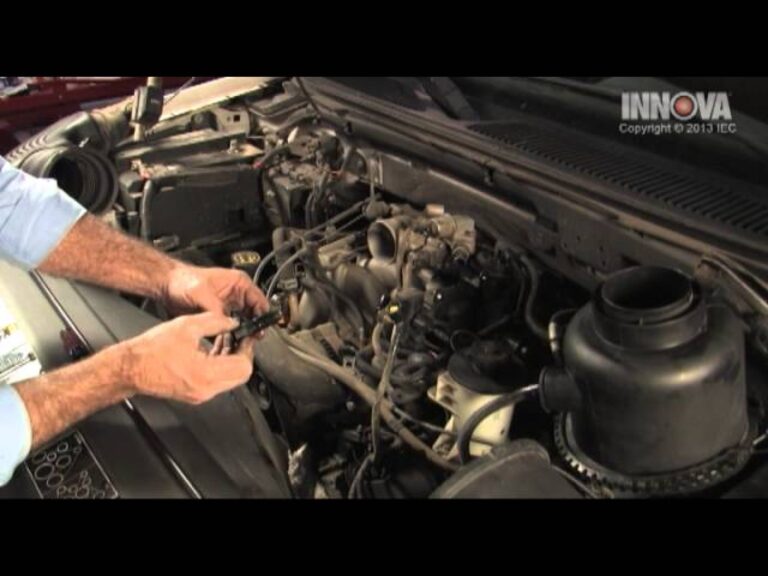
Learn how to replace camshaft position sensor Ford F150 models with this step-by-step guide. Discover symptoms, tools needed, replacement steps, troubleshooting tips, and common mistakes.
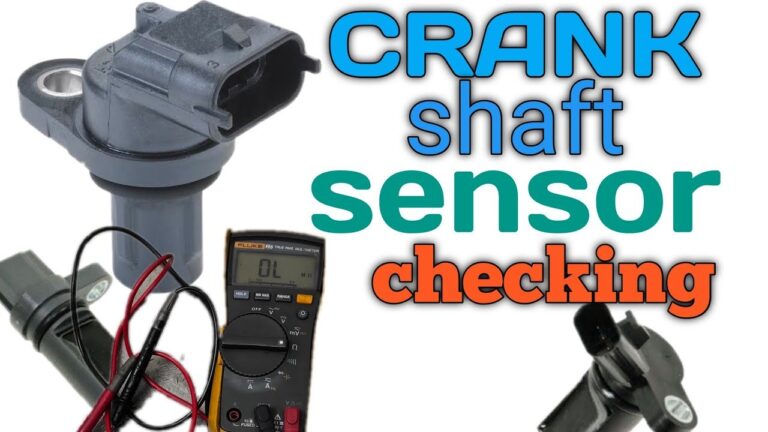
Learn how many ohms a camshaft sensor should have, why resistance varies by sensor type, and how to test a camshaft position sensor accurately with a multimeter.