To remove a broken camshaft sensor, disconnect the battery, access the sensor, remove loose pieces, and carefully extract the remaining housing using picks, pliers, or a screw extractor without damaging the engine bore.
Across the United States, many vehicle owners face broken camshaft position sensors during routine repairs or after a sensor fails and becomes brittle from age and heat. The job can look intimidating, especially when part of the sensor remains stuck inside the engine.
The safest approach is to work methodically. Removing a broken camshaft sensor usually involves extracting plastic or metal fragments, protecting the sensor bore from damage, and inspecting the mounting area before installing a replacement sensor. Patience is often more important than force.
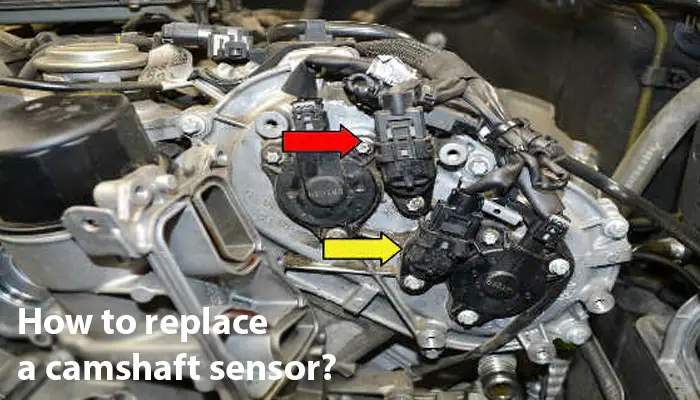
Source: youtube.com
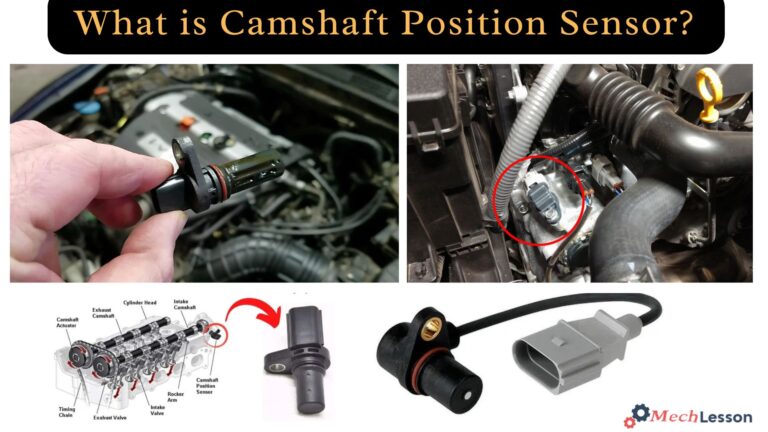
What Is a Camshaft Position Sensor and Why Does It Break?
A camshaft position sensor monitors camshaft rotation and sends timing information to the engine control module. This information helps control ignition timing, fuel injection, and engine performance.
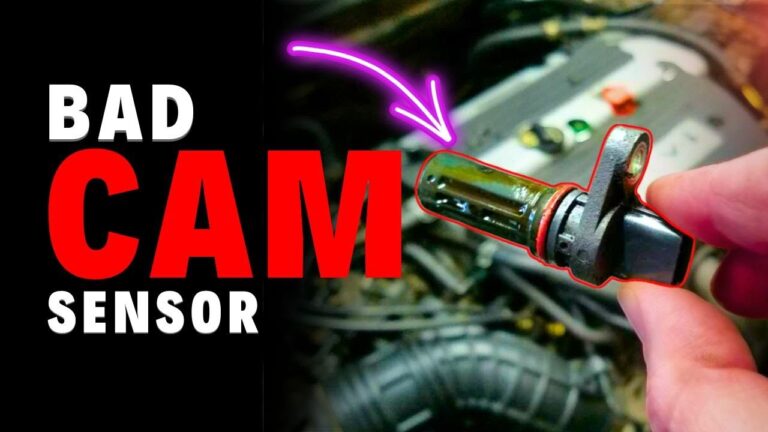
Sensors commonly break because of age, excessive engine heat, corrosion, improper removal techniques, or plastic housings becoming brittle over time. In some cases, the mounting bolt is removed but the sensor body remains stuck in the engine.
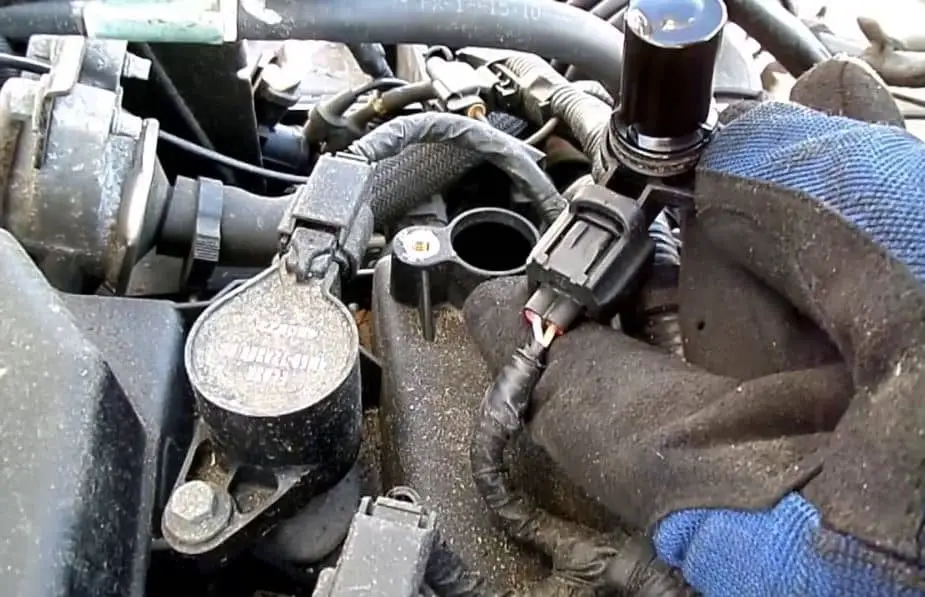
Source: hitchesguide.com
Heat Damage
Years of engine heat can weaken sensor housings.
Corrosion
Moisture and contaminants can seize the sensor in place.
Improper Removal
Twisting or prying excessively can snap the sensor body.
Signs the Sensor Broke During Removal
You may notice that only the sensor connector or upper housing comes out while the lower portion remains inside the engine. Visible fragments or an empty shell are also common signs.
Missing Pieces
Part of the sensor remains in the mounting hole.
Tools and Preparation Before Removal
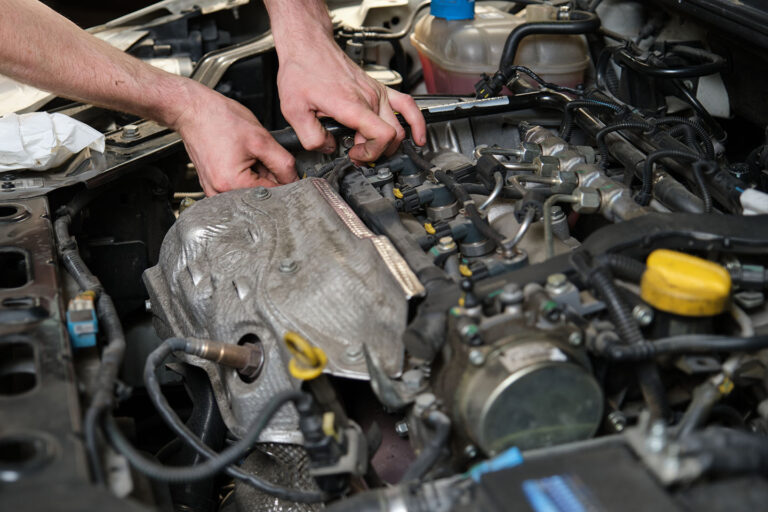
Gathering the right tools reduces the risk of damaging engine components. Work on a cool engine and ensure there is adequate lighting around the sensor location.
Before touching the sensor, disconnect the negative battery terminal and remove any covers or components blocking access.
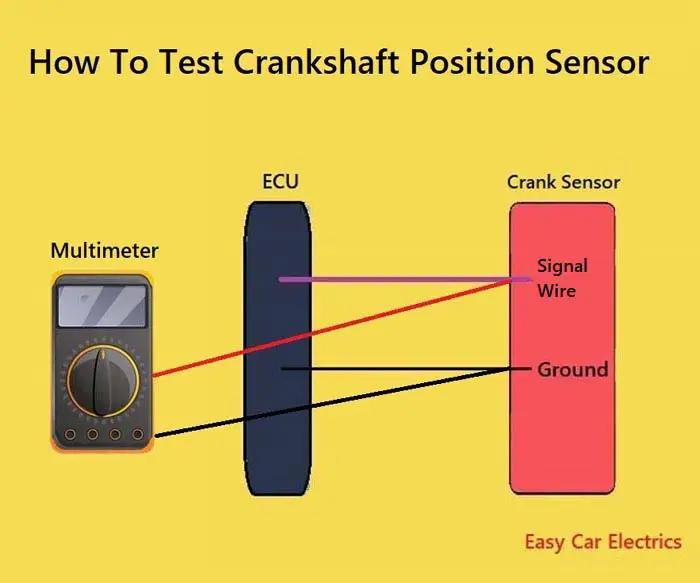
Source: brakeexperts.com
Needle-Nose Pliers
Useful for gripping broken sensor fragments.
Pick Set
Helps loosen plastic pieces from the bore.
Flashlight
Allows inspection of the mounting hole.
Penetrating Oil
Can help free stuck sensor bodies.
Safety Precautions
Wear safety glasses and prevent debris from falling into the engine. Place a clean rag around the work area if necessary.
Eye Protection
Protects against broken plastic and metal fragments.
How to Remove a Broken Camshaft Sensor Step by Step
The exact procedure varies by vehicle, but the general process remains similar. Start by identifying how much of the sensor remains inside the engine.
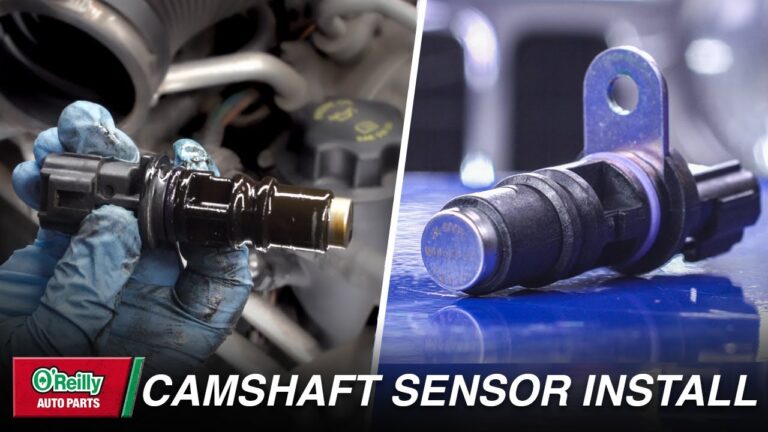
If part of the sensor body is exposed, grip it gently with pliers and rotate it while pulling outward. Avoid excessive force because broken fragments can fall into the sensor opening.
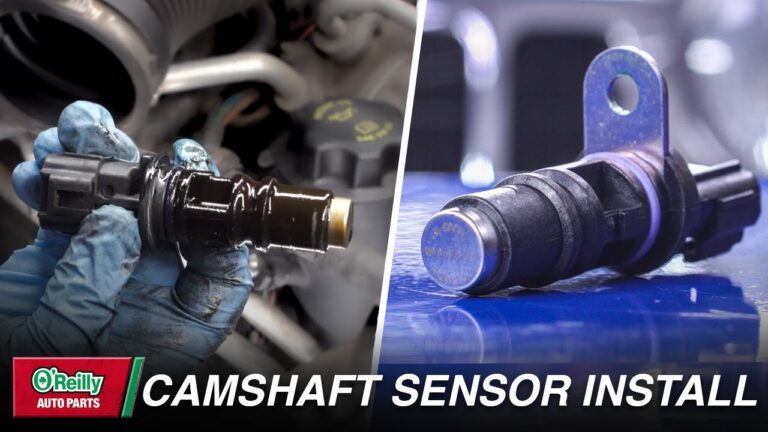
Source: nissankaengine.com
Step 1
Disconnect the electrical connector and remove the mounting bolt.
Step 2
Inspect the remaining sensor body using a flashlight.
Step 3
Apply penetrating oil around the sensor if it is seized.
Step 4
Use picks or pliers to extract loose fragments.
Step 5
Remove the remaining shell carefully and clean the bore.
Using a Screw Extractor
If the sensor is deeply embedded, a small screw extractor may help. Thread it lightly into the remaining plastic body and pull straight outward. Avoid drilling too deeply because internal engine components may be nearby.
Gentle Pressure
Excessive force can damage the sensor mounting bore.
What to Do If the Broken Sensor Will Not Come Out
Some sensors become bonded to the engine through corrosion, heat cycles, or hardened seals. If the sensor does not move, stop before damaging the mounting area.
Additional penetrating oil and gentle rotational movement often work better than aggressive prying. In severe cases, removing nearby components for better access may be necessary.
Source: xiaoyanzong.blogspot.com
Do Not Pry Excessively
Aluminum engine parts can crack or deform.
Avoid Hammering
Impact can push debris into the engine.
Seek Professional Help
A technician may have specialty extraction tools.
When Professional Service Is Recommended
Professional assistance is recommended when fragments break below the surface, metal extraction is required, or there is a risk of contaminating the engine.
High Risk Situations
Deeply lodged fragments or damaged sensor bores.
Installing the New Sensor and Verifying Success
After extraction, inspect the sensor bore for scratches, debris, or damaged seals. Clean the area thoroughly before installing the replacement sensor.
Install the new sensor according to the vehicle manufacturer’s torque specifications. Reconnect the electrical connector and battery, then start the engine and verify normal operation.
Source: storage.googleapis.com
Check Engine Light
Verify that fault codes are cleared if appropriate.
Inspect for Leaks
Confirm that the sensor seal is seated correctly.
Test Drive
Monitor engine performance after repair.
Signs of a Successful Repair
A successful repair typically results in proper engine starting, smooth idle, normal acceleration, and no sensor-related diagnostic trouble codes.
Stable Operation
Engine runs normally without timing-related symptoms.
Frequently Asked Questions
Q
Can I drive with a broken camshaft position sensor?
Many vehicles can still run with a failed sensor, but performance may be reduced. Driving with a broken sensor can lead to hard starting, stalling, or poor fuel economy.
Q
What causes a camshaft sensor to get stuck?
Heat, corrosion, oil contamination, and aging seals are common causes. Over time, these factors can make the sensor difficult to remove.
Q
Can I use penetrating oil around the sensor?
Yes, penetrating oil can help loosen a stuck sensor. Use it sparingly and avoid contaminating electrical connectors.
Q
What happens if pieces fall into the engine?
Debris entering the engine can cause serious damage. If fragments disappear into the opening, stop work and inspect the area carefully before continuing.
Q
Do I need special tools to remove a broken camshaft sensor?
Basic hand tools are often sufficient. However, severely stuck sensors may require picks, extraction tools, or professional equipment.
✦ Wrapping Up
Conclusion
Learning how to remove a broken camshaft sensor is largely a matter of patience, proper tools, and careful technique. Rushing the job can damage the sensor bore or introduce debris into the engine.
By inspecting the sensor carefully, extracting fragments methodically, and verifying the installation afterward, most vehicle owners can complete the repair successfully and restore proper engine operation.
💡 Key Takeaway
Work on a cool engine, remove fragments carefully, inspect the mounting bore thoroughly, and install the replacement sensor according to manufacturer specifications.
Ethan Brooks is an automotive writer at Auto News 7, covering car news, vehicle maintenance, new model updates, recalls, and practical buying guides. He focuses on clear, useful information that helps drivers understand their vehicles and make better ownership decisions.
Learn how to replace camshaft position sensor components with a detailed step-by-step guide, tools list, troubleshooting tips, safety advice, and common mistakes to avoid.
Learn how to check camshaft position sensor operation, wiring, voltage, and signal output. Follow this practical step-by-step guide to diagnose common camshaft sensor problems.
Learn how to remove a camshaft position sensor safely with this detailed step-by-step guide. Discover required tools, common mistakes, troubleshooting tips, and what to do after removal.
Learn how to replace camshaft position sensor bank 1 with a clear step-by-step process, required tools, troubleshooting tips, and safety advice for DIY vehicle owners in the USA.