Clean the accessible outside and connector gently, but replace a faulty sensor instead of trying to clean its internal mechanism.
For drivers in the United States, learning how to clean oil pressure sensor components can help when oil, dirt, or corrosion surrounds the sensor or its electrical connector. However, an oil pressure sensor is a precision component, and cleaning it does not automatically repair an internal electrical or mechanical failure.
Before cleaning, make sure the engine is off and cool enough to work around safely. If the oil pressure warning light stays on while the engine is running, do not assume a dirty sensor is the cause. Low oil level, a failing oil pump, worn engine components, wiring problems, or a defective sending unit can produce similar symptoms.
The safest approach is to clean only areas that the vehicle manufacturer permits you to clean. Avoid forcing solvent into the sensor body or pressure port unless the service information for your specific vehicle says that procedure is acceptable. If the sensor remains faulty after inspection and cleaning, replacement is usually more appropriate than aggressive cleaning.
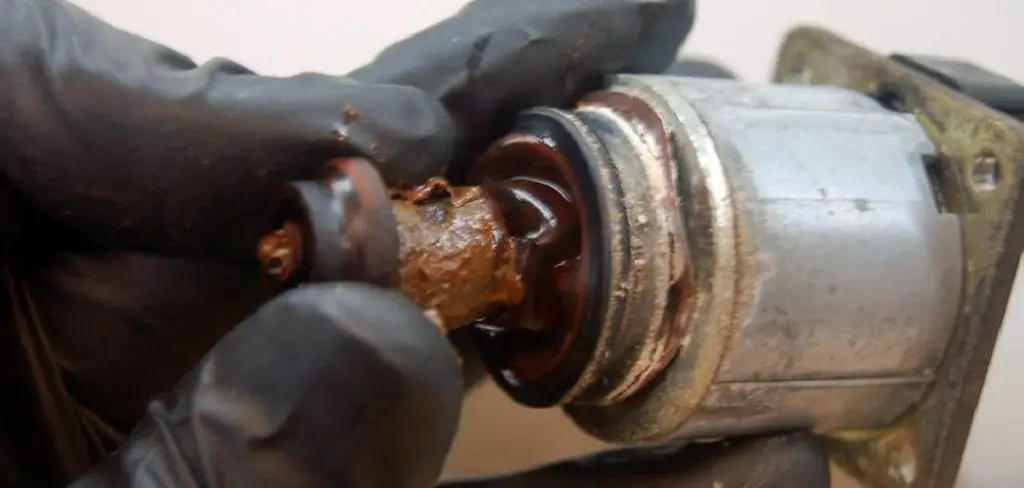
Source: cbgbfest.com
What Does an Oil Pressure Sensor Do?
An oil pressure sensor or sending unit monitors engine oil pressure and communicates information to the vehicle’s gauge, warning system, or engine computer. Some vehicles use a simple pressure switch, while others use a variable electrical signal to represent pressure.
The sensor normally screws into an oil passage or engine block. Because it can be exposed to engine oil and road contamination around its mounting area, its exterior can become dirty. The electrical connector can also collect oil, dirt, moisture, or corrosion.
A dirty exterior is different from an internally defective sensor. A sensor with a failed diaphragm, switch, resistor, or other internal component generally cannot be restored by wiping its outside.
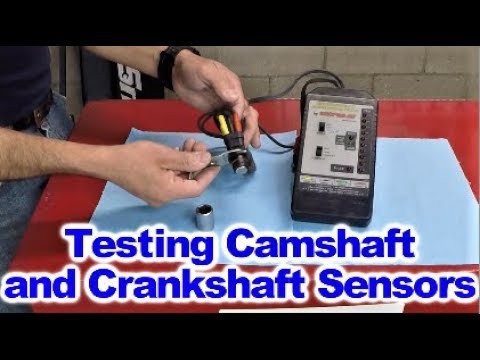
Source: safetywish.com
External contamination
Oil, dust, road grime, and residue can build up around the sensor body and mounting area.
Connector contamination
Oil or moisture around the electrical connector can interfere with a reliable electrical connection.
Internal failure
An internal electrical or pressure-sensing failure normally requires testing and sensor replacement rather than routine cleaning.
When Should You Clean an Oil Pressure Sensor?
Cleaning makes sense when you can see oil, dirt, or residue on the accessible exterior of the sensor or around its connector. It can also help during an inspection when contamination is clearly preventing a clean connection or making it difficult to inspect the component.
Cleaning is not a substitute for diagnosing low oil pressure. If the dashboard oil warning light is illuminated while the engine is running, shut the engine off and check the oil level. A persistent warning can indicate a genuine lubrication problem that could damage the engine.
A sensor should not be cleaned simply because a fault code appears. Codes related to the oil pressure sensor circuit can result from the sensor, connector, wiring, or an actual pressure problem. Diagnosis should determine which condition exists before replacing or cleaning parts.
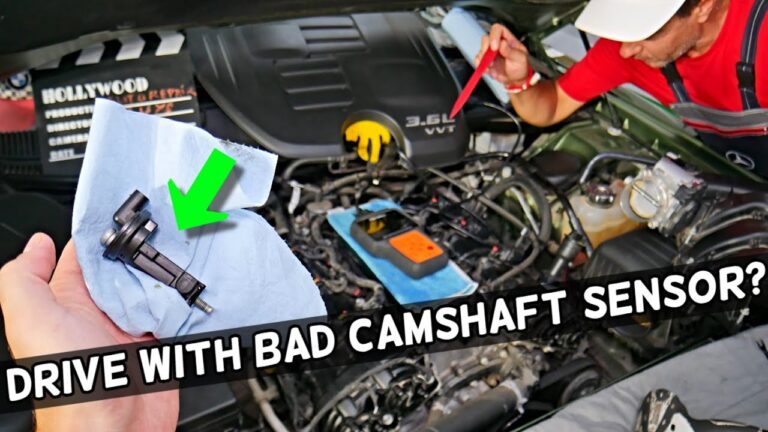
Source: www.youtube.com > Rx Mechanic
Visible contamination
Clean the outside when oil or grime makes inspection difficult or contaminates accessible surfaces.
Dirty connector
Inspect the connector when the sensor circuit shows intermittent operation or visible contamination.
Persistent warning
Treat an oil pressure warning as a possible engine problem first, not simply as a dirty-sensor problem.
How to Clean Oil Pressure Sensor Safely
The safest cleaning method is gentle and limited. Start by identifying the sensor on your specific vehicle and checking the owner’s manual or service information for removal and cleaning instructions. Sensor designs and access points vary between engines.
Do not begin with the engine running. Park on a stable surface, switch the ignition off, allow hot components to cool, and keep loose clothing and tools away from moving parts. If the sensor is difficult to reach, follow the vehicle’s approved lifting and support procedure rather than working underneath an unsupported vehicle.
Use a clean lint-free cloth to remove loose oil and grime from the outside of the sensor and its surrounding area. For the electrical connector, use only a cleaner that is appropriate for automotive electrical contacts and compatible with the connector materials. Allow the connector to dry completely before reconnecting it.
Do not scrape terminals with aggressive tools or force debris deeper into the connector. Do not spray an unknown solvent into the pressure-sensing opening or sensor body. Some sensors are not serviceable internally, and an unsuitable chemical can damage seals or internal components.
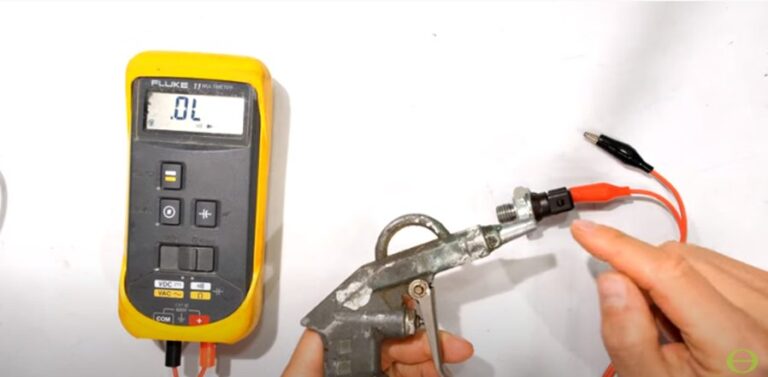
Source: takeuroil.com
Step 1: Turn the vehicle off
Park securely, switch the ignition off, and let hot engine components cool before touching the sensor.
Step 2: Locate the sensor
Use the vehicle-specific service information to identify the correct oil pressure sensor and its connector.
Step 3: Inspect before cleaning
Look for oil leaks, damaged wiring, cracked connectors, corrosion, broken terminals, or physical damage.
Step 4: Clean the exterior
Wipe accessible external oil and dirt from the sensor and nearby area with a clean lint-free cloth.
Step 5: Clean the connector carefully
If contamination is present, use an appropriate electrical-contact cleaner according to its label and the vehicle service instructions.
Step 6: Let everything dry
Allow the connector and cleaned surfaces to dry fully before reconnecting or starting the vehicle.
Step 7: Recheck operation
Start the vehicle only after reassembly is complete and check the oil pressure warning system for normal operation.
How to Clean the Oil Pressure Sensor Connector
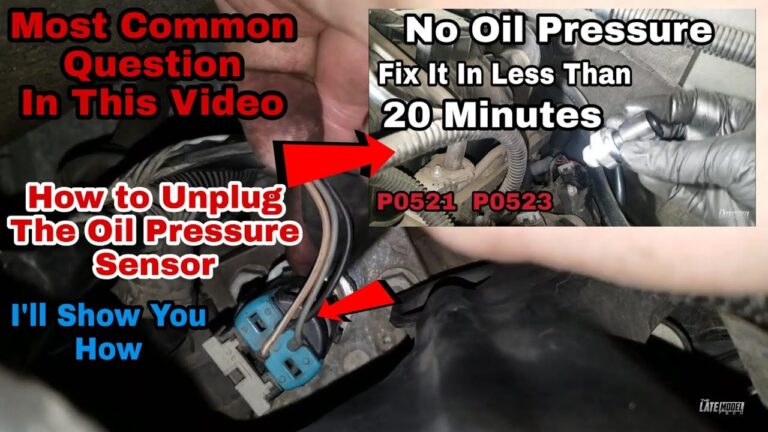
The connector deserves separate attention because electrical contamination can create symptoms that resemble a failed sensor. Disconnect it carefully using the connector’s release mechanism instead of pulling on the wires.
Inspect the terminals for green or white corrosion, bent contacts, damaged seals, or oil contamination. If the connector is damaged or terminals are loose, cleaning alone may not restore a reliable circuit.
Use an electrical contact cleaner that is suitable for automotive connectors and follow its instructions. Keep the product away from areas where the vehicle manufacturer prohibits solvent use. Allow the connector to dry before reconnecting it.
Check the terminals
Look for corrosion, bent terminals, loose contacts, or damaged seals.
Avoid pulling wires
Release the connector from its locking mechanism rather than pulling on the wiring harness.
Confirm a dry connection
Reconnect only after the connector is clean, dry, and free of loose contamination.
Should You Remove the Sensor Before Cleaning It?
Usually, you do not need to remove a sensor just to wipe its exterior or inspect its connector. Removal becomes relevant when the service procedure requires access to a blocked oil passage, when the sensor must be tested, or when replacement is necessary.
If removal is required, follow the exact procedure for your vehicle. Some sensors can be damaged by excessive force, incorrect tools, or improper installation. A replacement sensor may also require a specific sealing method or tightening specification.
Exterior cleaning
Often possible with the sensor installed if the contaminated area is accessible.
Internal contamination
Do not assume an internal blockage can safely be cleared without vehicle-specific service instructions.
Replacement
Use the specified installation method and torque information for the exact vehicle and sensor.
What Cleaning Products Should You Use?
For the outside of an oil pressure sensor, a clean lint-free cloth is the safest starting point. If a solvent is needed, the vehicle manufacturer’s service information should determine which product is acceptable for that specific sensor and its materials.
For an electrical connector, use a purpose-made electrical contact cleaner when the connector manufacturer and vehicle service information permit it. Do not assume that brake cleaner, carburetor cleaner, engine degreaser, or another aggressive solvent is safe for electrical seals and sensor materials.
Avoid soaking the entire sensor in a cleaning product. Oil pressure sensors can contain delicate internal components, and cleaning the outside does not require flooding the sensor body.
Source: cityofclovis.org
Preferred starting method
Use a clean lint-free cloth to remove loose external contamination.
Electrical connector
Use a compatible electrical contact cleaner only when the applicable service information permits it.
Avoid aggressive chemicals
Do not use an unverified solvent simply because it removes oil effectively.
Do not soak the sensor
Keep cleaning limited to surfaces that the service procedure identifies as safe to clean.
How to Tell Whether Cleaning Worked
A successful cleaning leaves the accessible sensor surfaces free of heavy contamination and restores a clean, secure electrical connection. The vehicle should then be checked for the original symptom rather than judged only by how clean the component looks.
If the oil pressure warning light stays on, the gauge remains abnormal, or a related diagnostic trouble code returns, stop treating cleaning as the solution. The next step is diagnosis of the complete oil pressure system.
When actual oil pressure is in doubt, a mechanical pressure gauge connected at the appropriate engine test port can help determine whether the engine is producing pressure within the manufacturer’s specification. The correct specification depends on the vehicle, engine, oil temperature, and operating condition.
Source: hitchesguide.com
Warning light
The oil pressure warning light should not remain illuminated during normal engine operation.
Gauge behavior
An electronic oil pressure gauge should return to the expected range for the vehicle and operating conditions.
Diagnostic codes
A returning sensor or circuit code means further testing is needed.
Actual pressure
Direct pressure testing is the better way to distinguish a sensor fault from genuinely low engine oil pressure.
When Cleaning Does Not Fix the Problem
A failed oil pressure sensor cannot normally be repaired by exterior cleaning. If the sensor has an internal electrical or mechanical defect, replacement is usually the appropriate repair.
A continuing warning can also point to low oil level, an oil leak, incorrect oil, a restricted filter or pickup, an oil pump problem, worn engine bearings, damaged wiring, or an instrument fault. The exact cause depends on the vehicle and symptoms.
Do not keep driving simply because cleaning made the sensor look better. If the oil pressure warning remains on or the engine develops ticking, rattling, or knocking sounds, shut the engine off and have the problem diagnosed.
Sensor failure
Replace a sensor that fails the vehicle’s diagnostic tests or has confirmed internal damage.
Low oil pressure
Investigate the lubrication system instead of repeatedly cleaning or replacing the sensor.
Wiring fault
Repair damaged wiring, terminals, or connectors when testing identifies an electrical circuit problem.
Common Mistakes to Avoid When Cleaning an Oil Pressure Sensor
The most common mistake is assuming that a dirty sensor explains every oil pressure warning. A warning light can indicate genuinely low engine oil pressure, which can cause severe engine damage if ignored.
Another mistake is spraying a strong solvent directly into the sensor. Unless the manufacturer specifically approves that method, there is no reason to expose the internal sensing mechanism to an unverified chemical.
Do not use excessive force on the connector or sensor. Damaged terminals, broken connector locks, stripped threads, or cracked sensor bodies can turn a simple inspection into a larger repair.
Finally, do not judge engine oil pressure by appearance alone. A clean sensor does not prove that the oil pump and engine lubrication system are producing adequate pressure.
Source: cbgbfest.com
Mistake: ignoring the warning light
A persistent oil pressure warning requires diagnosis because actual low pressure can damage the engine.
Mistake: soaking the sensor
Avoid immersing or flooding the sensor with chemicals unless the manufacturer specifically provides that procedure.
Mistake: forcing the connector
Use the connector release mechanism and avoid pulling directly on wires.
Mistake: skipping pressure testing
If low oil pressure is suspected, verify actual pressure using the vehicle’s specified diagnostic procedure.
Safety Checks Before You Drive Again
After cleaning and reconnecting the sensor, inspect the surrounding area for oil leaks and make sure the connector is fully locked. Confirm that the engine oil level is correct according to the vehicle owner’s manual.
Start the engine while watching the oil pressure warning indicator. If the warning remains on, shut the engine off and investigate the cause rather than repeatedly restarting it.
If the engine develops unusual ticking, rattling, knocking, or other signs associated with low lubrication, stop the engine immediately. Arrange for proper diagnosis or professional service instead of relying on sensor cleaning.
Source: www.youtube.com > Rx Mechanic
Check oil level
Verify the oil level using the procedure and oil specification provided for your vehicle.
Check for leaks
Look around the sensor and nearby engine components for fresh oil leakage.
Watch the warning system
Do not continue driving if the oil pressure warning remains illuminated.
Stop for engine noise
Unusual ticking, rattling, or knocking with an oil pressure warning requires immediate attention.
Frequently Asked Questions
Q
Can you clean an oil pressure sensor?
You can usually clean accessible external oil and grime from an oil pressure sensor and inspect its electrical connector. However, many sensors are not designed to be internally serviced, so a confirmed internal failure generally calls for replacement.
Q
What can I use to clean an oil pressure sensor?
Start with a clean lint-free cloth for external contamination. For an electrical connector, use a compatible electrical contact cleaner when the vehicle’s service information permits it, and avoid spraying unapproved solvents into the sensor body.
Q
Can a dirty oil pressure sensor cause a warning light?
Contamination around the sensor or connector can contribute to an electrical problem, but a warning light can also indicate genuinely low oil pressure. Check the oil level and follow the vehicle’s diagnostic procedure before assuming dirt is responsible.
Q
Should I clean or replace my oil pressure sensor?
Clean it when the problem is limited to accessible external contamination or a dirty connector. Replace it when testing identifies an internal sensor failure, the sensor is physically damaged, or cleaning does not correct the fault.
Q
Can I spray brake cleaner on an oil pressure sensor?
Do not assume brake cleaner is safe for an oil pressure sensor. Different sensor materials and seals can react differently to solvents, so use only products and methods approved by the vehicle or component manufacturer.
Q
What should I do if the oil pressure light stays on after cleaning?
Turn the engine off and check the oil level first. If the level is correct, the vehicle needs further diagnosis because the problem may involve actual low oil pressure, the sensor, wiring, the oil pump, or another part of the lubrication system.
Q
Is it safe to drive with the oil pressure warning light on?
No, you should not assume it is safe. A continuously illuminated oil pressure warning can indicate dangerously low lubrication pressure, and continued operation can cause severe engine damage.
✦ Wrapping Up
Conclusion
Learning how to clean oil pressure sensor components is mainly about careful inspection and limited cleaning. Wipe away external contamination, inspect the connector, use only compatible cleaning products, and avoid forcing solvents or tools into the sensor.
Cleaning cannot repair every oil pressure problem. If the warning light remains on, the gauge reading stays abnormal, a diagnostic code returns, or the engine makes unusual noise, stop relying on cleaning and diagnose the actual oil pressure and electrical circuit.
💡 Key Takeaway
Clean only accessible contamination, verify the connector and oil level, and seek proper pressure testing or sensor replacement if the warning or fault continues.
Ethan Brooks is an automotive writer at Auto News 7, covering car news, vehicle maintenance, new model updates, recalls, and practical buying guides. He focuses on clear, useful information that helps drivers understand their vehicles and make better ownership decisions.
Learn how to test an oil pressure sensor with a multimeter and mechanical gauge, identify wiring faults, and separate sensor problems from real low oil pressure.
Learn whether a bad knock sensor can cause oil consumption, how the two systems are connected, common symptoms, diagnostic steps, and when engine repairs may be necessary.
Learn how to replace camshaft position sensor PT Cruiser models with this detailed step-by-step guide. Find symptoms, tools needed, replacement steps, troubleshooting tips, and common mistakes to avoid.