To test a Toyota knock sensor, inspect the wiring, check trouble codes, measure sensor resistance, and verify sensor output under engine load.
Across the United States, Toyota owners often encounter check engine lights caused by aging knock sensors, damaged wiring harnesses, or connector corrosion. Proper testing helps determine whether the sensor itself has failed or if another engine issue is triggering the warning.
Understanding how to test a Toyota knock sensor can save time and prevent unnecessary parts replacement. A systematic approach that includes visual inspection, scan tool diagnostics, and electrical testing provides the most reliable results.
Source: i.ytimg.com
What Does a Toyota Knock Sensor Do?
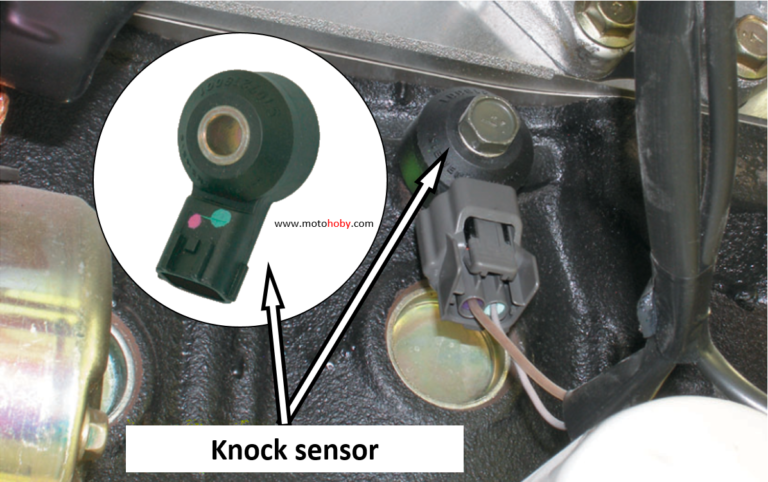
A knock sensor detects abnormal combustion vibrations inside the engine. When engine knock or detonation occurs, the sensor sends a signal to the engine control module so ignition timing can be adjusted.
Toyota engines rely on accurate knock sensor data to protect pistons, valves, and other internal components. A faulty sensor may reduce engine performance, fuel economy, and drivability.
Source: i.ytimg.com
Primary function
Detects engine vibration caused by knock or detonation.
Engine protection
Helps the control module adjust timing to prevent damage.
Performance role
Supports efficient engine operation under varying loads.
Common Symptoms of a Bad Toyota Knock Sensor
Typical symptoms include an illuminated check engine light, reduced acceleration, poor fuel economy, and stored fault codes related to knock sensor performance. Some vehicles may enter a reduced-power mode to protect the engine.
Check engine light
Often the first warning sign.
Power loss
The engine may run with conservative timing settings.
Tools Needed to Test a Toyota Knock Sensor
Gathering the correct tools before starting makes diagnosis faster and more accurate. Most basic tests can be completed with common automotive diagnostic equipment.
Always consult the repair information for your specific Toyota model because sensor specifications can vary between engines.
Source: i.ytimg.com
Digital multimeter
Measures resistance and circuit continuity.
OBD2 scanner
Reads diagnostic trouble codes and live data.
Basic hand tools
Used to access connectors and sensor mounting points.
Safety Preparation
Park on a level surface, engage the parking brake, and allow the engine to cool before disconnecting sensors or wiring. Disconnect the battery if required by the service procedure.
Engine cool-down
Reduces burn risk during inspection.
How to Test a Toyota Knock Sensor Step by Step
The most effective way to test a Toyota knock sensor is to combine visual inspection, diagnostic code analysis, and electrical measurements. Following each step in order reduces the chance of misdiagnosis.
Many knock sensor problems are caused by damaged wiring rather than sensor failure, so do not skip the inspection process.
Source: i.ytimg.com
Step 1
Scan for trouble codes and record all stored faults.
Step 2
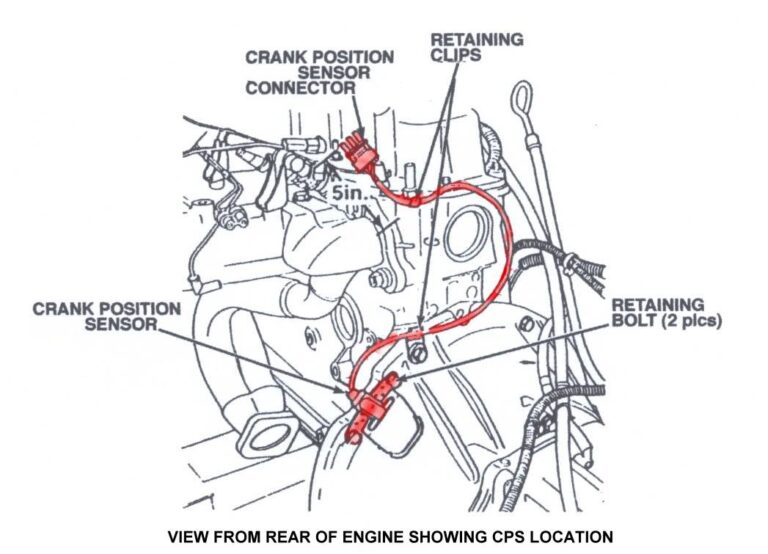
Inspect connectors, harnesses, and mounting surfaces.
Step 3
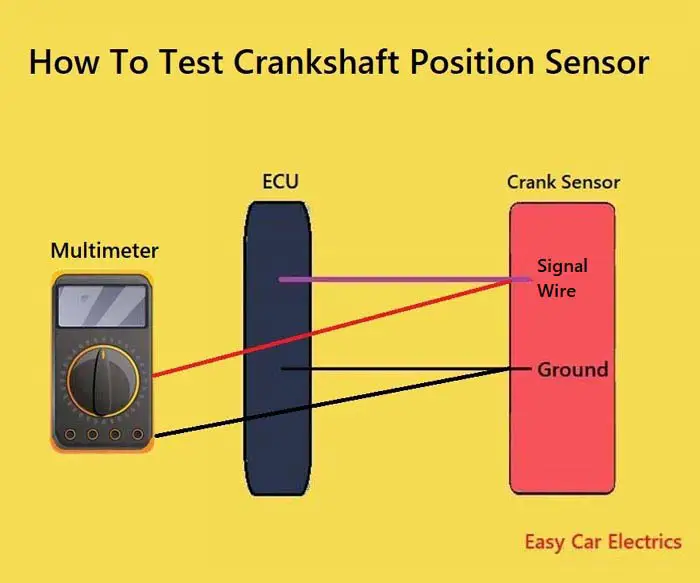
Measure sensor resistance according to Toyota specifications.
Step 4
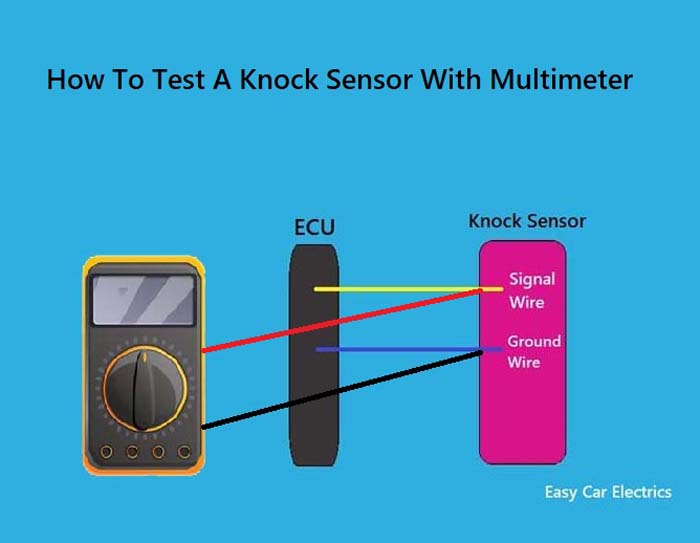
Check continuity between the sensor and engine control module.
Testing Sensor Resistance with a Multimeter
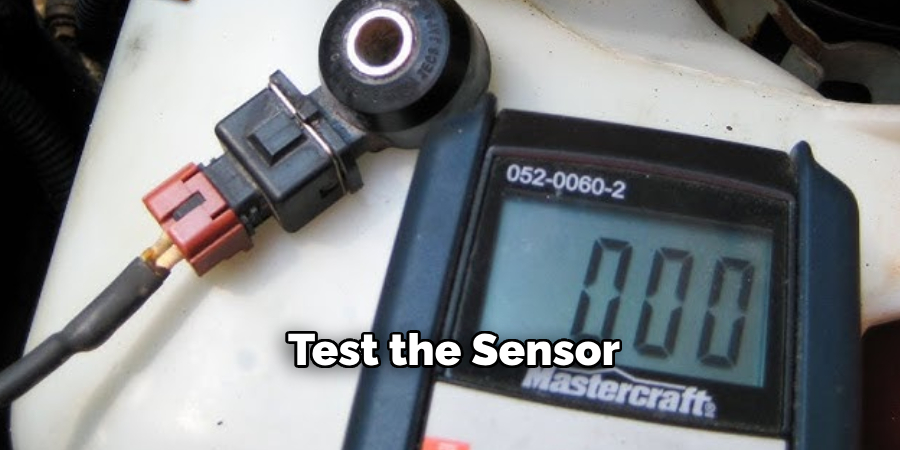
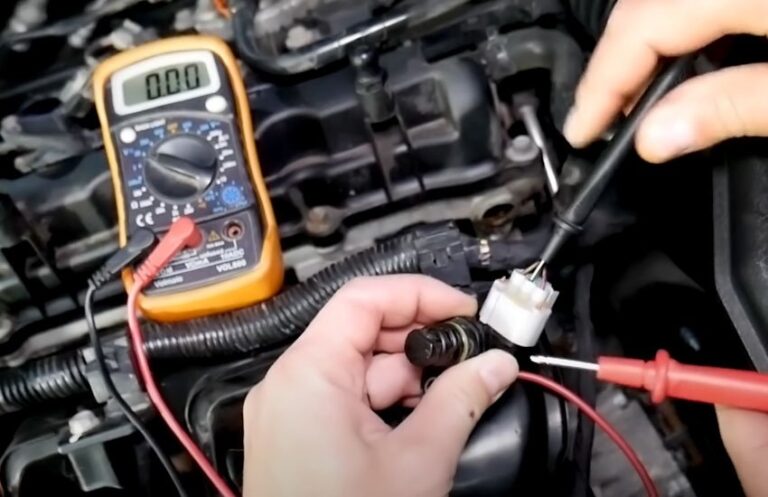
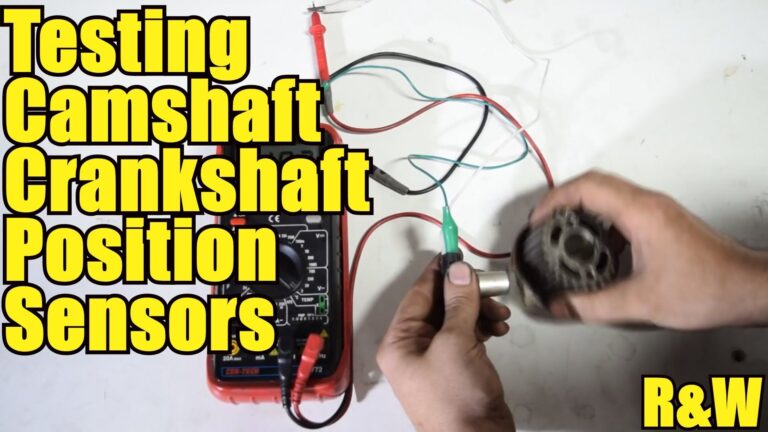
Disconnect the sensor connector and place the multimeter leads on the sensor terminals. Compare the measured resistance with the specification listed for the exact Toyota engine. Infinite resistance, no continuity, or values far outside specification may indicate a faulty sensor.
Normal reading
Should fall within manufacturer specifications.
Abnormal reading
May indicate internal sensor damage.
Understanding Test Results
A good sensor with damaged wiring can produce the same trouble codes as a failed sensor. Evaluate the entire circuit before making a repair decision.
If the sensor, wiring, and connectors test correctly, investigate related issues such as engine mechanical noise, poor fuel quality, or engine control module faults.
Source: safetyfic.com
Sensor passes
Inspect the harness and control module circuit.
Sensor fails
Replace the sensor and clear stored codes.
Common Toyota Knock Sensor Trouble Codes
Codes such as P0325, P0330, and related knock sensor circuit faults commonly indicate problems with the sensor or its wiring. Always confirm the exact code definition for the vehicle being tested.
P0325
Knock sensor circuit malfunction.
P0330
Bank 2 knock sensor circuit malfunction on applicable engines.
Common Mistakes When Testing a Toyota Knock Sensor
Replacing the sensor without checking the wiring is one of the most common mistakes. Many Toyota knock sensor codes result from deteriorated harnesses located in high-heat areas.
Another common error is comparing test readings to the wrong engine specification. Always use service information that matches the exact engine and model year.
Source: i.ytimg.com
Skipping code checks
May lead to unnecessary repairs.
Ignoring wiring damage
Can leave the original problem unresolved.
Using incorrect specifications
Can result in inaccurate conclusions.
When Professional Diagnosis Is Needed
If sensor resistance, wiring continuity, and connector condition appear normal but trouble codes return, advanced testing with professional diagnostic equipment may be required.
Persistent fault codes
May require advanced circuit analysis.
Frequently Asked Questions
Q
Can I drive with a bad Toyota knock sensor?
Many vehicles remain drivable, but performance and fuel economy may suffer. Continued operation without proper diagnosis can increase the risk of engine-related issues.
Q
What trouble code indicates a Toyota knock sensor problem?
Common codes include P0325 and P0330. The exact code depends on the vehicle’s engine configuration and the affected sensor circuit.
Q
Can a bad knock sensor cause poor acceleration?
Yes. The engine control module may reduce ignition timing as a protective measure, which can decrease engine power.
Q
Do I need a scan tool to test a Toyota knock sensor?
A scan tool is highly recommended because it helps identify stored fault codes and provides useful diagnostic information. However, some basic electrical checks can be performed with a multimeter.
Q
How much resistance should a Toyota knock sensor have?
Resistance specifications vary by engine and model year. Always compare measurements with the service information for the exact Toyota vehicle being tested.
✦ Wrapping Up
Conclusion
Learning how to test a Toyota knock sensor involves more than checking the sensor itself. Accurate diagnosis requires fault-code retrieval, visual inspection, wiring evaluation, and electrical testing.
Following a structured diagnostic process can help identify the true cause of a knock sensor fault and prevent unnecessary parts replacement.
💡 Key Takeaway
Start with diagnostic trouble codes, inspect the wiring thoroughly, verify sensor resistance, and confirm the entire circuit before replacing any components.
Ethan Brooks is an automotive writer at Auto News 7, covering car news, vehicle maintenance, new model updates, recalls, and practical buying guides. He focuses on clear, useful information that helps drivers understand their vehicles and make better ownership decisions.
Learn how to test a Nissan knock sensor using a multimeter, scan tool, and visual inspection. Follow this step-by-step guide to diagnose knock sensor problems on Nissan vehicles.