You can clean a knock sensor by removing it, gently cleaning corrosion and debris, inspecting the wiring, and reinstalling it correctly.
Across the United States, drivers often search for how to clean knock sensor components after a check engine light appears or engine performance begins to decline. In many cases, dirt, oil contamination, moisture, or corrosion around the sensor and its electrical connector can interfere with proper operation.
Cleaning can help when contamination affects the sensor housing or connector. However, a damaged knock sensor, cracked housing, internal failure, or faulty wiring will usually require replacement. Understanding the difference can save time and prevent unnecessary repairs.
Source: storage.googleapis.com
What Does a Knock Sensor Do?
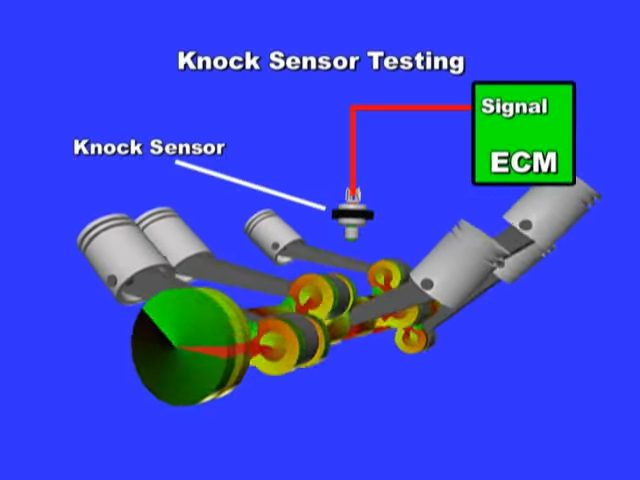
A knock sensor detects abnormal combustion vibrations inside the engine. It sends signals to the engine control module, which adjusts ignition timing to help protect the engine from damaging knock or detonation.
When the sensor cannot communicate accurately because of contamination, corrosion, or electrical issues, the engine may lose performance, experience reduced fuel economy, or trigger a diagnostic trouble code.
Source: gomechanic.in
Primary Function
Detects engine knock and vibration patterns.
Engine Protection
Helps the computer adjust timing to reduce harmful combustion events.
Performance Impact
Incorrect readings can affect power, efficiency, and drivability.
Signs the Sensor May Need Attention
Common symptoms include a check engine light, reduced acceleration, poor fuel economy, engine hesitation, or stored knock sensor diagnostic codes.
Warning Light
The check engine light may illuminate.
Power Loss
The engine computer may reduce performance as a precaution.
Can You Clean a Knock Sensor Instead of Replacing It?
Yes, in some situations. If the sensor itself remains functional but dirt, oil residue, moisture, or corrosion has accumulated on the exterior or electrical connector, cleaning may improve the connection and restore proper operation.
Cleaning cannot repair internal electronic damage, cracked sensor bodies, broken wiring, or failed components. If those issues exist, replacement is typically necessary.
Source: YouTube > MattHumanPizza
Good Candidate for Cleaning
Surface contamination or connector corrosion.
Not Repairable by Cleaning
Internal failure, cracks, or damaged wiring.
When Replacement Makes More Sense
If diagnostic codes return immediately after cleaning and inspection, the sensor may have reached the end of its service life.
Recurring Codes
Repeated faults often indicate a failed sensor.
Tools and Materials Needed
Gather all required tools before starting. Vehicle designs vary, and some knock sensors are located beneath intake components or in hard-to-reach engine locations.
Consult the service information for your vehicle to identify the exact sensor location and torque specifications.
Source: storage.googleapis.com
Socket Set
Required for sensor removal.
Electrical Contact Cleaner
Safely removes contamination from connectors.
Soft Brush
Helps remove debris without damaging surfaces.
Clean Cloth
Used to wipe away residue.
Safety Preparation
Disconnect the negative battery terminal before working on electrical components to reduce the risk of accidental short circuits.
Battery Safety
Disconnect power before beginning work.
How to Clean Knock Sensor Step by Step
The best approach is to clean both the sensor body and the electrical connector while carefully inspecting for damage. Follow each step in sequence.
Work slowly and avoid using aggressive chemicals or abrasive materials that could damage the sensor or connector.
Source: www.youtube.com > Adam Mechanic
Step 1
Disconnect the battery and locate the sensor.
Step 2
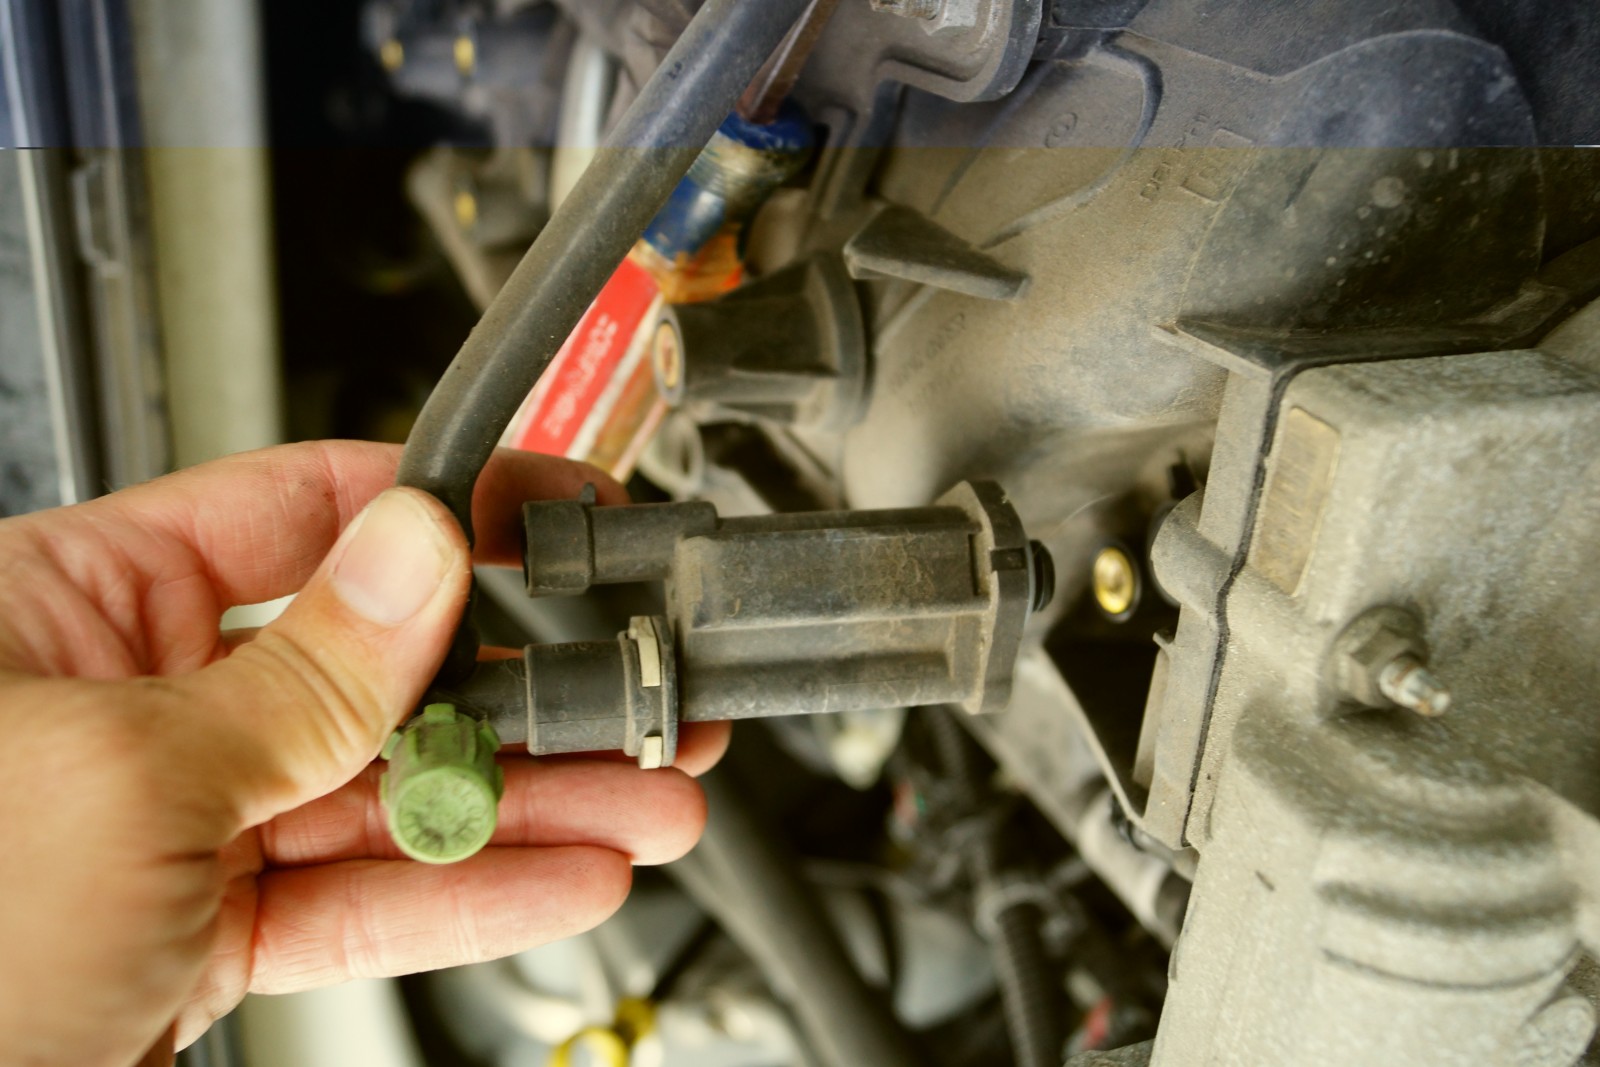
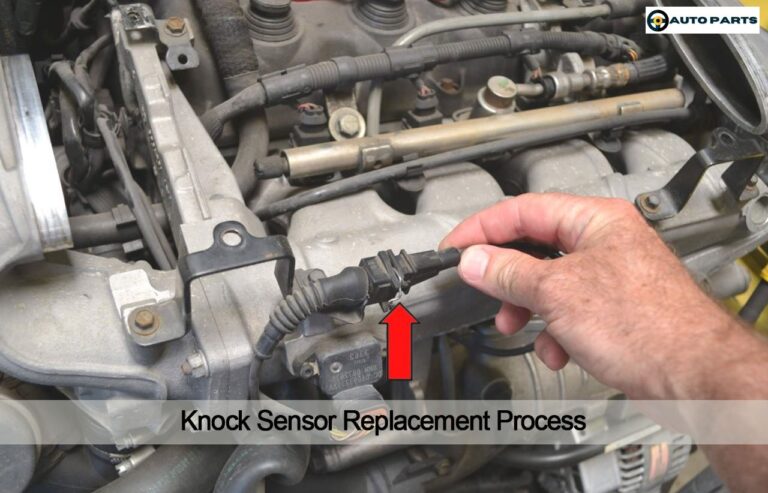
Remove the electrical connector and inspect for corrosion.
Step 3
Remove the sensor if access allows.
Step 4
Spray electrical contact cleaner on the connector and sensor contact areas.
Step 5
Use a soft brush to remove debris and corrosion.
Step 6
Allow all parts to dry completely.
Step 7
Reinstall the sensor using the proper torque specification.
Step 8
Reconnect the battery and test the vehicle.
Signs of a Successful Cleaning
The connector appears clean, corrosion is removed, fault codes do not return, and engine performance improves during normal driving.
Stable Operation
No new fault codes appear after testing.
Common Mistakes and Troubleshooting
Many cleaning attempts fail because the underlying problem is not contamination. Damaged wiring, poor grounding, connector failures, or internal sensor defects can produce similar symptoms.
If cleaning does not resolve the issue, perform a complete diagnostic inspection before replacing parts.
Source: www.youtube.com > lule auto garage
Using Harsh Chemicals
Some cleaners may damage electrical components.
Ignoring Wiring Damage
Broken wires can mimic sensor failure.
Incorrect Torque
Improper installation can affect sensor performance.
When to Seek Professional Help
Professional diagnosis is recommended when fault codes persist, access requires major engine disassembly, or multiple engine management codes are present.
Persistent Problems
Advanced testing may be required.
Frequently Asked Questions
Q
Can a dirty knock sensor cause a check engine light?
Yes. Corrosion or contamination at the connector can interfere with communication and may trigger diagnostic trouble codes.
Q
What cleaner should I use on a knock sensor?
Electrical contact cleaner is generally the safest choice for cleaning connectors and electrical contact surfaces.
Q
Will cleaning fix a failed knock sensor?
No. Cleaning can help with contamination-related issues but cannot repair internal electronic failures.
Q
How often should a knock sensor be cleaned?
There is no standard cleaning interval. Inspection is usually performed when symptoms, fault codes, or corrosion are present.
Q
Can I drive with a faulty knock sensor?
Many vehicles can still operate, but performance, fuel economy, and engine protection may be affected. Diagnosis should not be delayed.
✦ Wrapping Up
Conclusion
Understanding how to clean knock sensor components can help resolve issues caused by dirt, corrosion, or poor electrical connections. Proper cleaning, inspection, and reinstallation may restore normal operation when contamination is the root cause.
If symptoms continue after cleaning, further diagnosis is necessary because the sensor, wiring, or related engine management components may be defective.
💡 Key Takeaway
Clean the sensor and connector carefully, verify wiring condition, clear diagnostic codes, and replace the sensor if faults continue.
Ethan Brooks is an automotive writer at Auto News 7, covering car news, vehicle maintenance, new model updates, recalls, and practical buying guides. He focuses on clear, useful information that helps drivers understand their vehicles and make better ownership decisions.
Learn what a camshaft position sensor looks like, where it is located, how to identify it, and how it differs from other engine sensors. Includes photos, features, and troubleshooting tips.
Learn how to replace camshaft position sensor components with a detailed step-by-step guide, tools list, troubleshooting tips, safety advice, and common mistakes to avoid.
Learn how to check camshaft position sensor operation, wiring, voltage, and signal output. Follow this practical step-by-step guide to diagnose common camshaft sensor problems.