You can clean a knock sensor area and electrical connector, but a contaminated or failed sensor often needs testing or replacement.
For drivers in the United States, learning how to clean a knock sensor can help when a check engine light appears with a knock sensor fault code. However, a knock sensor is not like an air filter or throttle body that is routinely cleaned. It is an electronic vibration sensor mounted to the engine, and the correct service depends on the vehicle, engine, sensor design, and factory repair procedure.
The safest approach is to diagnose the problem first, then inspect the sensor, wiring, connector, and mounting surface. In many cases, cleaning loose dirt or corrosion from the surrounding area and repairing a poor electrical connection can help. If the sensor itself has failed, cleaning it will not restore the internal piezoelectric element, and replacement may be necessary.
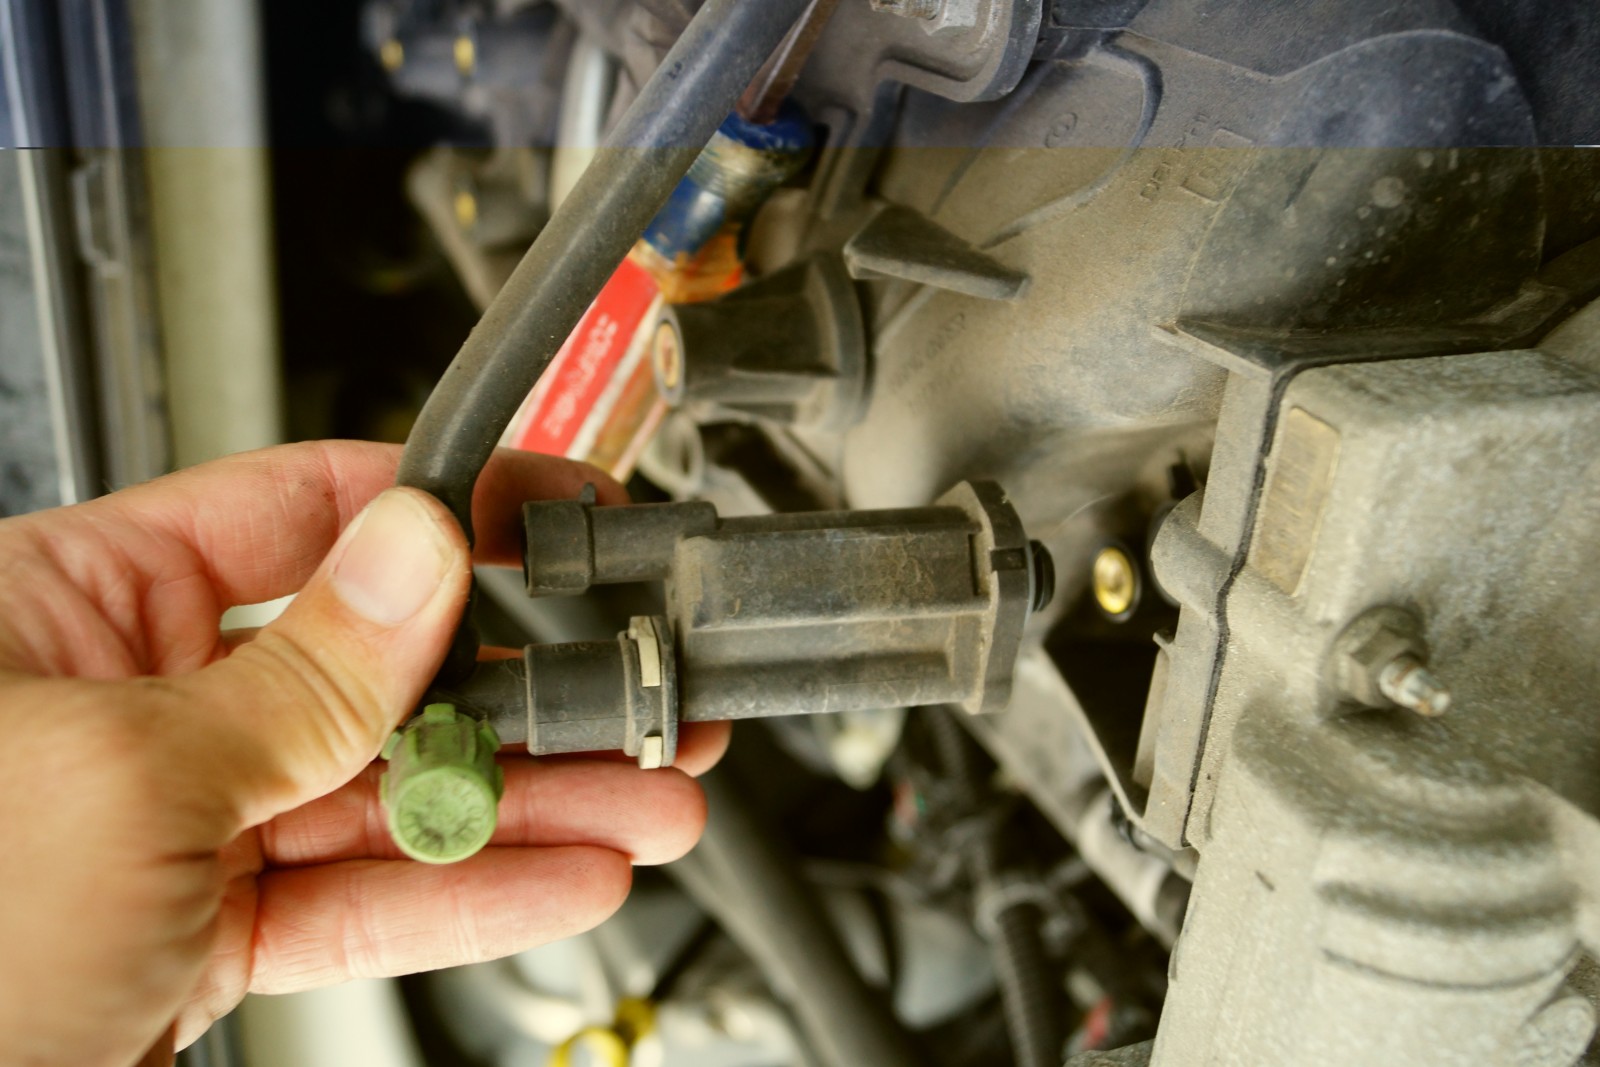
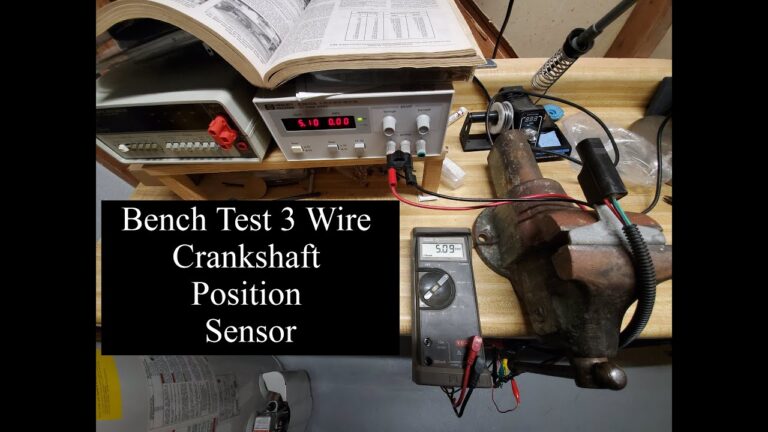
Source: storage.googleapis.com
What Does a Knock Sensor Do?
A knock sensor monitors engine vibration for signs of abnormal combustion, commonly called spark knock or detonation. Many automotive knock sensors use a piezoelectric element that produces an electrical signal when it detects specific engine vibrations. The powertrain control module uses that signal when managing ignition timing.
The sensor is commonly mounted directly to the engine block or another specified engine location. Because the sensor depends on accurate vibration transfer, its mounting surface and installation can matter just as much as the electrical connection.
A knock sensor fault can illuminate the check engine light and may be associated with poor acceleration, reduced performance, or engine pinging. A diagnostic trouble code is a starting point for diagnosis rather than proof that cleaning or replacing the sensor is the correct repair.
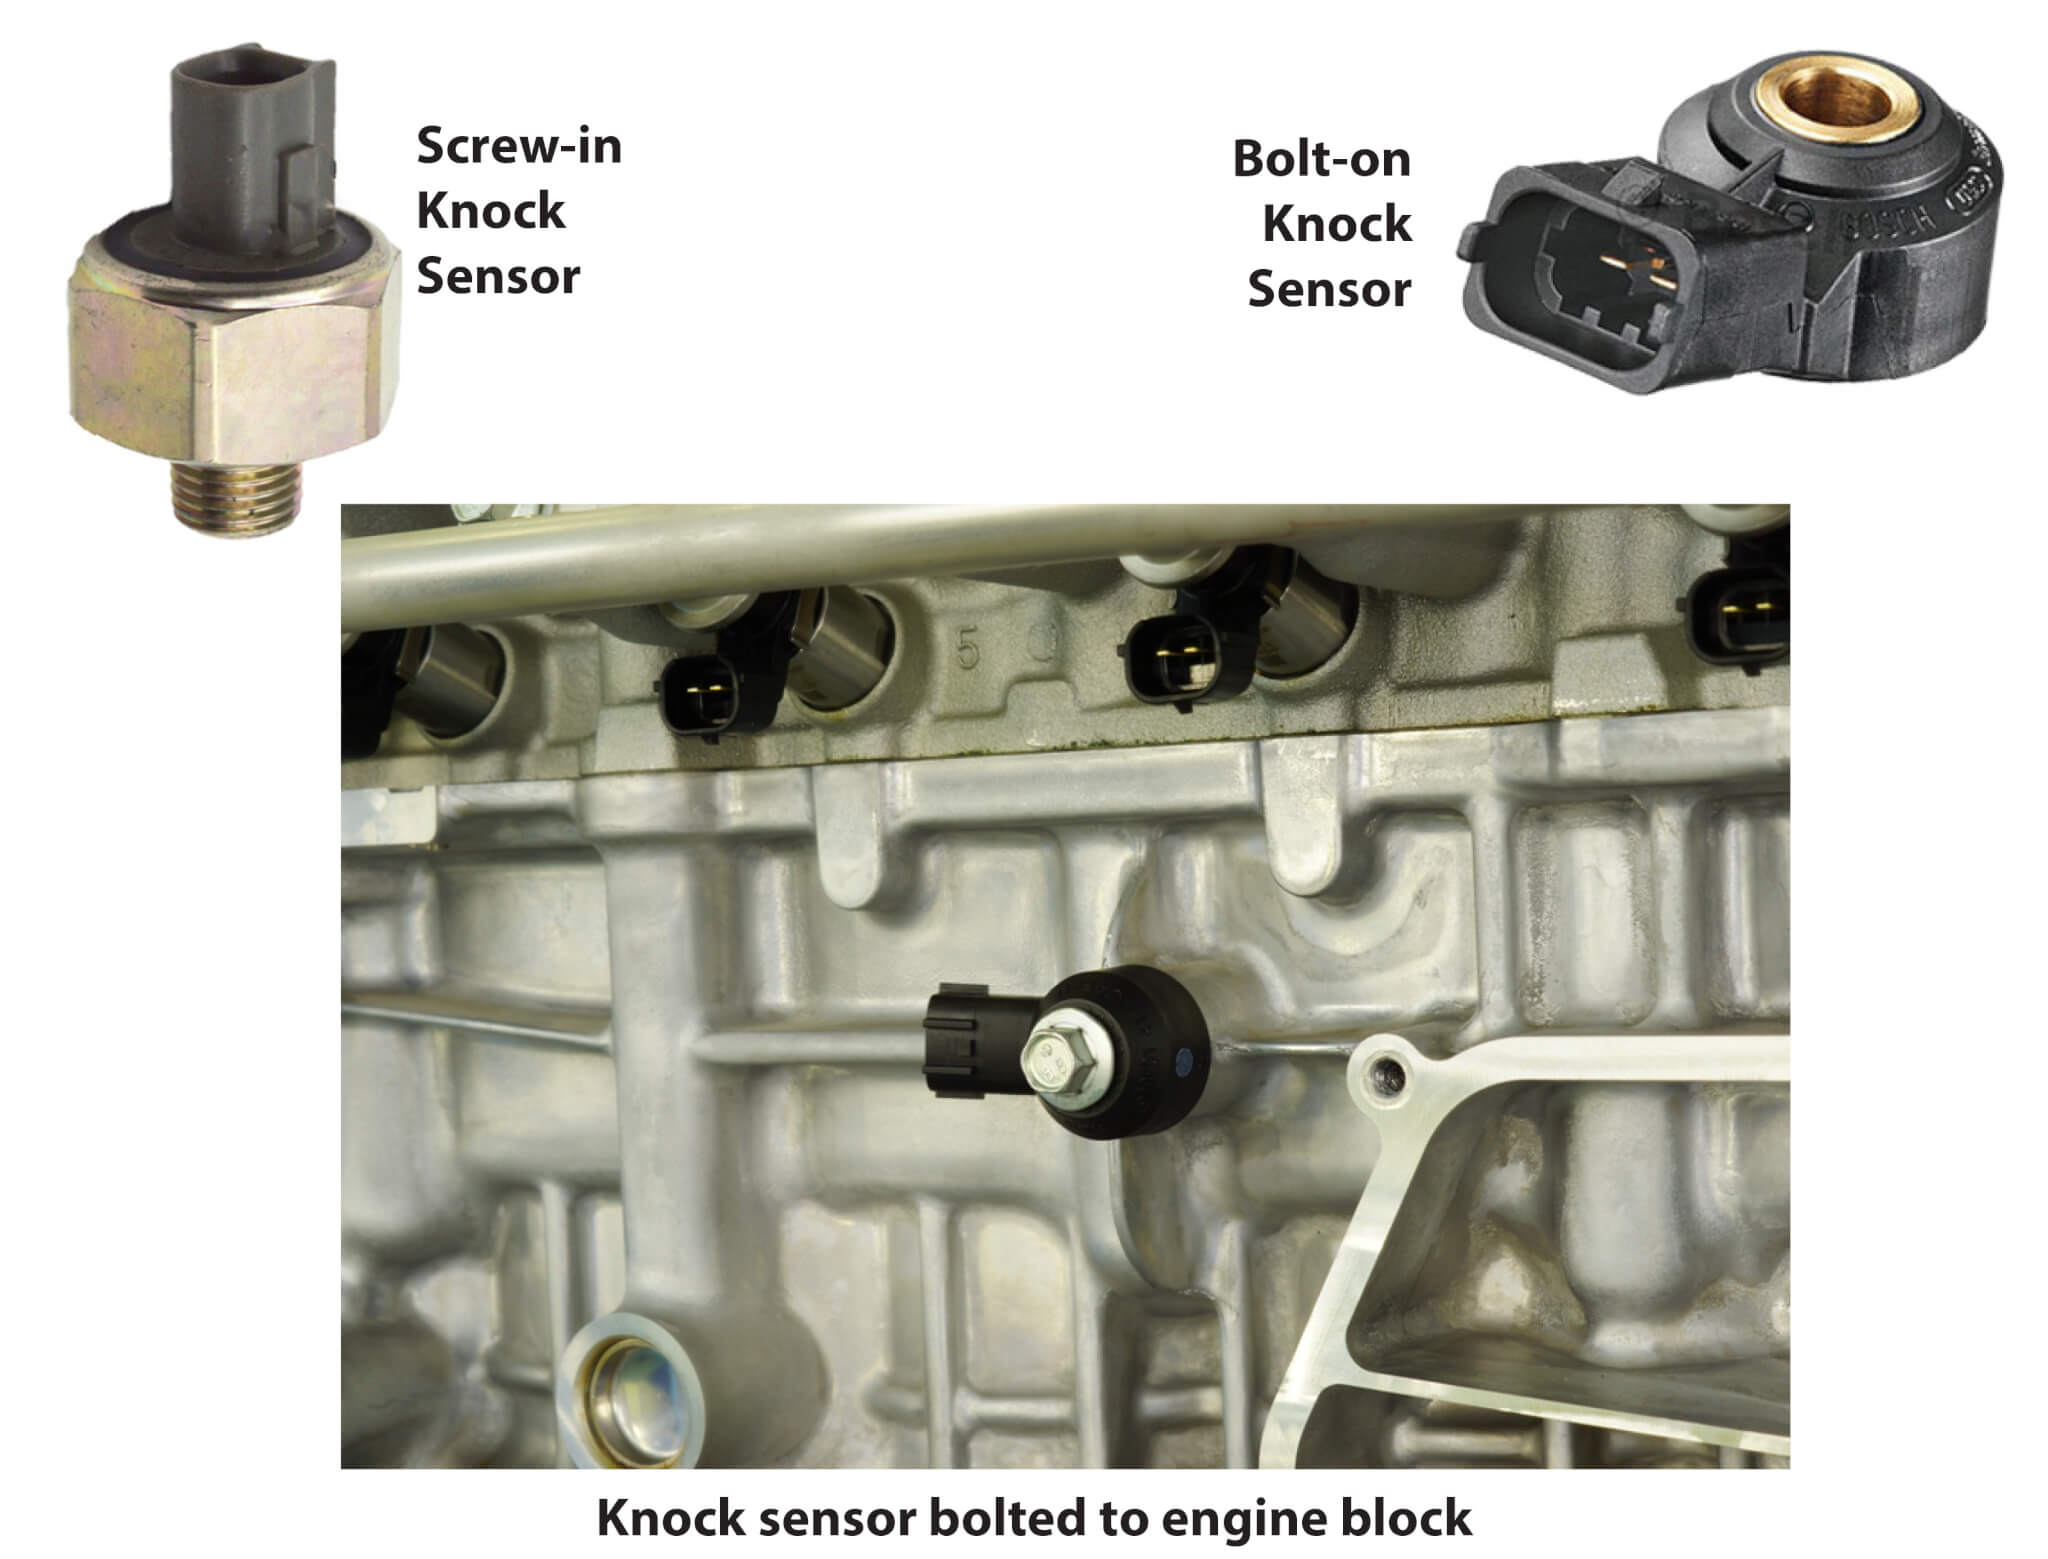
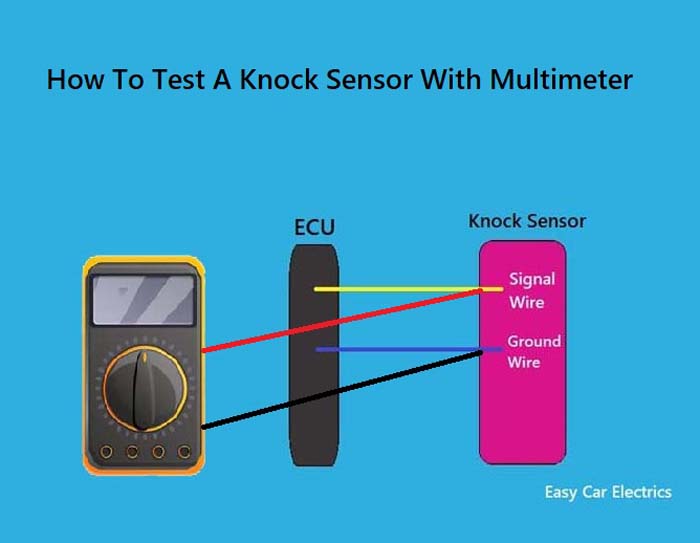
Source: gomechanic.in
Sensor
Detects engine vibration associated with abnormal combustion and produces an electrical signal.
Connector
Carries the sensor signal through the vehicle wiring to the engine computer.
Mounting surface
Provides the physical connection needed for the sensor to detect the intended engine vibrations.
Engine computer
Interprets the sensor signal and can adjust engine operation when knock is detected.
Why a Dirty Knock Sensor Is Not Always the Problem
The phrase dirty knock sensor can be misleading. A knock sensor is not normally serviced by simply spraying cleaner over its sensing element. Problems can instead come from a corroded connector, damaged wiring, contamination around the mounting area, an incorrect installation, or an internal sensor failure.
This distinction matters because repeatedly cleaning a sensor that has an electrical or internal fault can waste time without fixing the underlying problem.
Electrical fault
A damaged wire, loose terminal, or corroded connector can interrupt the sensor signal.
Mounting problem
Dirt, rust, damage, or incorrect installation can affect the sensor’s contact with the engine.
Internal failure
A failed sensing element cannot normally be repaired by external cleaning.
Before You Clean a Knock Sensor
Start with diagnosis rather than removal. If the check engine light is on, use an OBD-II scanner to record the stored diagnostic trouble codes before clearing them. Codes such as P0325, P0326, P0327, P0328, P0329, P0330, P0331, P0332, P0333, or P0334 can point toward a knock sensor or its circuit, but the exact meaning depends on the vehicle.
Next, consult the repair information for the exact year, make, model, engine, and sensor location. Some knock sensors are easy to reach, while others sit beneath an intake manifold or in another difficult-to-access area. The factory procedure may also specify a particular installation torque and inspection method.
Allow the engine to cool before working around it unless the manufacturer specifically requires another procedure. Park on a stable surface, apply the parking brake, and keep loose clothing and tools away from moving engine components.
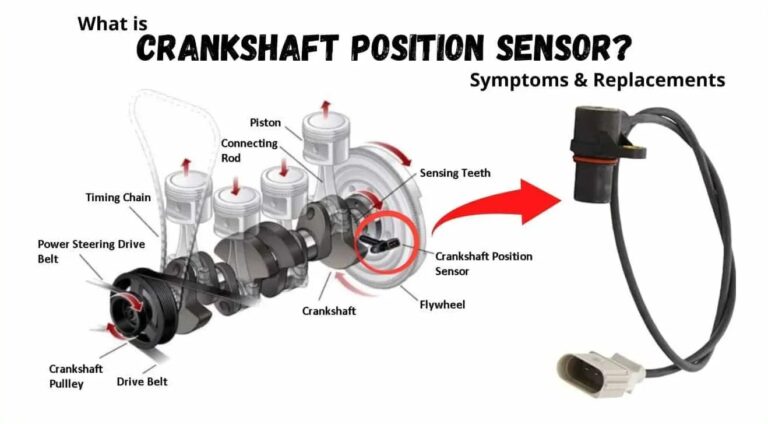
Source: safetywish.com
Basic tools
You may need a flashlight, appropriate hand tools, a soft brush, clean lint-free cloth, and an automotive electrical-contact cleaner approved for the connector.
Diagnostic tool
An OBD-II scanner can record fault codes before parts are removed or codes are cleared.
Vehicle information
Use the manufacturer’s service information for sensor location, removal instructions, torque specifications, and testing requirements.
Safety equipment
Wear eye protection and avoid working on a hot engine or around energized moving components.
When You Should Not Start Cleaning
Do not begin by removing the sensor if the engine is actively overheating, making severe mechanical knocking noises, or showing other symptoms that could indicate an engine problem. A genuine mechanical knock is different from a simple sensor fault and should be diagnosed promptly.
If the knock sensor is buried beneath major engine components and you do not have the required service procedure, stop before disassembly. Incorrect removal or installation can create additional problems.
Severe engine noise
Persistent deep knocking or other serious mechanical noises require engine diagnosis rather than sensor cleaning.
Hot engine
Wait for the engine to cool sufficiently to avoid burns unless the manufacturer specifies a different procedure.
Unknown torque specification
Do not guess the sensor’s installation torque because mounting can affect sensor operation.
How to Clean a Knock Sensor Safely
The safest general approach to how to clean a knock sensor is to clean the surrounding mounting area and inspect the electrical connection rather than aggressively cleaning the sensor itself. Do not immerse the sensor, scrape its sensing body with metal tools, or apply an unapproved solvent unless the vehicle manufacturer specifically permits that procedure.
The following steps provide a general inspection and cleaning method. Because sensor construction and access differ between vehicles, the vehicle-specific service manual takes priority over this general procedure.
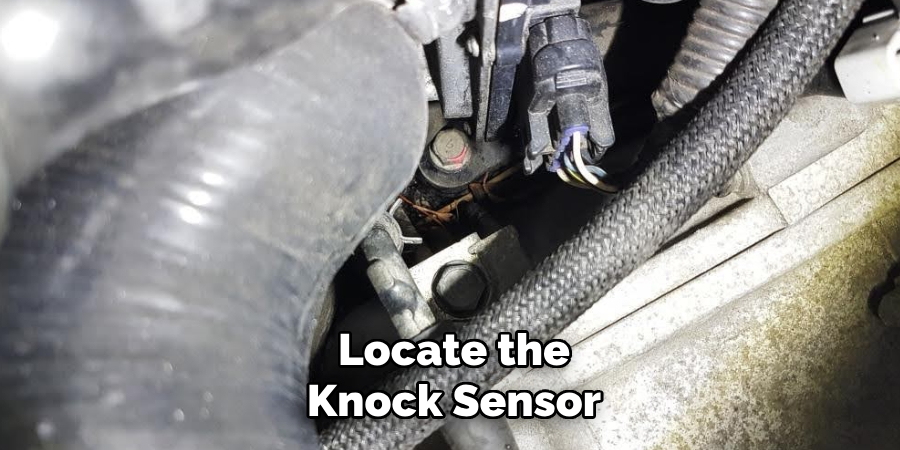
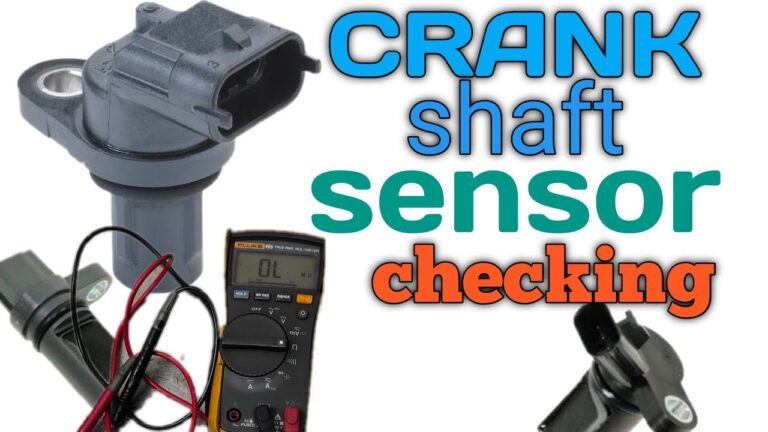
Source: hitchesguide.com
1. Locate the sensor
Use the vehicle service information to identify the correct knock sensor and determine whether other components must be removed for access.
2. Inspect before disconnecting
Look for oil contamination, dirt, damaged insulation, loose wiring, corrosion, broken clips, or signs of water intrusion.
3. Disconnect the electrical connector
Release the connector using its locking mechanism. Do not pull on the wires or force the connector apart.
4. Clean the connector if needed
If the connector has contamination or light corrosion, use an appropriate electrical-contact cleaner according to its label and allow the connector to dry completely.
5. Inspect the sensor
Check for cracks, physical damage, damaged wiring, heavy corrosion, or other conditions that indicate replacement may be needed.
6. Clean the mounting area
If the sensor is removed and the service procedure permits cleaning, carefully remove dirt, rust, oil, or debris from the specified mounting surface without damaging the engine or sensor.
7. Reinstall correctly
Reinstall the sensor using the manufacturer’s specified procedure and torque. Do not substitute a guessed torque value.
8. Reconnect and inspect
Make sure the connector is fully seated and the wiring is routed away from heat, moving components, and sharp edges.
What Cleaner Should You Use?
For the electrical connector, use a suitable automotive electrical-contact cleaner that is compatible with the connector materials. Follow the product instructions and allow the connector to dry before reconnecting it.
The sensor body is different. There is no universal cleaner that should be sprayed onto every knock sensor. Some manufacturers may specify particular cleaning practices, while others may direct replacement instead. If the service information does not approve a solvent or cleaning method for the sensor, do not improvise.
Avoid aggressive abrasives, penetrating oils, household cleaners, and high-pressure sprays around the sensor and connector. These products can leave residue, damage seals, or force contamination farther into a connection.
Electrical-contact cleaner
Use only when appropriate for the connector and according to the cleaner’s instructions.
Soft cleaning tools
Use gentle tools for loose contamination around accessible mounting surfaces rather than hard metal picks on delicate components.
No soaking
Do not immerse a knock sensor unless the vehicle manufacturer explicitly provides a procedure that allows it.
Should You Remove the Knock Sensor to Clean It?
Not necessarily. If the issue is a dirty or corroded connector, you may be able to inspect and clean the connection without removing the sensor. If contamination is present on the mounting surface, removal may be necessary, but only follow the vehicle-specific procedure.
Removal also creates an installation requirement. A knock sensor generally needs to be secured correctly so it can detect engine vibration as designed. Reinstalling it too loosely, too tightly, or on a contaminated mounting surface can create a new diagnostic problem.
Connector contamination
Cleaning the connector may be possible without removing the sensor.
Mounting contamination
The service procedure may require sensor removal to properly clean the mounting surface.
Sensor damage
A damaged sensor generally requires diagnosis and possible replacement rather than cleaning.
How to Tell Whether Cleaning Fixed the Problem
After cleaning and reconnecting the sensor, inspect the wiring once more and make sure everything is installed correctly. If you recorded a diagnostic trouble code before the repair, keep that information for comparison rather than assuming that clearing the code proves the repair worked.
If the vehicle’s repair procedure permits clearing the code, clear it with the appropriate scan tool and follow the manufacturer’s verification procedure. Some faults return quickly, while others may require specific driving conditions before the computer can complete its diagnostic checks.
A successful repair is supported when the connection remains secure, the fault does not return under the required conditions, and the vehicle operates normally. If the code returns, continue diagnosis rather than repeatedly cleaning the same component.
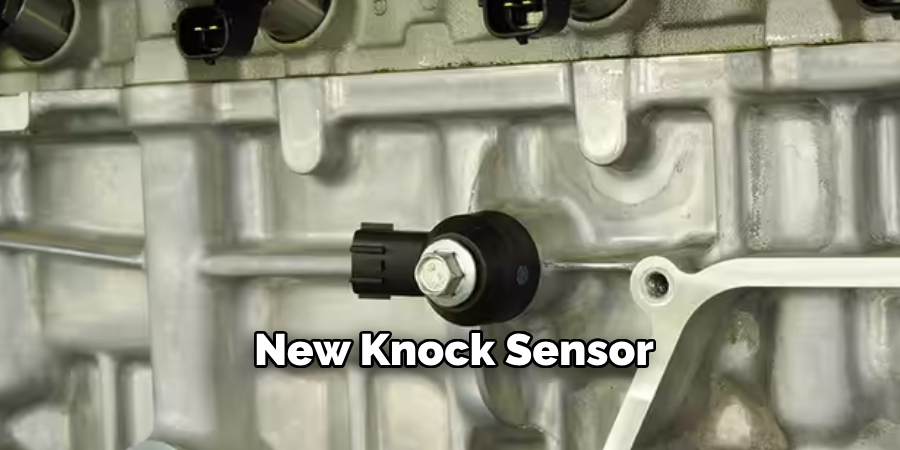
Source: hitchesguide.com
Code returns immediately
Inspect the connector, wiring, power or ground circuits where applicable, and sensor itself according to the service procedure.
Code stays away
Continue monitoring the vehicle and complete any manufacturer-required drive cycle or verification steps.
Engine still pings
Investigate possible causes of actual spark knock instead of assuming the sensor is the only problem.
Performance remains poor
Continue diagnosis because poor performance can have causes unrelated to the knock sensor.
Why Clearing the Code Is Not the Same as Fixing the Car
Clearing a diagnostic trouble code removes stored information from the vehicle computer, but it does not repair a damaged sensor, wire, connector, or engine condition. A code that returns after the vehicle completes its diagnostic checks provides useful evidence that the underlying fault remains.
Record the original code and any freeze-frame information available before clearing it. That information can help you or a technician understand the conditions under which the fault was detected.
Before clearing
Record the diagnostic code and relevant scan data when available.
After cleaning
Verify the connector, wiring, mounting, and sensor installation.
After driving
Check whether the fault returns under the conditions specified by the vehicle’s diagnostic procedure.
Cleaning Versus Replacing a Knock Sensor
Cleaning is most useful when the actual problem involves contamination around the mounting area or an accessible electrical connection. It is not a cure for an internally failed sensor. A sensor with damaged housing, an internal electrical fault, or a recurring fault after proper inspection may need replacement.
The symptoms alone do not reliably distinguish a dirty connector from a failed sensor. A proper diagnosis should consider the stored code, wiring condition, connector condition, sensor test results, engine operating conditions, and the manufacturer’s specifications.
Source: safetyfic.com
Cleaning may help
The connector has removable contamination or the mounting area has debris that can be safely removed according to the service procedure.
Repair may be needed
The wiring is damaged, terminals are loose, or the connector has corrosion that prevents a reliable electrical connection.
Replacement may be needed
The sensor fails the manufacturer-specified test, is physically damaged, or continues to produce a fault after the circuit and mounting have been verified.
Common Mistakes to Avoid
One common mistake is treating every knock sensor code as proof that the sensor is dirty. Diagnostic codes identify a detected condition in a circuit or system, and additional testing is often required to identify the failed component.
Another mistake is tapping the engine or sensor to see whether the signal changes without checking the vehicle-specific test method. Knock sensor designs differ, and an informal test can produce misleading results or cause damage.
Finally, do not guess the sensor’s tightening torque. Correct mounting can be part of the sensor’s operating requirements, so use the specified value for the exact engine.
Do not scrub aggressively
Harsh mechanical cleaning can damage the sensor or its protective surfaces.
Do not use random solvents
A solvent that is safe for one automotive component may damage another.
Do not guess torque
Use the manufacturer specification for the exact vehicle and engine.
Do not ignore engine knock
Actual abnormal combustion can have causes that require engine diagnosis rather than sensor cleaning.
When to Stop DIY Work and Get Professional Help
Professional diagnosis is appropriate when the sensor is difficult to access, the fault returns after basic inspection, the wiring requires circuit testing, or the vehicle has serious engine symptoms. Modern engine control systems can distinguish between several faults that produce similar warning lights, so replacing parts without testing can become expensive.
A professional should also handle situations where the sensor is installed under major components and the required removal procedure is beyond your tools or experience. The same applies when the manufacturer requires specialized testing or calibration.
Do not continue driving normally if the vehicle has severe engine knocking, major loss of power, overheating, or other symptoms suggesting a serious engine problem. A knock sensor is part of an engine protection system, but cleaning it does not correct the underlying cause of abnormal combustion.
Source: safetyfic.com
Persistent diagnostic code
The same fault returns after the connector, wiring, mounting, and sensor have been checked.
Difficult access
The sensor requires substantial disassembly that you cannot safely perform.
Complex electrical diagnosis
The circuit requires detailed continuity, resistance, voltage, waveform, or signal testing beyond your available equipment.
Serious engine symptoms
Severe knocking, overheating, major power loss, or other abnormal operation should be diagnosed before further DIY sensor work.
What to Give the Technician
If you take the vehicle to a repair shop, provide the original diagnostic trouble code and describe when the symptoms occur. Tell the technician whether the connector was inspected, whether the sensor was removed, and what cleaning or repairs were performed.
Keeping this information makes the diagnostic history clearer and reduces the chance that previous work will be mistaken for an original vehicle condition.
Diagnostic codes
Provide the exact code numbers and any scan information you recorded.
Symptoms
Describe warning lights, pinging, hesitation, poor acceleration, or other changes.
Work performed
Explain whether you cleaned the connector, removed the sensor, repaired wiring, or cleared codes.
Frequently Asked Questions
Q
Can you clean a knock sensor?
You can clean contamination from the surrounding mounting area and, when appropriate, the electrical connector. However, there is no universal procedure for washing or spraying the sensing element itself, and an internally failed sensor generally cannot be restored through cleaning.
Always follow the service instructions for the exact vehicle before applying a cleaner to the sensor.
Q
What can I use to clean a knock sensor connector?
A suitable automotive electrical-contact cleaner can be used on a compatible electrical connector when the product instructions permit it. Allow the connector to dry fully before reconnecting it.
Do not substitute household cleaners, oils, or aggressive solvents without confirming that they are compatible with the connector.
Q
Can a dirty knock sensor cause a check engine light?
Contamination around the sensor or its connector can contribute to a sensor or circuit problem, but a check engine light does not prove that dirt is the cause. Wiring damage, connector faults, sensor failure, mounting problems, and engine conditions can also produce knock sensor-related codes.
Use the diagnostic code as a starting point and inspect the complete circuit before replacing or cleaning parts.
Q
Will cleaning a knock sensor fix a P0325 code?
It may help if the underlying issue is a poor connection or another serviceable problem, but cleaning is not a guaranteed repair for P0325. The code indicates a problem associated with the knock sensor circuit, so the sensor, wiring, connector, and related engine conditions need to be evaluated.
If the code returns after the connection and mounting area have been properly inspected, follow the vehicle-specific diagnostic procedure.
Q
Should I replace a knock sensor instead of cleaning it?
Replacement makes more sense when the sensor has failed its specified test, is physically damaged, or continues to produce a fault after the wiring, connector, and mounting have been verified. Cleaning is more appropriate when there is a serviceable contamination or connection problem.
Avoid replacing the sensor solely because a knock sensor code is stored unless the diagnostic process supports that conclusion.
Q
Can I drive with a knock sensor problem?
The answer depends on the fault and the vehicle’s symptoms. A stored knock sensor code should be diagnosed promptly because the sensor contributes to the engine control system’s response to abnormal combustion.
Do not continue normal driving if the engine is severely knocking, overheating, losing significant power, or showing other signs of a serious mechanical problem.
✦ Wrapping Up
Conclusion
Learning how to clean a knock sensor starts with understanding that the sensor is an electronic engine component, not a routine wash-and-scrub part. The most useful DIY work is usually checking the diagnostic code, inspecting the wiring and connector, removing appropriate contamination, and verifying the mounting area.
If the problem remains after cleaning and inspection, do not keep repeating the same procedure. Use the vehicle-specific testing method to determine whether the sensor, circuit, mounting, or engine itself needs attention.
💡 Key Takeaway
Record the diagnostic code first, inspect the connector and mounting area, clean only components the service procedure permits, reinstall the sensor to the specified requirements, and replace or professionally diagnose it if the fault returns.
Ethan Brooks is an automotive writer at Auto News 7, covering car news, vehicle maintenance, new model updates, recalls, and practical buying guides. He focuses on clear, useful information that helps drivers understand their vehicles and make better ownership decisions.
Learn how many ohms a camshaft sensor should have, why resistance varies by sensor type, and how to test a camshaft position sensor accurately with a multimeter.