To reset a knock sensor fault, diagnose the cause first, repair it if needed, then clear the stored code with an OBD-II scanner.
For drivers in the United States, learning how to reset knock sensor faults usually starts with the check engine light. A reset can clear a stored diagnostic trouble code, but it does not repair a faulty sensor, damaged wiring, or an engine problem that caused the code. On an OBD-II vehicle, the engine computer monitors the knock sensor circuit and can store a diagnostic trouble code when the signal is outside its expected range.
The safest approach is to read the code before clearing it, record the freeze-frame information when available, inspect the sensor and wiring, and follow the service procedure for the exact year, make, model, and engine. Common knock sensor codes include P0325 through P0329 and P0330 through P0334, but the meaning and repair procedure can vary by vehicle.
If the underlying problem has been repaired, an OBD-II scan tool can normally erase the stored code. Some vehicles also require additional drive cycles or a manufacturer-specific relearn procedure before all monitors return to ready status. Disconnecting the battery is not a universal reset method and can erase useful diagnostic information or reset other learned settings.
Source: youtube.com
What Does It Mean to Reset a Knock Sensor?
Resetting a knock sensor usually means clearing a diagnostic trouble code stored by the engine control module. The reset does not electronically repair the knock sensor. It simply removes the stored fault from the module’s memory so you can determine whether the problem returns.
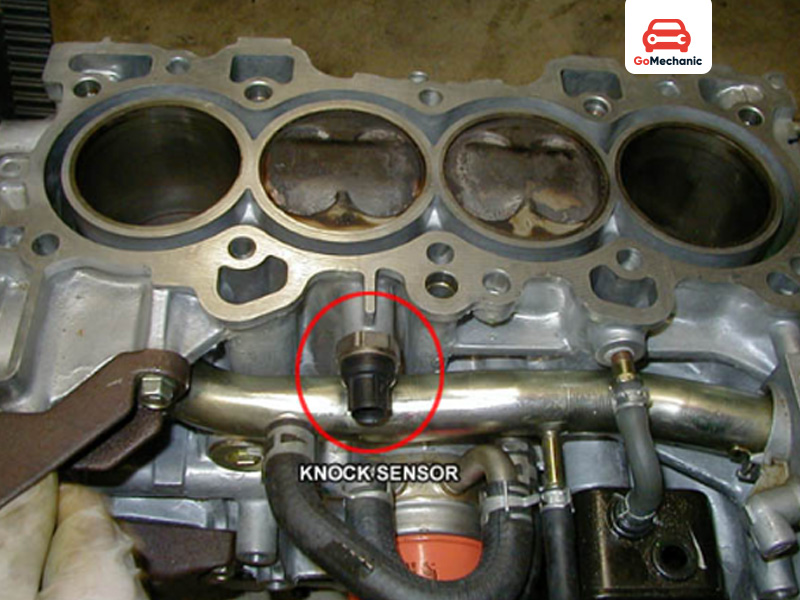
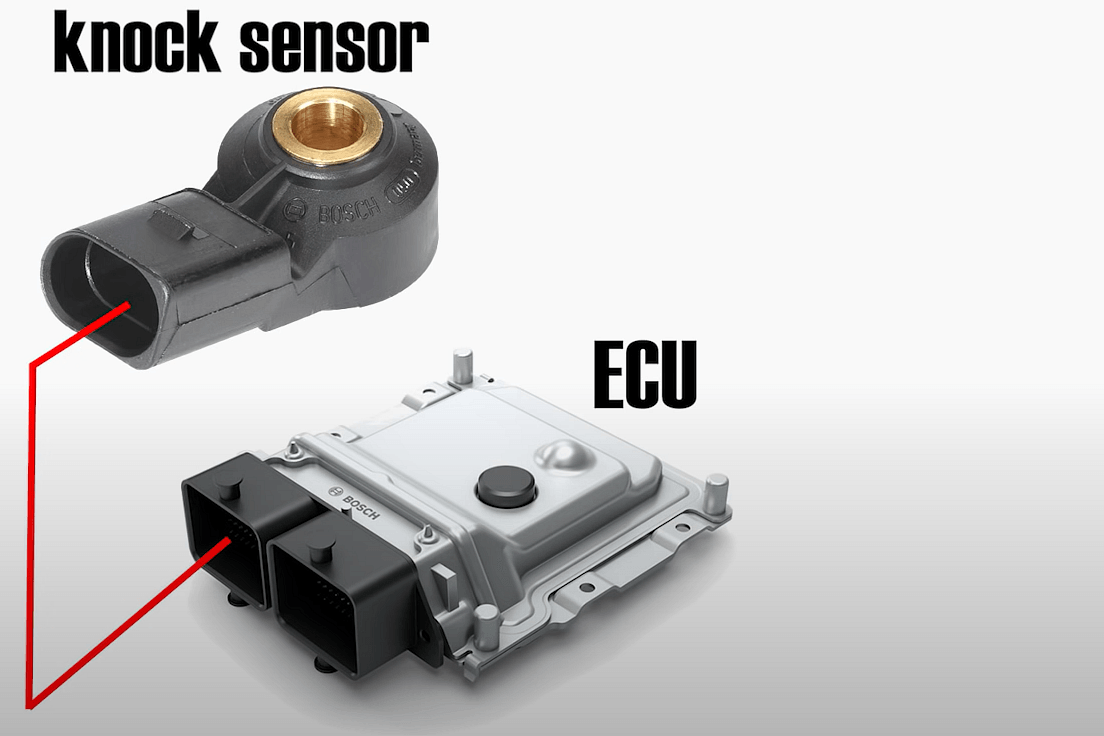
A knock sensor detects vibration associated with engine knock or detonation and sends a signal to the powertrain control module. The control module uses that information to manage engine operation, including ignition timing on systems designed to respond to knock.
Because the knock sensor is part of a monitored electrical circuit, a fault can come from the sensor itself, its connector, its wiring, the mounting condition, or in some cases the engine control system. That is why clearing a code before diagnosis can make troubleshooting harder.
Source: gomechanic.in
Reset
Clears a stored diagnostic trouble code from the vehicle computer.
Repair
Corrects the actual cause of the fault, such as a failed sensor or damaged wiring.
Verification
Confirms after the repair that the code does not return and the vehicle operates normally.
Common Knock Sensor Codes
Several OBD-II codes can relate to knock sensor circuits. P0325 generally identifies a knock sensor circuit malfunction, while P0326, P0327, P0328, and P0329 describe different range, performance, low-input, high-input, or intermittent conditions. P0330 through P0334 are commonly associated with a second knock sensor or another sensor position, depending on the vehicle.
The exact definition should always be checked against the vehicle’s service information. A generic code provides a starting point, not proof that the sensor itself has failed.
P0325
Knock sensor circuit malfunction, generally involving the first or only sensor.
P0326
Knock sensor circuit range or performance problem.
P0327
Knock sensor circuit low-input condition.
P0328
Knock sensor circuit high-input condition.
P0329
Intermittent knock sensor circuit condition.
What You Need Before Resetting a Knock Sensor Code
Before you reset a knock sensor fault, gather the basic information and tools needed to identify what the vehicle computer detected. The exact equipment depends on the vehicle and the fault code.
At minimum, an OBD-II scanner that can read and clear powertrain codes is useful. A digital multimeter may also be needed if the diagnostic procedure calls for electrical testing. You should also have access to the service information for the exact vehicle because knock sensor locations, wiring configurations, specifications, and replacement procedures differ.
Source: carbuzz.com
OBD-II scanner
Use a compatible scan tool to read stored codes, review available freeze-frame information, and clear codes after repairs.
Vehicle service information
Check the correct knock sensor location, wiring diagram, testing specifications, and tightening procedure.
Digital multimeter
Use it only when the vehicle-specific diagnostic procedure calls for resistance, voltage, continuity, or circuit testing.
Basic hand tools
These may be required if inspection or replacement of the sensor is necessary.
Safety Before Working on the Sensor
Let the engine cool before accessing a knock sensor if the sensor is mounted near hot engine components or an area that can contain hot coolant. Some knock sensors are installed in locations where removing the sensor can expose the technician to engine fluids.
Keep hands, tools, and wiring away from moving belts, fans, and pulleys when the engine is running. If the sensor is difficult to access or requires removal of an intake manifold or other major component, use the manufacturer’s repair procedure or have the work performed by a qualified technician.
Cool engine
Avoid removing an accessible sensor from a hot engine.
Correct support
Use appropriate vehicle support equipment if access requires raising the vehicle.
Manufacturer specifications
Do not guess sensor resistance, voltage, tightening torque, or installation requirements.
How to Reset Knock Sensor Codes Step by Step
The most reliable way to reset a knock sensor code is to diagnose the fault first, correct the problem, clear the code with a scan tool, and then verify the repair. The following process is a general OBD-II workflow rather than a substitute for the service procedure for a specific vehicle.
Source: safetyfic.com
1. Park safely
Park the vehicle securely, switch off the engine, and make sure you can safely access the diagnostic connector.
2. Connect the scanner
Plug the compatible OBD-II scanner into the vehicle’s diagnostic connector and follow the scanner’s instructions.
3. Read the codes
Retrieve all stored and pending diagnostic trouble codes before clearing anything.
4. Record freeze-frame data
Save available engine speed, load, temperature, and other conditions captured when the fault occurred.
5. Inspect the knock sensor circuit
Check the sensor, connector, wiring, and nearby components for damage, corrosion, loose connections, or signs of previous repair work.
6. Repair the cause
Follow the vehicle-specific diagnostic procedure and repair the confirmed fault rather than replacing parts based only on the code.
7. Clear the code
Use the scanner’s erase or clear function after the repair. Confirm that the scanner reports that the stored codes were cleared.
8. Start and verify
Start the engine and monitor the vehicle for warning lights, abnormal engine noise, and returning diagnostic codes.
9. Complete the required drive cycle
Drive under normal conditions appropriate for the vehicle and allow the required monitors to run. Some monitors may need multiple operating conditions before they show ready.
10. Rescan the vehicle
Scan again after the verification drive. A returning knock sensor code indicates that further diagnosis is needed.
Step 1: Read the Code Before Clearing It
Connect the OBD-II scanner and retrieve the stored and pending codes. Record the exact code and any freeze-frame information before using the clear function. This information can show the conditions under which the engine computer detected the fault.
If multiple codes are present, do not assume the knock sensor is the only problem. A wiring, power, ground, or engine-management issue may affect more than one monitored circuit.
Save the code
Write down the exact DTC, including its full number and description.
Save freeze frame
Keep the available operating conditions because they can help reproduce an intermittent fault.
Step 2: Inspect the Sensor and Wiring
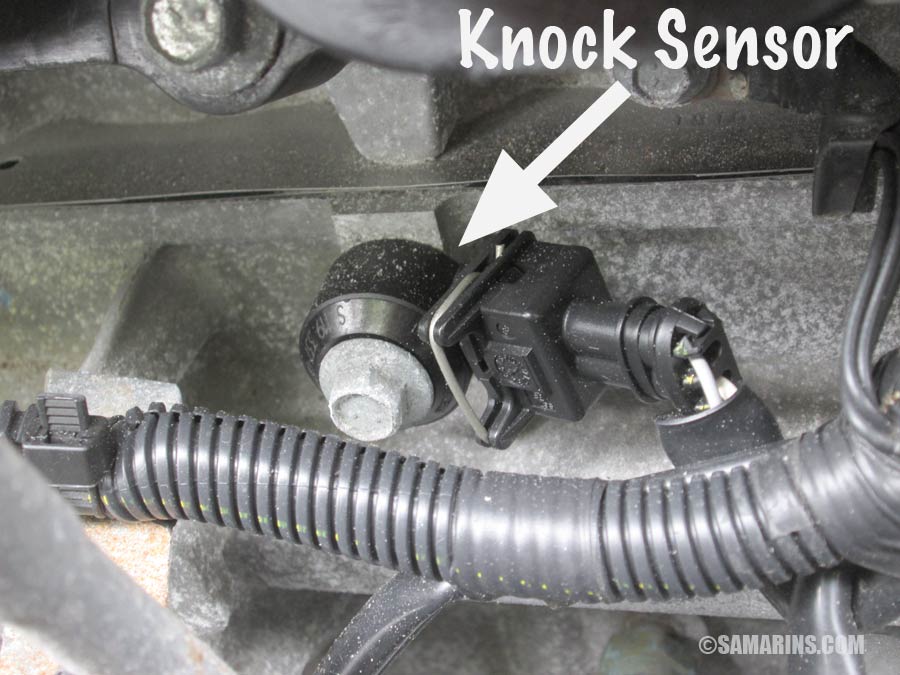
With the ignition off, inspect the knock sensor connector and wiring. Look for broken insulation, damaged terminals, corrosion, loose connections, or harness damage caused by nearby repairs. Knock sensors are often mounted low on the engine or beneath intake components, so their wiring can be difficult to inspect.
Do not assume a bad sensor just because a knock sensor code is present. A circuit problem can create similar symptoms. If the service information provides a specified voltage, resistance, or signal test, compare the measured result with that specification.
Connector condition
Look for corrosion, bent terminals, contamination, and loose connections.
Harness condition
Check for rubbed-through insulation, broken wires, heat damage, and previous repair damage.
Sensor condition
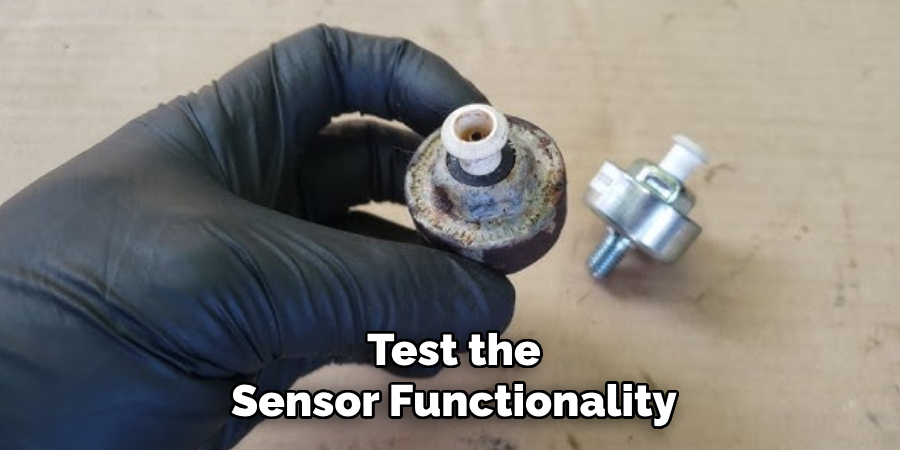
Look for physical damage, contamination, or an incorrect installation condition.
Step 3: Repair or Replace the Confirmed Fault
If testing confirms that the knock sensor has failed, replace it using the vehicle manufacturer’s procedure. If the problem is wiring or a connector, repair the circuit according to the applicable wiring diagram and repair standards.
Sensor mounting matters. Some manufacturers specify a precise tightening torque because the sensor must be properly coupled to the engine to detect vibration. Do not substitute a guessed torque value from another vehicle.
Replace only when confirmed
A diagnostic code identifies a monitored problem but does not automatically prove that the sensor itself is defective.
Use the correct torque
Follow the exact torque specification for the year, make, model, engine, and sensor.
Follow access procedures
Some vehicles require removal of an intake manifold or other components to reach the sensor.
Step 4: Clear the Knock Sensor Code
After completing the repair, reconnect the scanner if necessary and select the function that clears or erases diagnostic trouble codes. Follow the scanner prompts and confirm that the code has been removed.
Clearing the code does not prove that the repair worked. The engine computer must monitor the relevant system again before you can determine whether the fault has actually been resolved.
Do not clear first
Clearing the code before recording diagnostic information can remove useful evidence.
Confirm the result
Rescan the vehicle after the repair to determine whether the fault returns.
Can You Reset a Knock Sensor Without Replacing It?
Yes, you can clear a knock sensor trouble code without replacing the sensor, but only if the sensor and its circuit are actually functioning correctly and the original fault was caused by a temporary condition. Clearing the code by itself does not fix a failed sensor.
For example, an intermittent connector problem may stop occurring after the connection is properly repaired. In that situation, clearing the code after the repair may be all that is needed. If the sensor is defective or the wiring remains damaged, the code is likely to return.
A temporary reset can also be useful during diagnosis. A technician may clear a stored code after recording the original information and then operate the vehicle to see whether the same fault returns. This helps distinguish an intermittent condition from a persistent fault.
Source: hitchesguide.com
Code disappears and stays away
This can indicate that the original condition was corrected, but the vehicle should still be monitored and rescanned as appropriate.
Code returns immediately
A persistent electrical or component fault is more likely and requires further diagnosis.
Code returns only during driving
Use the recorded freeze-frame data and vehicle-specific diagnostic procedures to investigate the operating conditions that trigger the fault.
Why Does the Knock Sensor Code Keep Coming Back?
A knock sensor code that returns after being cleared usually means the underlying problem remains or occurs again under a particular operating condition. The next step is diagnosis, not repeated code clearing.
Common possibilities include a failed sensor, damaged wiring, poor connector contact, an incorrect sensor installation, or another engine condition that causes abnormal combustion or vibration. The exact possibilities depend on the code and vehicle.
If the same code returns after a verified repair, check for vehicle-specific technical service information and updated diagnostic procedures. Some manufacturers have documented model-specific procedures for knock sensor faults.
Source: autovehicleparts.com
Faulty sensor
The sensor may no longer produce a signal within the expected operating range.
Wiring fault
An open, short, damaged wire, poor connection, or connector problem can affect the sensor signal.
Installation problem
Incorrect mounting or tightening can affect how some knock sensors detect engine vibration.
Engine condition
Actual abnormal combustion or another mechanical condition can produce symptoms associated with a knock-related fault.
Control-module issue
A control-module or software problem is possible but should generally be investigated after more common circuit and sensor causes.
When a Returned Code Needs Professional Diagnosis
Seek professional diagnosis when the knock sensor is difficult to access, the diagnostic procedure requires advanced electrical testing, the engine is producing persistent knocking or pinging, or the code returns after a confirmed repair. A professional technician can use vehicle-specific wiring diagrams, scan data, and manufacturer diagnostic procedures.
Avoid repeatedly clearing the code while continuing to drive if the vehicle has severe loss of power, persistent engine knocking, overheating, or other serious symptoms. Those conditions may require prompt inspection rather than another reset.
Persistent engine noise
Have the vehicle inspected if you hear sustained pinging, knocking, or other unusual engine sounds.
Severe drivability problems
Loss of power, major hesitation, or stalling can indicate a broader engine-management problem.
Difficult sensor access
Use a qualified repair facility when sensor replacement requires extensive component removal or specialized procedures.
Should You Disconnect the Battery to Reset a Knock Sensor?
Disconnecting the battery is not the preferred universal method for resetting a knock sensor fault. Modern vehicles can store diagnostic information and learned values in several control modules, and battery disconnection can affect settings or erase information that is useful for diagnosis.
An OBD-II scanner is generally the more controlled method for clearing diagnostic trouble codes because it allows you to record the original fault, clear the appropriate codes, and rescan the vehicle afterward.
Some vehicles have manufacturer-specific procedures involving battery disconnection or module initialization, but those procedures should be followed only when the service information for that vehicle calls for them.
Source: motohoby.com
Preferred method
Use a compatible scan tool to read and clear the specific diagnostic trouble code.
Battery disconnection
Do not treat battery removal as a universal repair or reset procedure.
After clearing
Verify that the vehicle completes the appropriate monitors and that the fault does not return.
What Happens to OBD-II Readiness After Clearing Codes?
Clearing diagnostic trouble codes can reset emissions-related readiness monitors. A vehicle may therefore show that some monitors are not ready immediately after the codes are erased.
The exact drive cycle needed to restore readiness varies by vehicle and monitor. If the vehicle is being prepared for a U.S. emissions inspection, check the requirements for the state where the vehicle is registered because inspection rules and readiness requirements can differ.
Not ready does not always mean failed
A monitor that has not completed its required conditions can simply need additional driving.
Use the correct drive cycle
Follow the vehicle manufacturer’s drive-cycle guidance when a specific procedure is required.
Common Mistakes When Resetting a Knock Sensor
The most common mistake is treating a diagnostic code as a direct instruction to replace a component. A code identifies what the engine computer detected, but the cause can be elsewhere in the monitored circuit.
Another mistake is clearing the code before recording it. Once the diagnostic memory is erased, the original freeze-frame information may no longer be available through the scanner. Record the evidence first, then begin the repair process.
Source: storage.googleapis.com
Replacing the sensor immediately
Diagnose the circuit and compare test results with vehicle-specific specifications before installing a replacement.
Ignoring wiring
Inspect the connector and harness because wiring problems can create knock sensor circuit codes.
Using a generic torque value
Knock sensor mounting requirements vary, so use the specification for the exact engine.
Clearing codes repeatedly
Repeated clearing can hide a recurring fault instead of solving it.
Skipping the final scan
Always verify whether the code returns after the repair and appropriate drive conditions.
How to Know the Knock Sensor Reset Worked
A successful reset is more than seeing the check engine light turn off. After the fault has been repaired and the code cleared, the vehicle should be rescanned and monitored during the conditions that previously triggered the fault.
If the code stays cleared and the vehicle completes the relevant diagnostic monitors without detecting another fault, that supports the conclusion that the original problem has been corrected. If the code returns, the reset worked as a code-clearing operation but the underlying fault remains or has recurred.
A check engine light that turns off immediately after clearing should not be treated as proof that the vehicle is fixed. The control module needs time and the appropriate operating conditions to retest the system.
Source: hitchesguide.com
No immediate warning light
The warning light should remain off after the code is cleared, assuming no other active fault is present.
No returning knock code
A follow-up scan should show that the original code has not returned.
Normal engine operation
The vehicle should not have persistent knocking, unusual hesitation, or other symptoms related to the original problem.
Appropriate monitor status
Relevant readiness monitors should eventually complete according to the vehicle’s operating conditions and manufacturer procedures.
Frequently Asked Questions
Q
How do I reset a knock sensor code?
First read and record the diagnostic trouble code and freeze-frame information. After diagnosing and repairing the underlying problem, connect a compatible OBD-II scanner and use its clear or erase function to remove the stored code.
Then restart the vehicle, monitor for warning lights, complete the appropriate drive conditions, and rescan the vehicle. If the code returns, additional diagnosis is needed.
Q
Can a knock sensor reset itself?
The vehicle computer can stop displaying a warning under some conditions when a fault is no longer detected, but this does not mean the knock sensor has physically repaired itself. Stored and pending codes, warning-light logic, and monitor behavior vary by vehicle.
If a knock sensor fault appears, diagnose the cause rather than relying on the warning light to disappear.
Q
Will disconnecting the battery reset a knock sensor code?
Battery disconnection can affect stored diagnostic information and learned settings, but it is not a universal or preferred method for clearing a knock sensor code. A compatible scan tool provides a more controlled way to read, record, clear, and verify the fault.
Follow the vehicle manufacturer’s procedure if battery disconnection is specifically required for a repair or initialization.
Q
Will clearing a knock sensor code fix the problem?
No. Clearing a code only removes the stored diagnostic information. If the sensor, wiring, connector, mounting, or another engine condition remains faulty, the code can return when the control module detects the problem again.
Q
Can I drive with a knock sensor code?
The answer depends on the vehicle, code, and symptoms. A stored circuit code without severe drivability symptoms may not immediately prevent the vehicle from running, but continued operation with persistent engine knocking, severe loss of power, overheating, or other serious symptoms should be avoided until the vehicle is inspected.
A knock sensor is part of the engine management system, so a persistent fault should be diagnosed rather than repeatedly cleared.
Q
What are common knock sensor codes?
Common OBD-II knock sensor-related codes include P0325, P0326, P0327, P0328, P0329, P0330, P0331, P0332, P0333, and P0334. The exact meaning depends on the code and the vehicle’s sensor configuration.
Use the vehicle-specific service information to determine which sensor and circuit the code identifies before replacing a component.
✦ Wrapping Up
Conclusion
Learning how to reset knock sensor faults is mainly about using the reset at the correct point in the diagnostic process. Read the code first, save useful information, inspect the sensor circuit, repair the confirmed cause, and then clear the code with a compatible OBD-II scanner.
If the knock sensor code returns, do not keep resetting it. A recurring code can indicate a sensor, wiring, connector, installation, engine, or control-system problem that needs further diagnosis. For vehicle-specific sensor testing, access procedures, and tightening specifications, use the manufacturer’s service information.
💡 Key Takeaway
Before resetting a knock sensor code, record the exact DTC and freeze-frame data; after the repair, clear the code with an OBD-II scanner and rescan the vehicle to confirm that the fault stays away.
Ethan Brooks is an automotive writer at Auto News 7, covering car news, vehicle maintenance, new model updates, recalls, and practical buying guides. He focuses on clear, useful information that helps drivers understand their vehicles and make better ownership decisions.
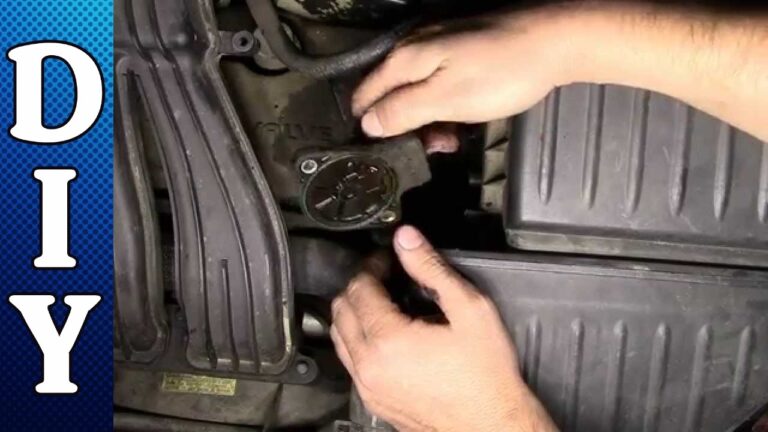
Learn how to replace camshaft position sensor PT Cruiser models with this detailed step-by-step guide. Find symptoms, tools needed, replacement steps, troubleshooting tips, and common mistakes to avoid.
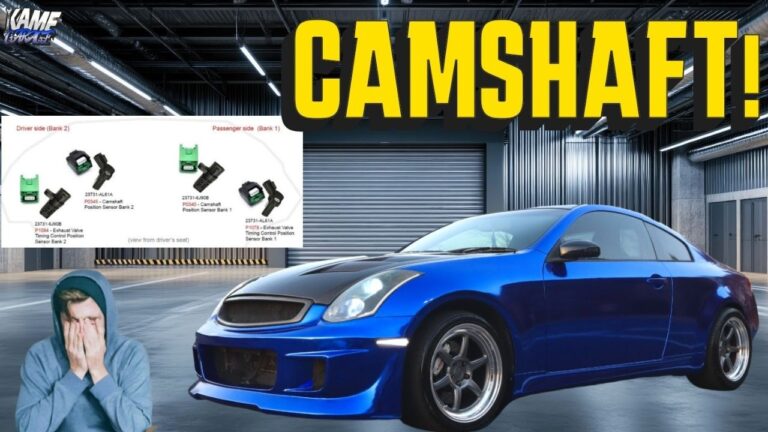
Learn how many camshaft sensors a G35 has, where they are located, common symptoms of failure, diagnostic tips, and replacement information for Infiniti G35 models.
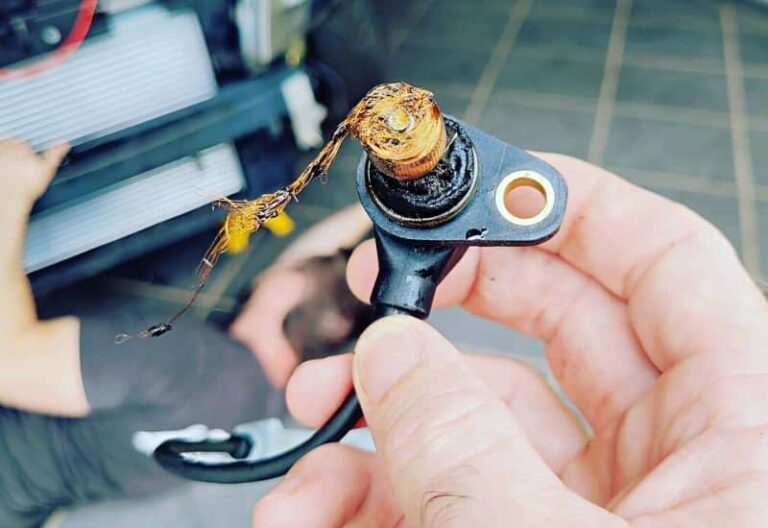
Learn how to replace camshaft position sensor Nissan Pathfinder models with a clear step-by-step guide, required tools, troubleshooting tips, and common mistakes to avoid.
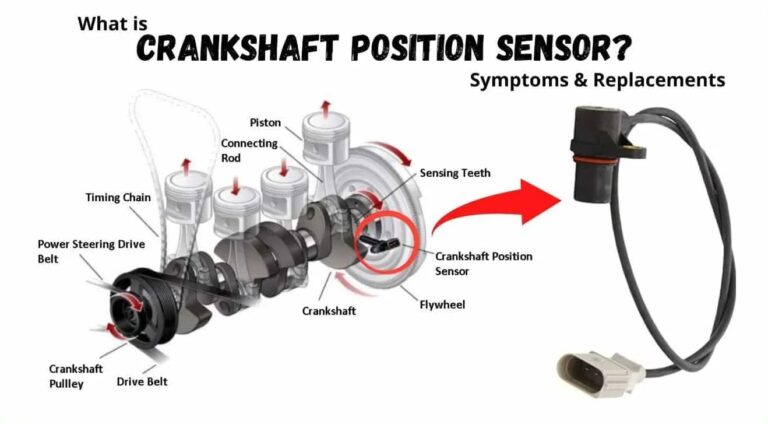
Can a crankshaft position sensor cause loss of power? Learn how a failing CKP sensor affects engine performance, common symptoms, diagnosis, and repair.
Does crankshaft sensor affect fuel pump operation? Learn how the CKP sensor works with the ECU, why a failure can cause a no-start, and how to diagnose it.