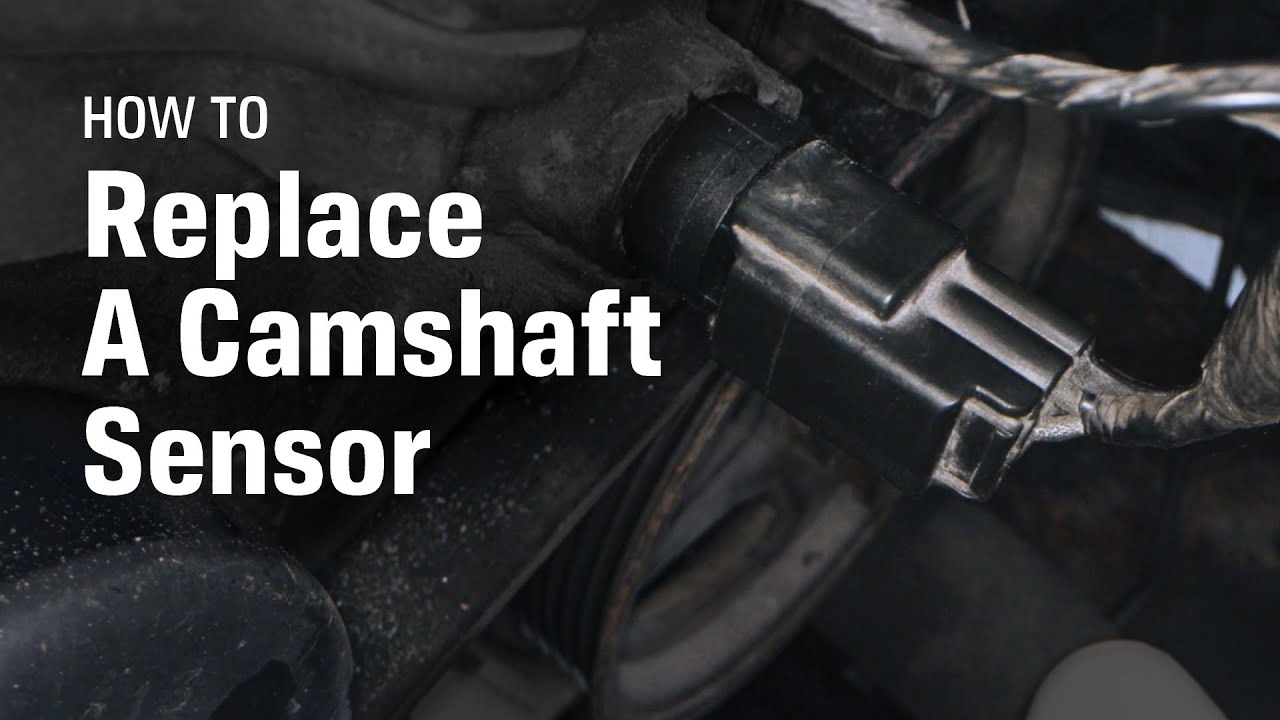
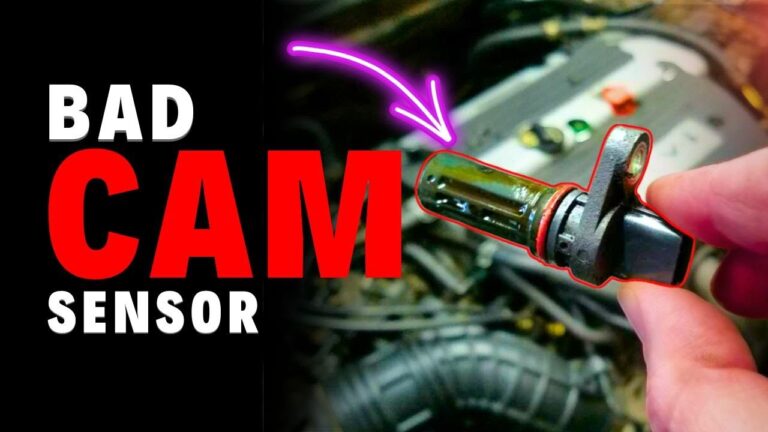
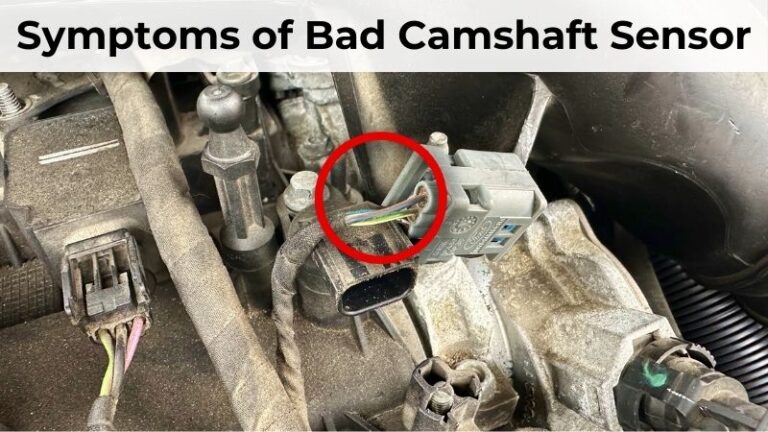
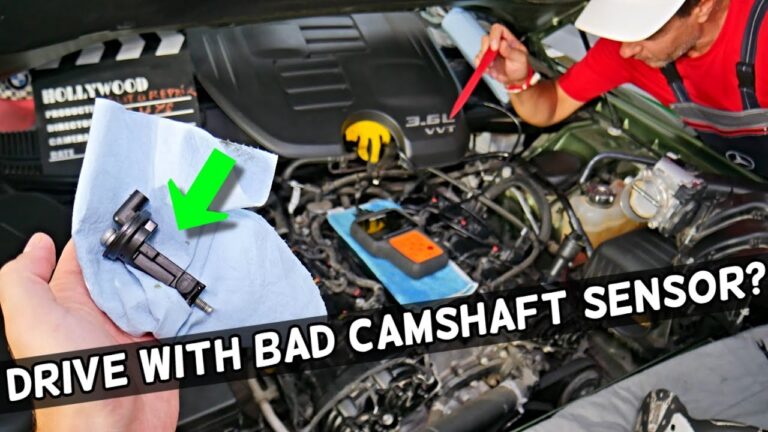
To clean a camshaft position sensor, remove it carefully, spray it with sensor-safe cleaner, allow it to dry completely, and reinstall it.
Across the United States, many drivers search for affordable ways to solve rough idling, hard starting, and check engine light issues before replacing parts. Learning how to clean camshaft position sensor components can sometimes restore proper signal readings when dirt, oil, or debris has accumulated on the sensor tip.
Cleaning is a low-cost maintenance step, but it is not a guaranteed repair. If the sensor is electrically damaged, cracked, or producing incorrect readings, replacement is usually necessary. The key is using the correct cleaner and following a safe removal and installation process.
Source: easycarelectrics.com
What Does a Camshaft Position Sensor Do?
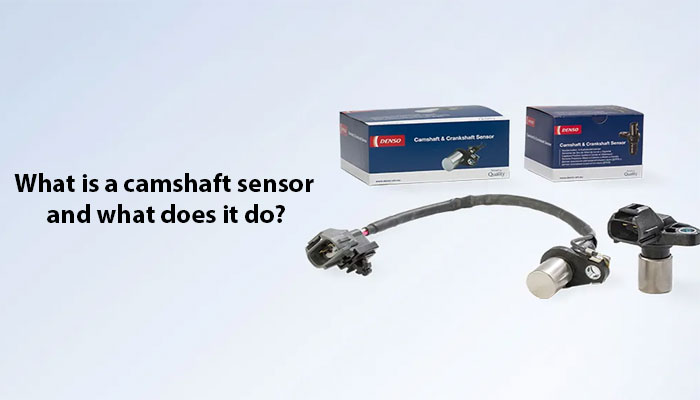
The camshaft position sensor monitors the position and speed of the camshaft. The engine control module uses this information to manage ignition timing, fuel injection, and overall engine performance.
When the sensor becomes contaminated with oil, dirt, or metal particles, the signal quality may be affected. This can lead to rough running, poor fuel economy, hard starting, or diagnostic trouble codes.
Source: storage.googleapis.com
Primary function
Provides camshaft position data to the engine computer.
Common symptoms
Check engine light, misfires, stalling, and difficult starts.
Signs the Sensor May Need Cleaning
Visible oil contamination, dirt buildup, or metal debris on the sensor tip are common indicators that cleaning may be worthwhile before replacing the part.
Visible contamination
Oil and grime around the sensor body or connector.
Tools and Materials You Need
Gathering the right tools before starting makes the job safer and faster. Most vehicles require only basic hand tools and a sensor-safe cleaning product.
Avoid aggressive chemicals that may damage plastic housings, seals, or electrical components.
Source: easycarelectrics.com
Socket set
Used to remove mounting bolts.
Clean microfiber cloth
Helps remove residue without scratching surfaces.
Sensor-safe cleaner
Removes oil and contamination without damaging electronics.
Recommended Cleaner Type
Use a dedicated electronics cleaner or mass air flow sensor cleaner that evaporates quickly and leaves no residue.
Avoid
Brake cleaner, gasoline, and abrasive cleaning methods.
How to Clean Camshaft Position Sensor Step by Step
Follow these steps carefully to reduce the risk of damaging the sensor or electrical connector.
The exact sensor location varies by vehicle, so consult the owner’s manual or service manual if needed.
Source: safetyfic.com
Step 1
Turn off the engine and disconnect the negative battery terminal.
Step 2
Locate the camshaft position sensor and unplug the electrical connector.
Step 3
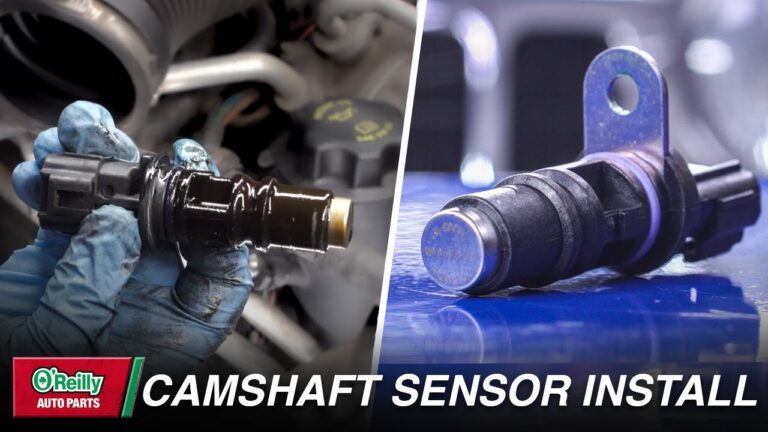
Remove the retaining bolt and carefully extract the sensor.
Step 4
Inspect the sensor for cracks, broken wiring, or heavy contamination.
Step 5
Spray the sensing tip and body with sensor-safe cleaner.
Step 6
Wipe away loosened dirt with a clean lint-free cloth.
Step 7
Allow the sensor to air dry completely.
Step 8
Reinstall the sensor, reconnect the wiring, and reconnect the battery.
Signs of a Successful Cleaning
After installation, the engine may start more smoothly, idle more consistently, and show fewer driveability symptoms if contamination was the root cause.
Improved operation
Reduced hesitation, misfires, or rough idle.
What to Do If Cleaning Does Not Fix the Problem
A contaminated sensor is only one possible cause of camshaft position sensor codes. Wiring damage, connector corrosion, timing issues, or internal sensor failure can produce similar symptoms.
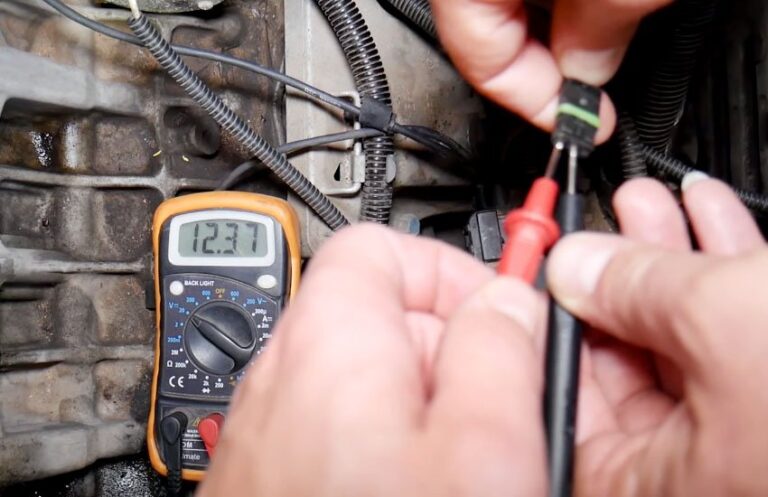
If symptoms continue after cleaning, perform diagnostic testing with a scan tool and multimeter or have the vehicle inspected by a qualified technician.
Source: cleanestor.com
Check wiring
Look for damaged insulation, loose connectors, or corrosion.
Scan for codes
Review stored diagnostic trouble codes for additional clues.
Consider replacement
Replace the sensor if testing confirms failure.
When Replacement Is the Better Option
Replace the sensor if it has physical damage, recurring fault codes, internal electrical failure, or persistent performance problems after cleaning.
Common replacement indicators
Cracked housing, damaged connector, or failed electrical tests.
Common Mistakes to Avoid
Many sensor problems occur because of improper cleaning methods rather than contamination itself.
Avoid using excessive force, scraping the sensing element, or reinstalling the sensor while it is still wet.
Source: youtube.com
Using the wrong cleaner
Harsh chemicals can damage electronics and seals.
Skipping battery disconnection
Increases the risk of electrical issues.
Ignoring damaged wiring
Cleaning alone cannot repair wiring faults.
Safety Reminder
Work on a cool engine and wear eye protection when using aerosol cleaners.
Protective equipment
Safety glasses and gloves are recommended.
Quick Troubleshooting Table
This table-style summary can help identify the next step after cleaning.
Source: storage.googleapis.com
Rough idle after cleaning
Inspect wiring and connectors.
Check engine light remains
Read fault codes and verify sensor operation.
Engine will not start
Confirm sensor installation and connector engagement.
Intermittent stalling
Test the sensor and related wiring circuits.
Next Diagnostic Step
If symptoms persist, diagnostic testing is more effective than repeated cleaning attempts.
Professional diagnosis
Useful when multiple engine codes are present.
Frequently Asked Questions
Q
Can a dirty camshaft position sensor cause a check engine light?
Yes. Contamination can interfere with signal quality and may contribute to fault codes. However, electrical failure and wiring issues are also common causes.
Q
What cleaner should I use on a camshaft position sensor?
Use an electronics-safe cleaner or mass air flow sensor cleaner that evaporates without leaving residue.
Q
Can I clean a camshaft position sensor without removing it?
Removing the sensor is recommended because it allows thorough inspection and cleaning while reducing the chance of pushing debris into surrounding areas.
Q
How often should a camshaft position sensor be cleaned?
There is no fixed maintenance interval. Cleaning is generally performed when contamination is visible or when troubleshooting related symptoms.
Q
Will cleaning fix a failed camshaft position sensor?
No. Cleaning can remove contamination but cannot repair damaged electronics, internal failures, or broken wiring.
✦ Wrapping Up
Conclusion
Learning how to clean camshaft position sensor components is a useful maintenance skill that may help restore proper operation when contamination is present. The process requires only basic tools, a suitable cleaner, and careful handling.
If cleaning does not resolve the symptoms, move on to diagnostic testing and consider sensor replacement if a fault is confirmed.
💡 Key Takeaway
Inspect the sensor, clean it with a sensor-safe product, allow it to dry completely, and test vehicle operation before replacing the part.
Ethan Brooks is an automotive writer at Auto News 7, covering car news, vehicle maintenance, new model updates, recalls, and practical buying guides. He focuses on clear, useful information that helps drivers understand their vehicles and make better ownership decisions.
Learn how to replace camshaft position sensor components with a detailed step-by-step guide, tools list, troubleshooting tips, safety advice, and common mistakes to avoid.