After replacing a knock sensor, verify the installation, clear diagnostic codes, start the engine, check for new faults, and complete the required drive cycle.
For drivers in the United States, knowing what to do after replacing knock sensor components can prevent a simple repair from turning into unnecessary parts replacement. A new sensor does not automatically prove that the entire knock-sensor circuit is working correctly. The connector, wiring, mounting surface, sensor torque, and engine control module all affect the final result.
The correct follow-up procedure depends on the vehicle. Some vehicles only require the fault code to be cleared and a normal drive cycle completed. Others may have manufacturer-specific diagnostic or relearn procedures. Because knock sensor systems vary by make, model, engine, and model year, always give the vehicle service information priority over a generic procedure.
Source: i.ytimg.com
What to Do Immediately After Replacing a Knock Sensor
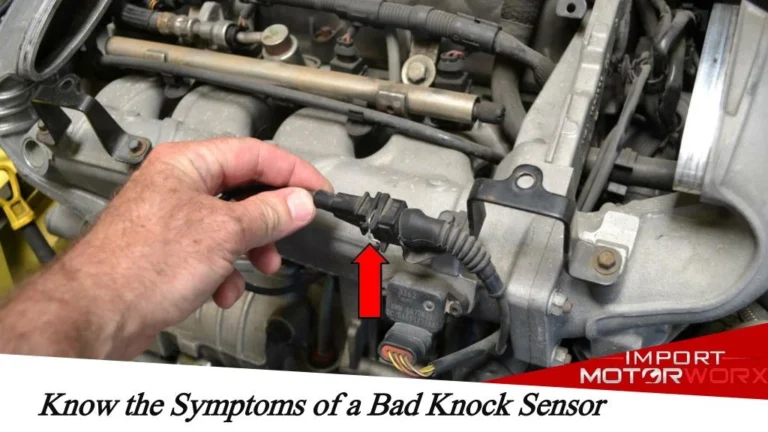
The first step after replacing a knock sensor is to verify the repair before driving normally. Check that the sensor is installed in the correct location, the connector is fully seated, and the wiring is routed away from heat, moving components, and sharp edges.
The sensor must also have the correct physical contact with the engine or specified mounting surface. On many vehicles, installation torque matters because the sensor detects engine vibration. An incorrect installation method can affect the signal and may cause a fault even when the sensor itself is new.
Do not apply sealant, thread compound, or other material unless the vehicle manufacturer specifically calls for it. Some knock sensors rely on direct contact with the mounting surface, so adding an unapproved material can alter how vibration reaches the sensor.
Source: safetywish.com
Verify the sensor
Confirm that the replacement sensor matches the vehicle’s engine and application and is installed in the specified location.
Check the connector
Make sure the electrical connector is completely seated and its terminals are not bent, loose, corroded, or contaminated.
Inspect the wiring
Look for stretched, damaged, melted, pinched, or improperly routed wiring around the replacement area.
Confirm installation torque
Use the vehicle-specific service specification rather than a universal torque value.
Check for Problems Caused During the Repair
If access to the knock sensor required removing an intake component, wiring harness, heat shield, or other engine parts, inspect everything that was disturbed during the repair. A vacuum leak, unplugged connector, damaged harness, or loose ground can create symptoms that appear to be related to the new sensor.
Before starting the engine, make sure all removed components are properly reinstalled. This simple check can prevent a second diagnostic session caused by a problem introduced during the original repair.
Look for disconnected plugs
Check nearby sensors, ignition components, injectors, and grounds that may have been disconnected for access.
Check hoses and ducts
Verify that intake hoses, vacuum lines, and related ducts are connected and secured.
Start the Engine and Check for Immediate Problems
Once the installation has been checked, start the engine and allow it to operate normally. Watch the instrument cluster for warning lights and pay attention to unusual engine behavior. Do not deliberately create engine knock to test the sensor.
A replacement knock sensor should not by itself cause rough running, severe hesitation, stalling, or other major drivability problems. If those symptoms appear immediately after the repair, stop and inspect the work before continuing to drive.
Use an OBD-II scanner to check the vehicle’s current, pending, and stored diagnostic trouble codes when the scanner supports those categories. A code such as P0325, P0327, P0328, P0330, P0332, P0333, or another manufacturer-specific knock sensor code can indicate an electrical or sensor-circuit problem rather than proving that the new sensor is bad.
Source: i.pinimg.com
Watch the check engine light
Note whether the malfunction indicator lamp stays on, turns off, flashes, or returns after the engine starts.
Listen for abnormal engine noise
Stop the test if you hear persistent severe knocking, banging, or another unusual mechanical noise.
Check diagnostic codes
Scan the vehicle after the repair so you know whether the original fault remains or a different fault has appeared.
Do You Need to Clear the Knock Sensor Code?
If the original fault has been repaired, clearing the stored diagnostic trouble code with an appropriate scan tool can be part of the verification process. Some vehicles may turn the warning light off only after the control module sees that the fault is no longer present, while others require a scan tool to clear a stored code.
Clearing codes does not repair an unresolved problem. If the circuit still has an open, short, poor connection, incorrect installation, or another fault, the code can return after the vehicle runs its diagnostic checks.
Record the codes first
Save the original diagnostic information before clearing it when possible. The code and freeze-frame information can help if the fault returns.
Clear codes only after the repair
Use the scanner’s code-clearing function after confirming the repair and following the vehicle manufacturer’s procedure.
Take a Controlled Test Drive
After the engine starts normally and no serious symptoms are present, take a controlled test drive. Begin with gentle acceleration and normal engine speeds. Avoid intentionally loading the engine heavily or trying to reproduce knock.
The purpose of the road test is to determine whether the original symptoms or warning codes return under normal operating conditions. The exact conditions needed to run the vehicle’s diagnostic monitors vary by manufacturer, engine, temperature, speed, fuel level, and other factors.
A short drive is not always enough to prove that the repair is complete. Some diagnostic checks run only after specific operating conditions have been met. Follow the manufacturer’s drive-cycle instructions when emissions readiness or a specific diagnostic monitor needs to be verified.
Source: i.ytimg.com
Begin gently
Use light throttle and normal acceleration first so you can identify obvious drivability problems without placing unnecessary load on the engine.
Monitor the warning light
If the check engine light returns, scan the vehicle again rather than simply clearing the code a second time.
Avoid aggressive testing
Do not intentionally induce engine knock or perform high-load testing on a vehicle that may still have an unresolved engine-control problem.
What Counts as a Successful Test?
A successful post-repair test means the engine operates normally, the original fault does not return, and the vehicle’s relevant diagnostic checks can complete according to the manufacturer’s procedure. A warning light that stays off is useful, but it is not the only measure of success.
For emissions-related inspection purposes in the United States, remember that clearing diagnostic codes can reset emissions readiness monitors. A vehicle may therefore need additional driving before all required monitors report ready.
Normal operation
The engine should start and run without new symptoms caused by the repair.
No returning fault
The original knock sensor-related code should not return when the relevant diagnostic test runs.
Readiness status
If emissions testing is a concern, check the readiness monitor status with a compatible scan tool.
Does a New Knock Sensor Need a Relearn?
There is no universal knock sensor relearn procedure that applies to every vehicle. Some engine control systems can use a replacement sensor without a dedicated relearn, while a particular manufacturer or engine may specify additional initialization or diagnostic steps.
Do not confuse a knock sensor procedure with other relearn functions. Modern vehicles can have separate procedures for crankshaft position variation, throttle position, idle learning, fuel adaptations, or other control systems. A procedure required after another repair may not be required after a knock sensor replacement.
The safest approach is to check the service information for the exact year, make, model, engine, and powertrain configuration. If the manufacturer does not specify a knock sensor relearn, do not perform an unrelated relearn simply because a generic scan tool offers the function.
Source: i.ytimg.com
Check the exact vehicle
Use service information that matches the vehicle’s year, engine, transmission, and market configuration.
Do not assume a relearn is required
A generic scanner function does not mean the function is necessary for the knock sensor repair.
Follow manufacturer instructions
If a specific initialization or learning procedure is documented, perform it exactly as specified.
What If the Knock Sensor Code Comes Back?
If the same knock sensor code returns after replacement, do not immediately install another sensor. A recurring code can result from damaged wiring, a poor connector connection, incorrect sensor installation, an incorrect replacement part, a problem with the mounting surface, or a control-module or circuit issue.
Generic OBD-II codes such as P0325 describe a knock sensor circuit malfunction, but the precise diagnostic procedure varies by vehicle. Other codes can identify low or high circuit input or a different bank. The code should therefore be interpreted with the vehicle’s wiring diagram and factory diagnostic procedure.
If the original fault returns only after driving, save the new code and freeze-frame information before clearing it. Comparing the conditions under which the code returned can help determine whether the problem is intermittent or consistently present.
Source: mechanicsdiary.com
Inspect the connector again
Check terminal fit, corrosion, damage, moisture, and connector locking.
Inspect the harness
Look for an open circuit, short, chafing, heat damage, or poor routing between the sensor and control module.
Verify the replacement part
Confirm that the installed sensor is the correct part for the exact engine and application.
Verify installation
Recheck the sensor location, mounting surface, and manufacturer-specified installation procedure.
Test the circuit
Use the manufacturer’s electrical tests and specifications rather than relying on a generic resistance value.
Why a New Sensor May Not Fix the Code
A knock sensor is only one part of a larger sensing circuit. The engine control module must receive an appropriate electrical signal through the connector and wiring. A new sensor cannot correct an open wire, short circuit, damaged terminal, poor ground where applicable, or another circuit problem.
A recurring code can also mean the original diagnosis was incomplete. For example, a diagnostic trouble code can identify a circuit fault without proving that the sensor itself caused the fault. This is why replacing parts based only on a code can lead to unnecessary repairs.
Sensor problem
The replacement component may be defective or incompatible, although this should be verified rather than assumed.
Circuit problem
The wiring or connector may prevent the control module from receiving the expected signal.
Installation problem
Incorrect torque, mounting, location, or contact with the engine can affect sensor operation.
Unrelated fault
Another engine or electrical problem can sometimes produce symptoms that overlap with a knock sensor fault.
Should You Disconnect the Battery After Replacing a Knock Sensor?
Disconnecting the battery is not a universal requirement after a knock sensor replacement. On some vehicles, battery disconnection can erase adaptive information and reset emissions readiness monitors without providing any benefit for the repair.
A scan tool is generally the more controlled way to manage diagnostic trouble codes when the vehicle supports it. If the manufacturer’s service procedure specifically calls for disconnecting the battery or resetting a particular memory, follow that procedure.
If battery power was disconnected during the repair, the vehicle may need to relearn certain settings or complete additional drive cycles. The exact effects depend on the vehicle and its electronic systems.
Source: i.ytimg.com
Do not disconnect it automatically
Only disconnect the battery when the vehicle’s service information or repair procedure calls for it or when a qualified technician determines it is appropriate.
Expect possible resets
Battery disconnection can affect stored settings and emissions readiness status.
Use the correct scan procedure
When available, use a compatible diagnostic tool and the manufacturer’s instructions to manage codes and required resets.
When Should You Stop Driving and Get Professional Help?
Stop the test drive and seek qualified automotive help if the engine develops severe or persistent knocking, loses substantial power, stalls, overheats, or shows a flashing check engine light. Those conditions can indicate a problem that should not be evaluated through continued normal driving.
Professional diagnosis is also appropriate when the knock sensor code returns after the replacement and basic installation checks do not identify the cause. A technician with vehicle-specific service information and suitable diagnostic equipment can test the circuit rather than replacing additional parts by guesswork.
Source: i.ytimg.com
Flashing check engine light
Treat a flashing malfunction indicator lamp as a reason to avoid continued normal driving until the cause is assessed.
Severe engine noise
Do not continue driving to test a persistent or severe knocking, banging, or other abnormal mechanical noise.
Repeated fault codes
Have the circuit diagnosed if the same knock sensor code returns after a correctly installed replacement.
Unclear repair procedure
Use qualified help when access, electrical testing, or a manufacturer-specific procedure exceeds your equipment or experience.
Frequently Asked Questions
Q
Do I need to clear the code after replacing a knock sensor?
Clearing the original diagnostic trouble code can be appropriate after the repair when the vehicle procedure permits it. Use an OBD-II scanner when possible, and record the original code and relevant freeze-frame information before clearing it.
If the underlying fault remains, the code can return after the control module performs its diagnostic checks.
Q
How long should I drive after replacing a knock sensor?
There is no universal number of miles or minutes that applies to every vehicle. The required drive cycle depends on the vehicle’s control system and the diagnostic monitor that needs to run.
For emissions readiness, follow the manufacturer’s specified drive-cycle conditions rather than relying on a generic mileage recommendation.
Q
Does a knock sensor need to be programmed after replacement?
A knock sensor does not have one universal programming requirement. Some vehicles can operate with a replacement sensor without programming, while certain applications may specify an initialization or diagnostic procedure.
Check the service information for the exact vehicle before assuming that programming or relearning is necessary.
Q
Why is my check engine light still on after replacing the knock sensor?
The original code may still be stored, or the underlying problem may not have been corrected. Wiring damage, connector problems, incorrect installation, an incorrect part, or another circuit fault can cause the same or a related code to return.
Scan the vehicle again and identify whether the code is current, pending, or stored before replacing another part.
Q
Can I drive immediately after replacing a knock sensor?
You can generally perform a cautious test drive after verifying the installation and confirming that the engine starts and runs normally, but the exact procedure depends on the vehicle.
Use gentle driving first and stop if severe engine noise, major drivability problems, overheating, or a flashing check engine light occurs.
Q
What if the knock sensor code comes back after replacement?
Do not assume that the new sensor is defective. Recheck the connector, wiring, mounting surface, installation torque, replacement part, and the diagnostic procedure for the specific vehicle.
A recurring knock sensor code can indicate a circuit problem rather than a failed sensor, so further electrical testing may be necessary.
✦ Wrapping Up
Conclusion
Knowing what to do after replacing knock sensor components is just as important as installing the replacement itself. Start by verifying the sensor, connector, wiring, mounting surface, and installation procedure. Then scan for diagnostic trouble codes, clear the repaired fault when appropriate, and perform a cautious test drive.
Do not assume that every vehicle needs a knock sensor relearn or that a fixed warning light proves the repair is complete. If the code returns, diagnose the entire circuit and follow vehicle-specific service information before replacing additional parts.
💡 Key Takeaway
After replacing a knock sensor, verify the installation, scan and clear codes as appropriate, complete the specified drive cycle, and investigate any returning code instead of replacing parts by guesswork.
Ethan Brooks is an automotive writer at Auto News 7, covering car news, vehicle maintenance, new model updates, recalls, and practical buying guides. He focuses on clear, useful information that helps drivers understand their vehicles and make better ownership decisions.
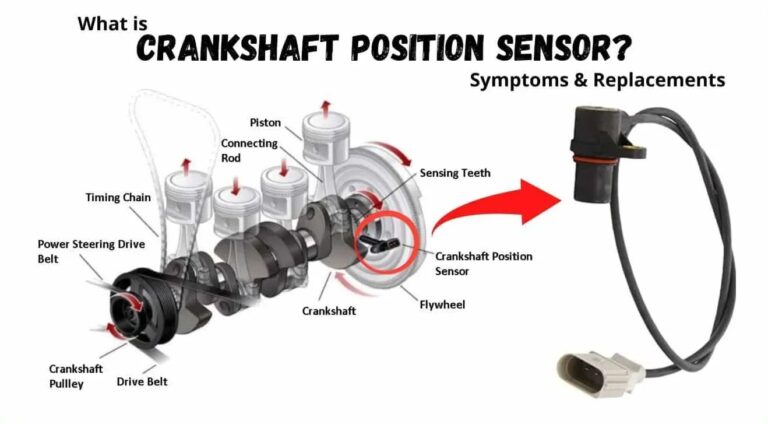
Learn when to replace a crankshaft position sensor, how to recognize failure symptoms, diagnose the problem, and avoid replacing a good sensor unnecessarily.
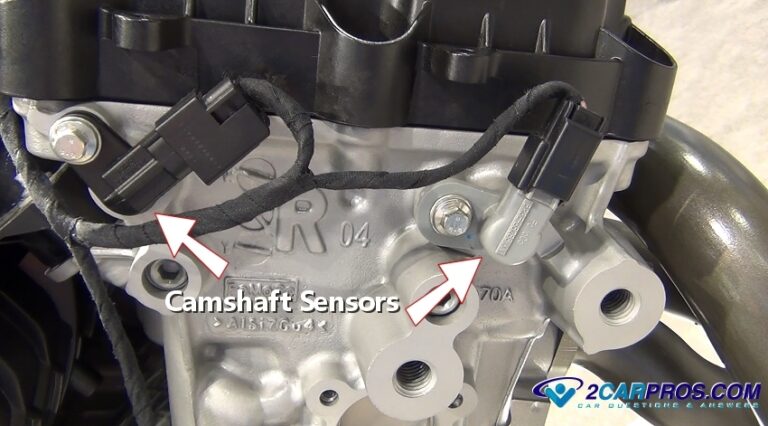
Learn when to replace a camshaft position sensor, the warning signs of failure, diagnostic tips, replacement timing, costs, and whether it is safe to keep driving.
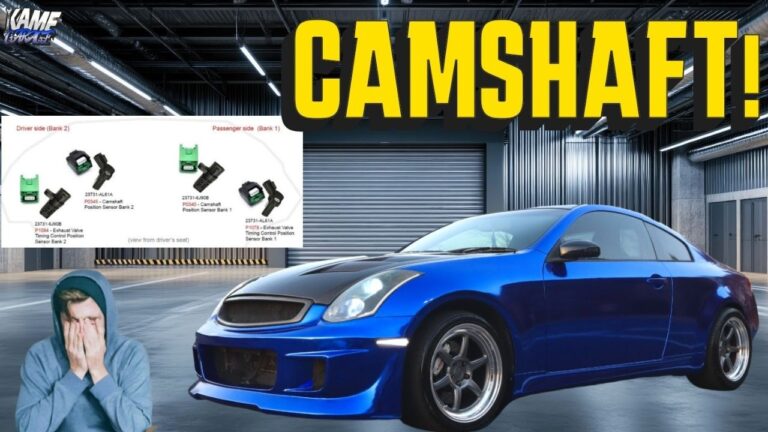
Learn how many camshaft sensors a G35 has, where they are located, common symptoms of failure, diagnostic tips, and replacement information for Infiniti G35 models.
Learn whether a knock sensor can cause misfire, how the sensor affects engine timing, common symptoms, diagnosis steps, and when replacement may be necessary.